


I am using KODI both for my mx box and windows but I am sure the guide will work for XBMC install as well.
As this is a enthusiasts forum I want to create a guide here so you can mess around with settings so that your install is to your exact specifications, KODI is extremely customizable here I will guide you through all the different ways you can customize it from using libraries, smart playlists and the super favorites addon and even changing skins can give you options.
BASICS
I don't know about you but I find the RSS feed really annoying and it does consume a little of your bandwidth (for those with slow broadband) so I would recommend disabling it, unless you really need it. I am using Aeon Nox skin at the moment and that doesn't allow disabling but you can change to confluence which allows it then change back to the skin of your choice.
1 In the Kodi main menu, go to System > Settings.
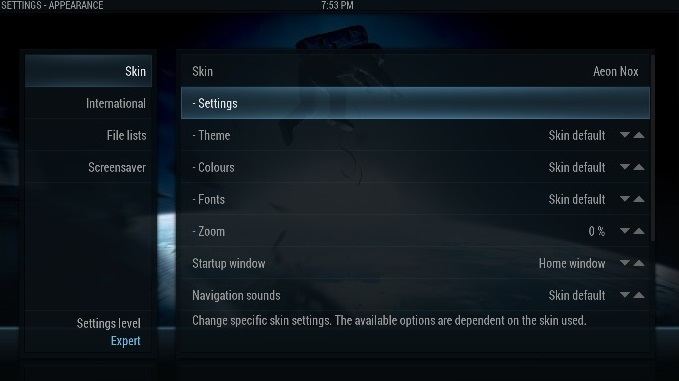
2 Select the Appearance tab to configure appereance settings.
3 In the skin tab, scroll down and disable show RSS news feed.
4 Now, go back to the main menu by pressing the back key on the remote control or ESC-key on the keyboard.
My box came from Hong Kong so I had to change my time settings so this is how you do that.
1 Go to System > Settings > Appearance.
2 Select the second tab called International. Select Language to change it and then select Region.
3 Select the suitable region from the list.
4 Now, your system clock will show the correct time.
You can have the weather for your location, I tried the met office but found yahoo easier to use.
1 Go to System > Settings > Weather.
2 Select “Service for Weather Information”.
3 Select “Get More…”
4 Select “Yahoo! Weather” add-on.
5 Type in your location, all done.
- - - Updated - - -
Kodi/XBMC TV and Movie Library
Thanks to MJD
This easy to follow guide will show you every step you need to integrate Genesis with your Kodi/XBMC TV and Movie Library.
This guide shows how to integrate the TV Shows section. To integrate movies just repeat the process but choose Movies instead of TV Shows at the final step. This can also be done with add-ons like iStream.
This guide is done on a Mac and so the path I take to get to the stored Genesis TV & Movies links is different to that of a Windows/Linux/Android/FireTV user. The paths for Windows/Linux/Android/FireTV users is located at the bottom.
For some devices we need to show hidden files otherwise you will not be able to find the path to your TV Shows-Movies. This is very simple:
Select SYSTEM
Click here to view the original image of 640x400px.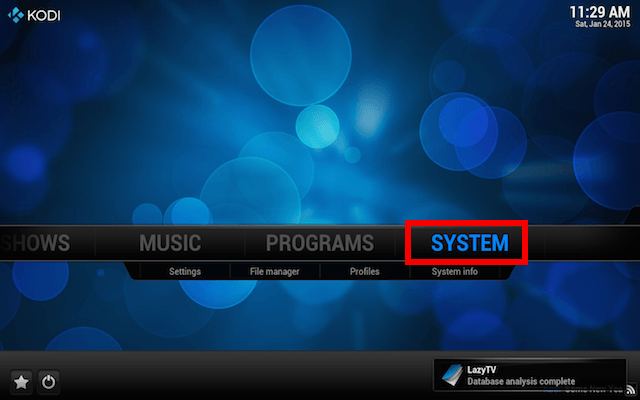
Select Appearance
Click here to view the original image of 640x400px.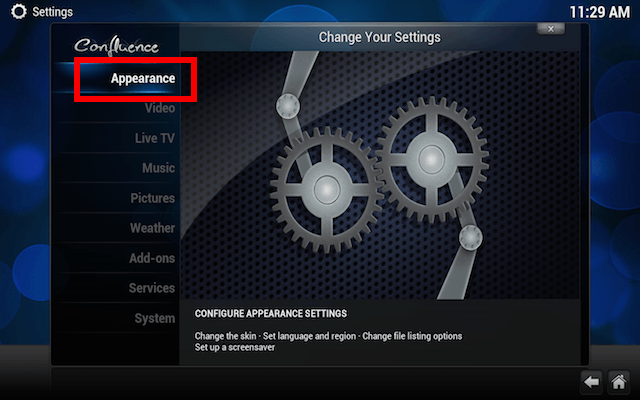
Select File Lists and turn on Show Hidden Files and Directories
Click here to view the original image of 640x400px.
Now you can move on to integrating Genesis with you Kodi/XBMC Library
On your XBMC homescreen select VIDEOS > Files
Click here to view the original image of 640x400px.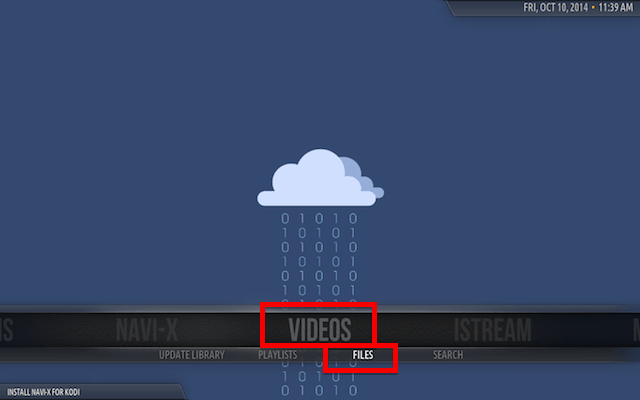
Select ADD VIDEOS...
Click here to view the original image of 640x400px.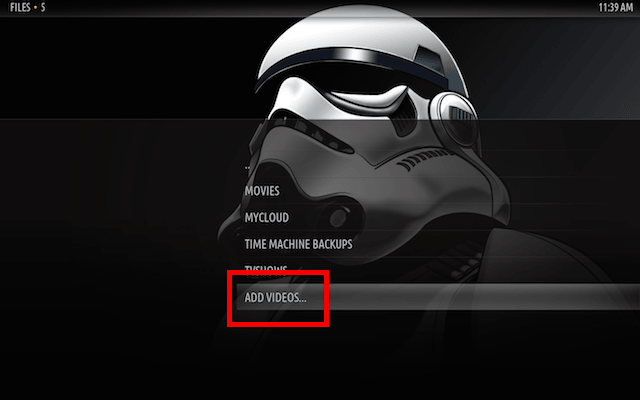
Select Browse
Click here to view the original image of 640x400px.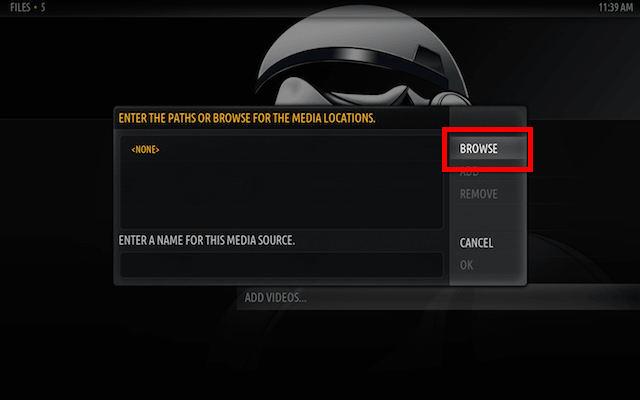
Select HOME FOLDER
Click here to view the original image of 640x400px.
Select LIBRARY
Click here to view the original image of 640x400px.
Select APPLICATION SUPPORT
Select XBMC or Kodi if you have upgraded to 14.0 Helix
Select USERDATA
Select ADDON_DATA
Select PLUGIN.VIDEO.GENESIS
Select TVSHOWS
You will now see a list of all the TV Shows you added to Genesis. Select OK
You can change the name of the media source in this screen to anything you want if you wish. Select OK
You will now see a screen like the following. Click on none until you see TV Shows
When you have selected TV Shows select OK
Click here to view the original image of 640x360px.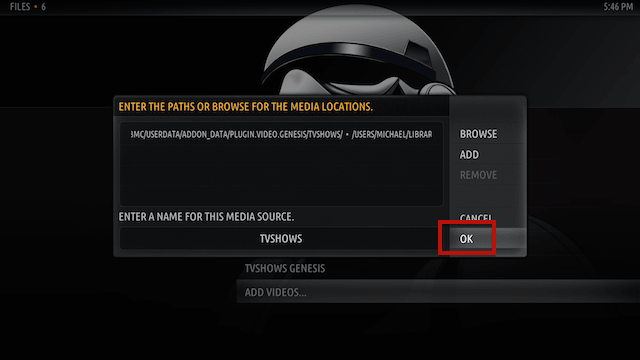
Select YES and allow Kodi/XBMC to refresh the new content
This is now completed. If you go to your home screen you will now see a TV SHOWS link. Clicking on that link will take you to the shows you have subscribed to in Genesis. Now if you do exactly the same but choose Movies instead of TV Shows there will be a link to your Movies library on your home screen as well.
Click here to view the original image of 640x360px.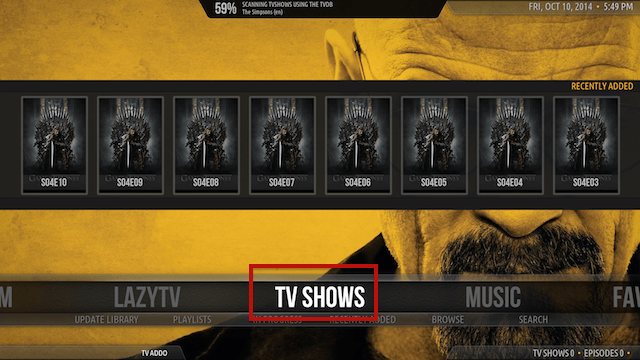
Use the following path for Windows. If you are on Kodi select Kodi and not XBMC:
C:\Users\AppData\Roaming\XBMC\userdata\addon_data\ plugin.video.genesis\TVShows
Thanks to 'Another Michael' for providing that.
The path for Linux users is. If you are on Kodi select Kodi and not XBMC:
/home/USERNAME/.xbmc/userdata/addon_data/plugin.video.genesis/TVShows
Thanks to 'lassegs' for providing that
The path for FireTV users is. If you are on Kodi select Kodi and not XBMC:
/storage/emulated/0/Android/data/org.xbmc.xbmc/files/.xbmc/userdata/addon_data/plugin.video.genesis/TVShows/
Thanks to Dhorlo for providing that.
Use the following path for Android replacing XBMC with Kodi if you have updated.
/storage/emulated/0/Android/data/org.xbmc.xbmc/files/.xbmc/userdata/addon_data/plugin.video.genesis/TVShows/
or
Root filesystem/sdcard/Android/data/org.xbmc.xbmc/files/.xbmc/userdata/addon_data/plugin.video.genesis/TVShows/
This tutorial has been done for genesis but it works with any video or music addon that uses the library function and I have also found that tv shows or movies added to the libraries auto play when clicked and you don't have to choose stream source like you would when you use the genesis addon directly. Also once you have created a tv show or a movie category I will show you to how add them to your home screen for easy access later on in this thread (which makes it wife and kids friendly.)
- - - Updated - - -
SMART PLAYLIST
At the moment I am going through how to organise your tv shows and movies it takes a bit of time but at the end it will enhance and make your viewing experience that much better. The smart playlist creates a filter for your collection, say you have 100's of movies and you want to separate them so that you can easily find what you are looking for. (can be used for tv shows and music)
In my example I am want all my animation movies in one group so using a smart playlist I create this group and all my animation movies will automatically go in this group.
Video>playlists
Click here to view the original image of 969x544px.
new smart playlist
Click here to view the original image of 969x544px.
select movies then new rule
Click here to view the original image of 969x544px.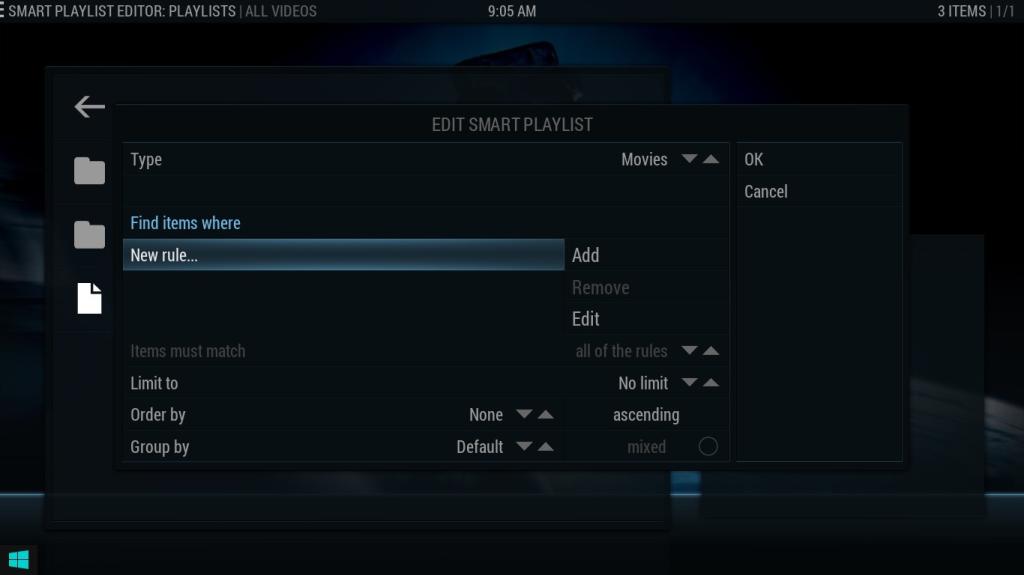
select genre is then click browse
Click here to view the original image of 969x544px.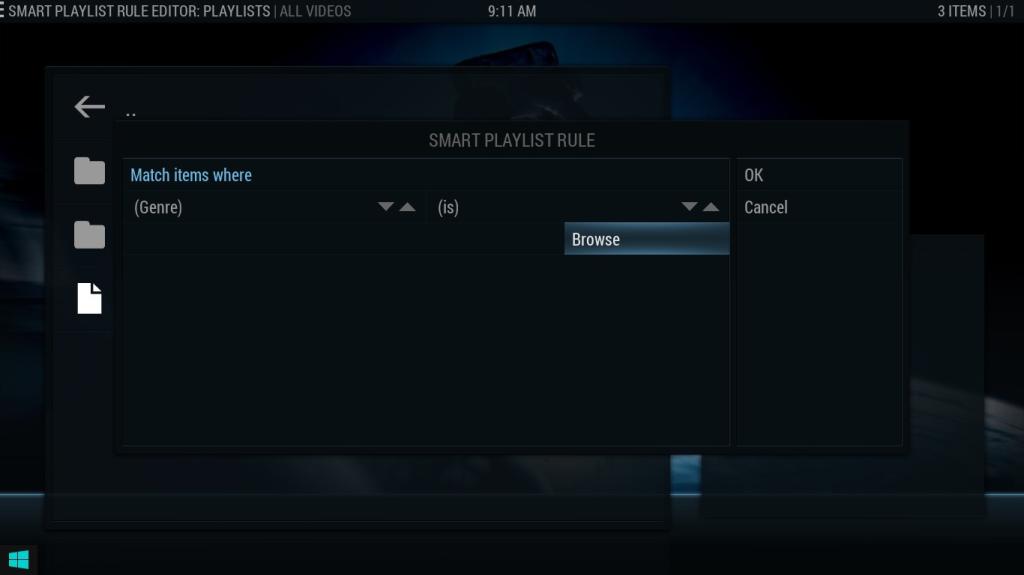
select animation then ok
Click here to view the original image of 969x544px.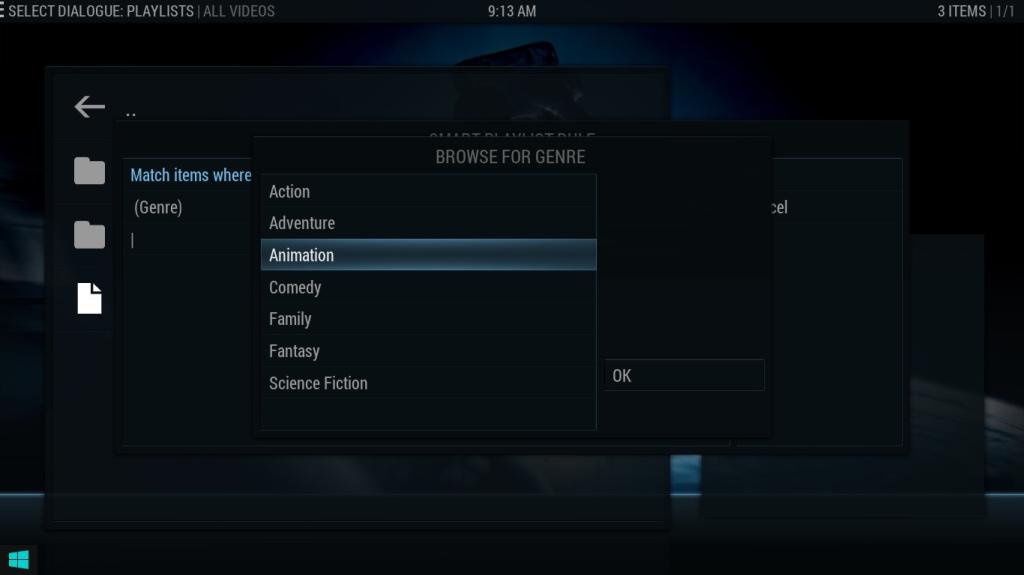
give your playlist a name eg ANIMATION press ok, all done
now if you look in video>playlist you will see your new list there
Click here to view the original image of 969x544px.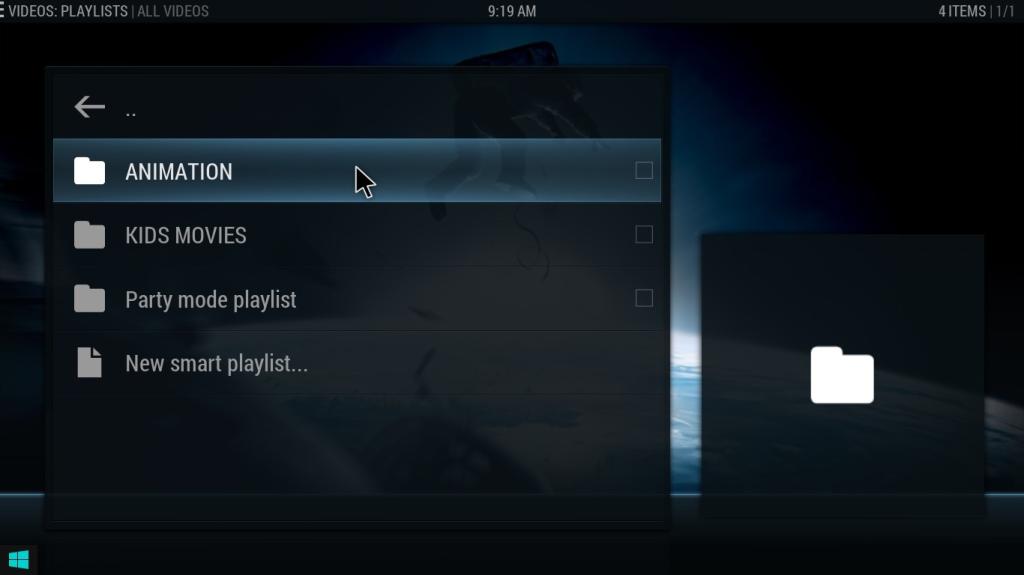
selecting the ANIMATION playlist will only have animated movies
Click here to view the original image of 969x544px.
remember you can choose the way the list is presented and you want the wow factor
Click here to view the original image of 969x544px.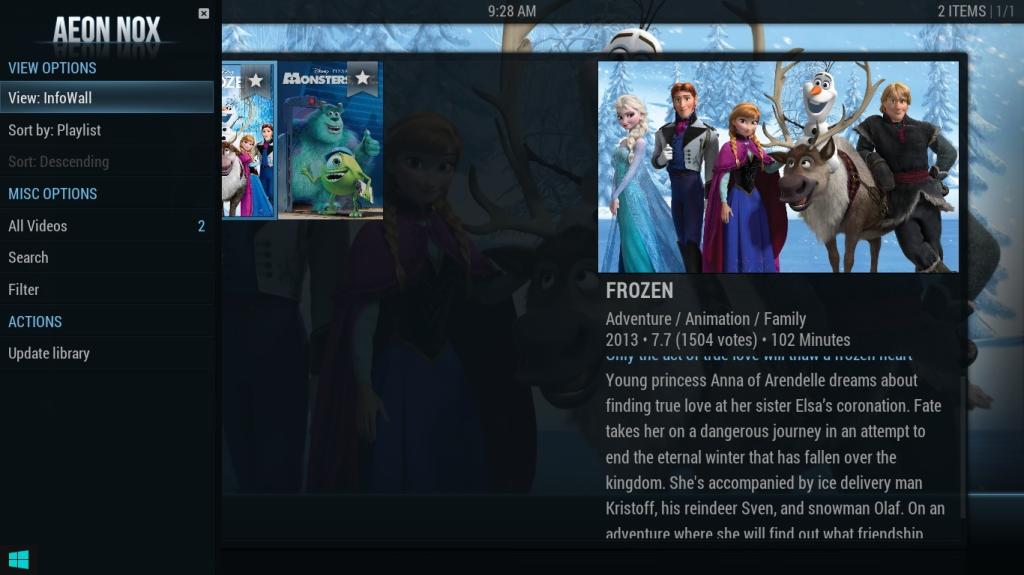
This is another step towards the goal of personalizing our kodi install
- - - Updated - - -
Super Favourites
In effect this addon lets you create a custom addon in which you can add bits from other addons.
Super Favourites is a Kodi / XBMC add-on that offers a better way of managing your XBMC/Kodi favourites.
Just about any menu item within XBMC/Kodi can be added to Super Favourites, even from addons that don't normally provide this feature.
You can create sub-folders where your Kodi favourites can then be copied or moved into.
The add-on allows you to create your own custom addon with just the best bits of your favourite addons. Search your favourite addons, play your favourite music, read your favourite comic strips, select your favourite playlists, browse your favourite movies, listen to your favourite radio stations, watch your favourite cartoons, the possibilities are endless, all from within one easy to use addon.
Open Kodi / XBMC
Select SYSTEM > Settings (depending on the skin you are using it may just be Settings)
Click here to view the original image of 640x400px.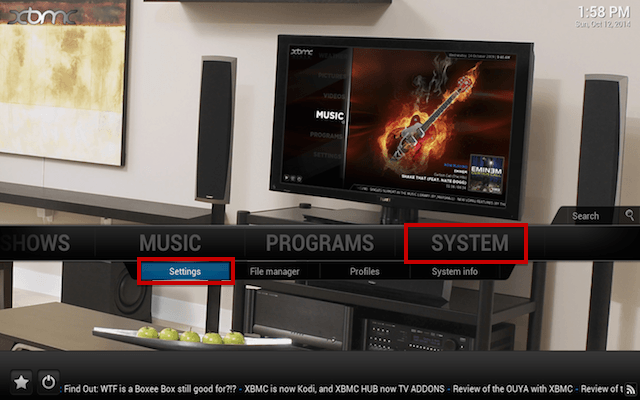
Select Add-ons
Click here to view the original image of 640x400px.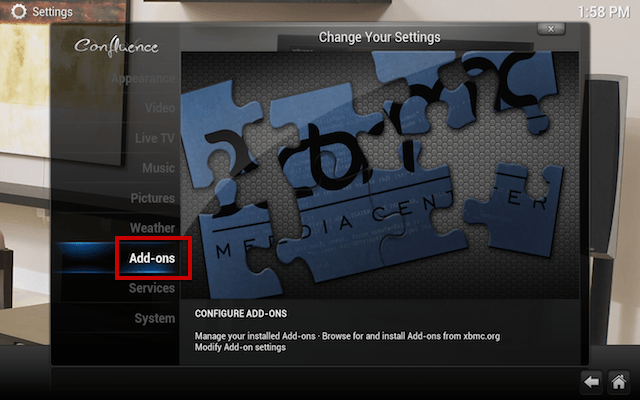
Select Get Add-ons
Click here to view the original image of 640x400px.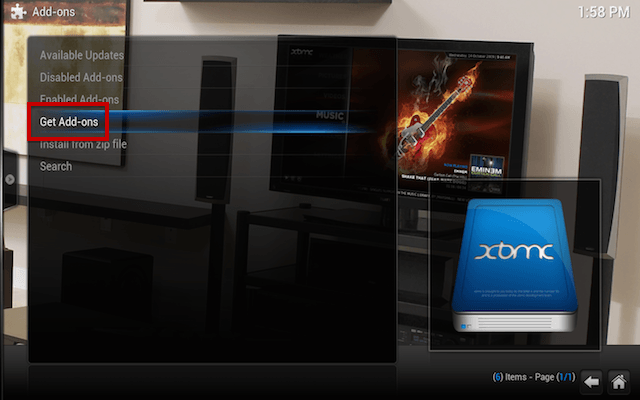
Select XBMC.org Add-ons or Kodi Add-On Repository
Click here to view the original image of 640x400px.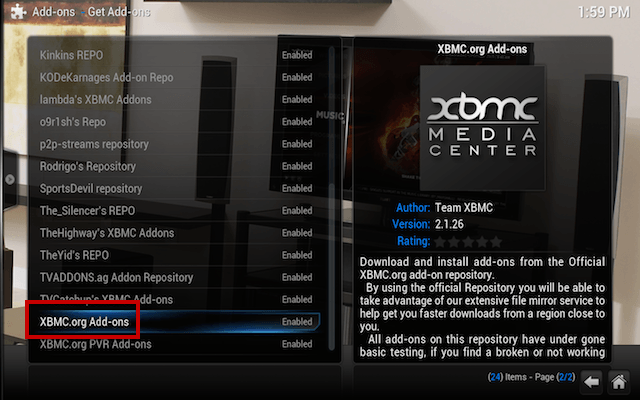
Select Program Add-ons
Click here to view the original image of 640x400px.
Select Super Favourites
Click here to view the original image of 640x400px.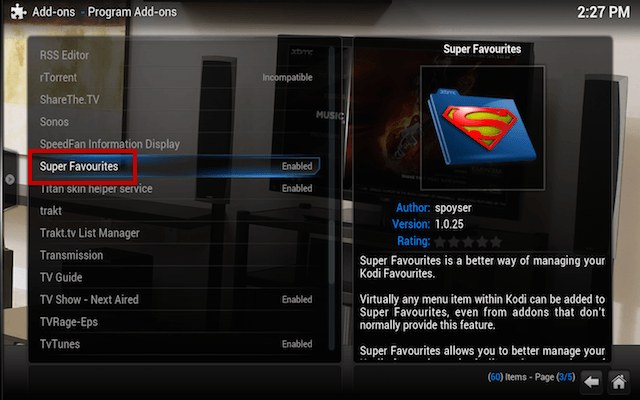
Select Install
Click here to view the original image of 640x400px.
Super Favourites is now installed. So now I will show a quick example of how it can be used.
On your home screen select PROGRAMS
Click here to view the original image of 640x400px.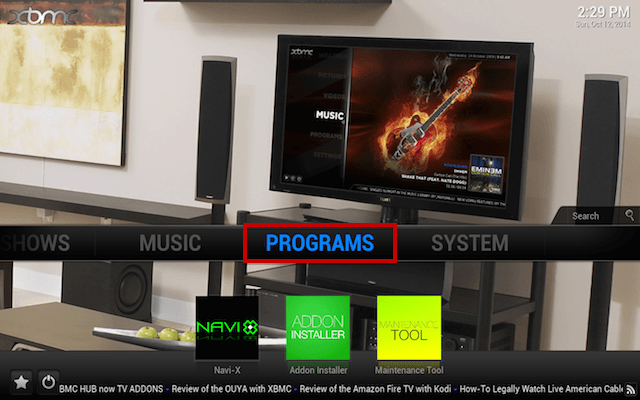
Select Super Favourites
Click here to view the original image of 640x400px.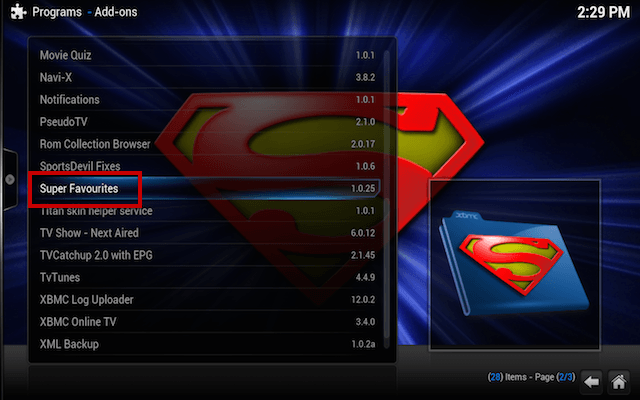
Select Explore Kodi Favourites
Click here to view the original image of 640x400px.
The next screen will now show a list of everything you have ever added to favourites. The more you favourite, the more will appear in this location and the better you can tweak this with Super Favourites.
The next process is an example not something I am saying you need to do.
Highlight one of your favourites
Click here to view the original image of 640x400px.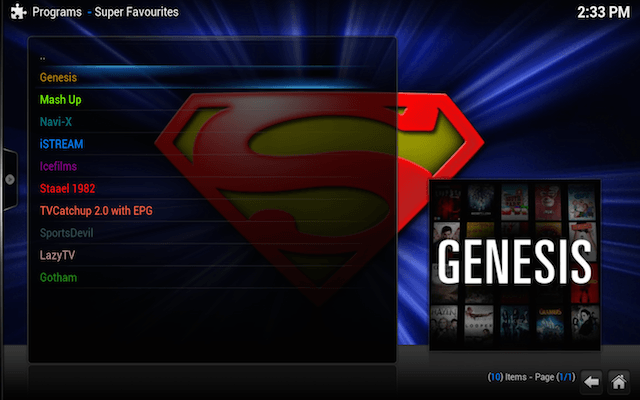
Press C to bring up the contextual menu
Click here to view the original image of 640x400px.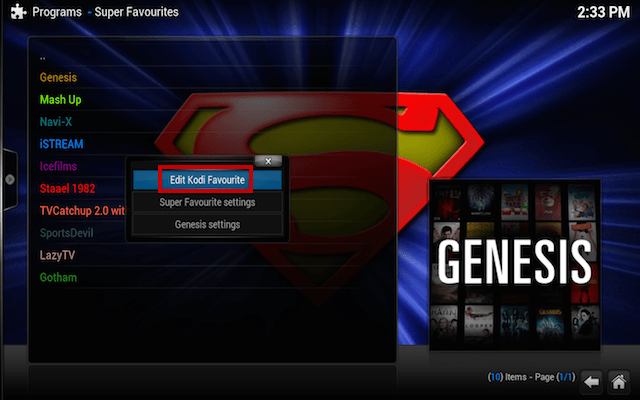
Select Copy favourite
Click here to view the original image of 640x400px.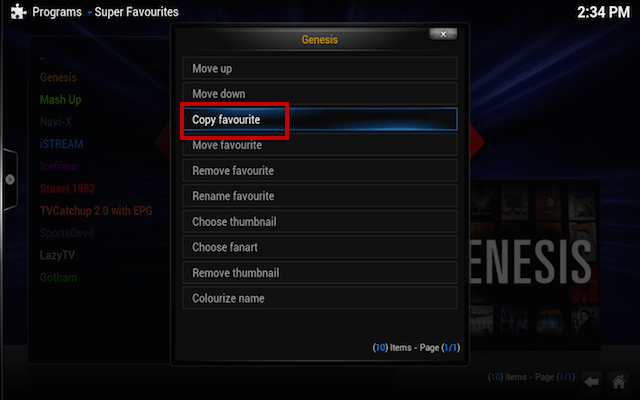
A new window will open and this is now asking you where you would like to copy your favourite to.
Select Super Favourites
Click here to view the original image of 640x400px.
Your Super Favourites directory is now open. What we will do is create a new folder inside here for the favourite.
Select New folder
Click here to view the original image of 640x400px.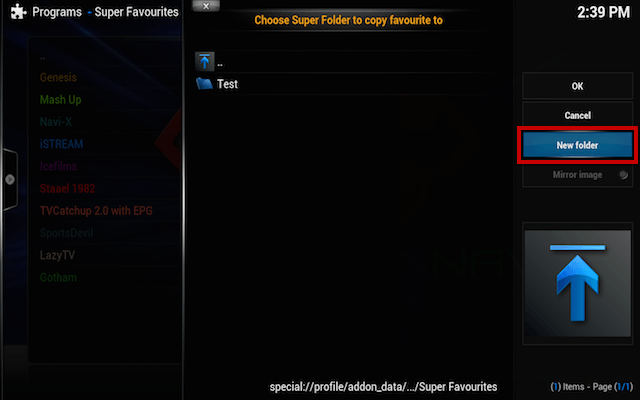
Type in any name you want for the new directory. This example if for testing purposes only. If you are wanting to create a collection to all your animated add-ons/favourites then you could name it Animated Collection or something similar. Press Enter or select Done
Select the new directory you have just created
Click here to view the original image of 640x400px.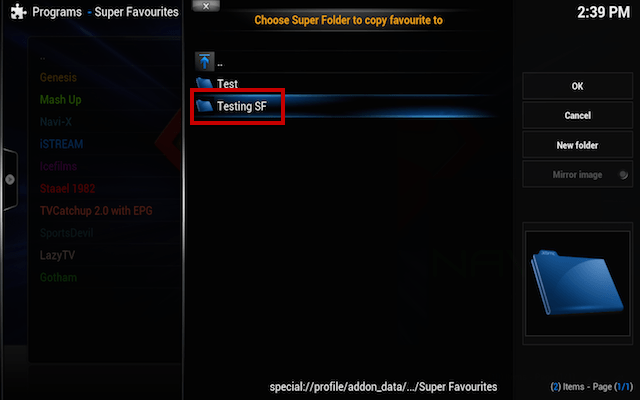
Select OK
Click here to view the original image of 640x400px.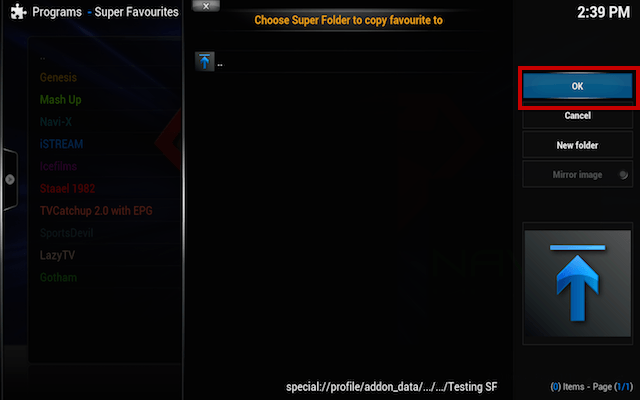
The favourite you just copied will now appear under the directory you created in the Super Favourites plugin. You can repeat the process adding just the favourites you want and can even create sub directories in the directories you create. There is much more that you can do with this add-on but the above was just a quick example. As with anything, the more you use it the more you will understand just what you can do with it.
Thanks to MJD for the tutorial.
- - - Updated - - -
Ok if you followed my tutorial so far then we are ready to start customizing our KODI install no matter what it was installed on Windows or Android etc..
Lets start with something simple with the weather addon hopefully by now you have set it to your region.
system>appearance>settings
Setup Aeon Nox main menu

highlight weather then try to use my settings click on the item and a sub menu will open eg clicking on 'set item background' a sub menu opens pick conditional weather (off course you can download your own backgrounds and use them instead).

And this the effect you get on your home screen.
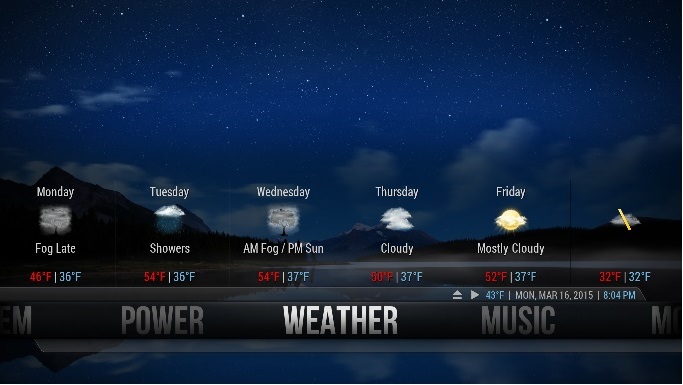
and when you click on weather

now doesn't that enhance your KODI install.

