HOW TO CREATE LCDPICONS WITH PHOTOSHOP CS5
First ,we have to prepare the logo to convert it into a lcdpicon.
Lots of logos come with colour and we have to convert them into black + white.

But then it remains as a "standard" black and grey so we have to correct with brilliance and contrast
We increase the contrast three times to darken the black and lower the brilliance without modifying white.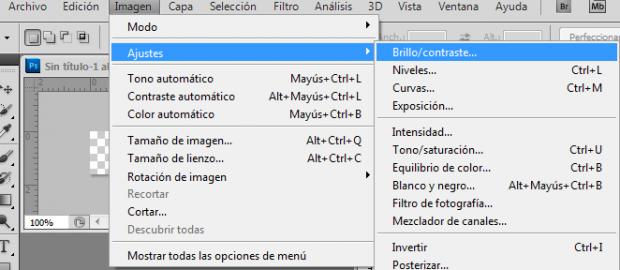
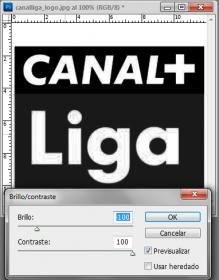

then we invert the letters to black.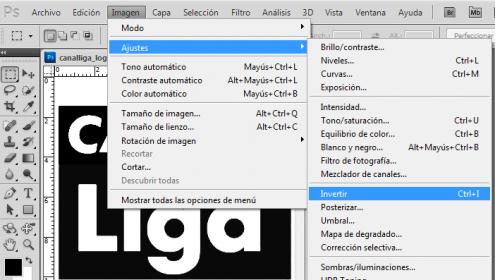

Now we can save our work.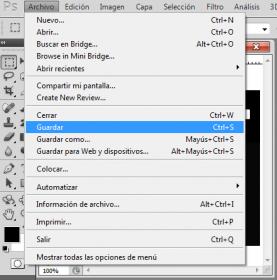
now we open a new file in photoshop cs5 with these measurements :
width : 132 pixels
height : 46 pixels
resolution : 72 pixels/inch
colour mode RGB -8 bits
background : transparent
Now we place the earlier prepared logo on the "canvas" and adjust the size accordingly


After that we have to change the colour mode to indexed 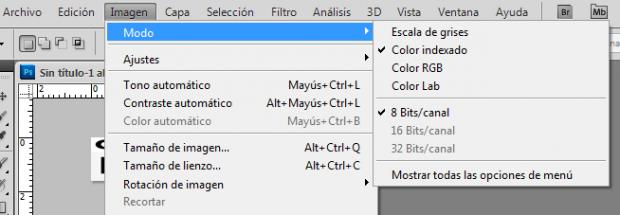
and again invert the image

Now we have the piconlcd ready to save and name it the channel number in png format.
Thanks to pepeman


