

- Which H9 model do you have?
- Flashing H9S / H9T / H9.2S / H9.2H (non-Combo/Twin)
- Flashing H9 Combo and H9 Twin models
- Repartitioning recovery procedure (Combo/Twin, first-time only)
- Simple single-image flash (Combo/Twin, partitioning already set up)
- Deleting an image you no longer want
- Flashing a PurE2 image "on the fly" (no USB stick needed)
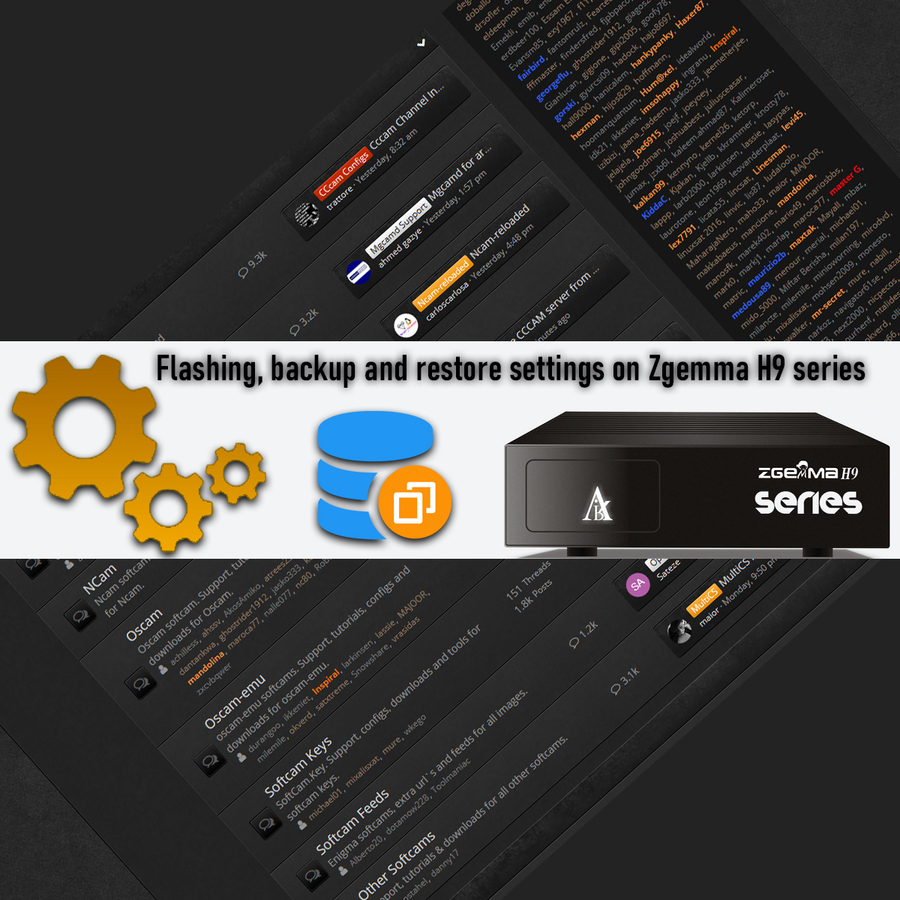
- How to back up your settings
- How to restore your settings
Make sure you know exactly which Zgemma H9 model you have before flashing — the procedure is different for the standard H9 models versus the Combo/Twin models, since they have different hardware.
Which H9 model do you have?
- H9S (1st and 2nd generation with WiFi), H9T, H9.2S, H9.2H — these have 256MB NAND flash and no built-in multiboot.
- H9 Combo and H9 Twin — these have a larger 8GB eMMC flash with 4 Enigma2 partitions and multiboot built in.
Flashing H9S / H9T / H9.2S / H9.2H (non-Combo/Twin)
- Download an image of your choice to your PC/laptop and decompress it onto a FAT32-formatted USB stick. This sends the unzipped
h9folder and 2 additional files (bootargs.binandfastboot.bin) to the USB stick. - Safely remove the USB stick from your PC.
- Switch off your Zgemma H9 at the back using the white power button.
- Insert the USB stick into the back USB port of your H9.
- Press and hold the small black RESET button at the back, then press the white POWER button while still holding RESET.
- Once you see the LED flashing (changing colour between white and red), let go of the RESET button.
- Wait for it to finish.
Full tutorials for setting everything up afterwards are in the Enigma2 Teams > PurE2 section of this forum: PurE2 Team
Adding more storage: these models are cheap and have smaller flash storage, but you can easily expand it using an mSD card or USB stick — the procedure is explained here: Expanding Zgemmas H9x and H9.2x flash to a Micro SD card or USB stick 2.0/3.0...
Flashing H9 Combo and H9 Twin models
These have a larger 8GB eMMC flash, 4 Enigma2 partitions, and built-in multiboot, so you have several options:
- Repartition the eMMC and flash an image to the first internal partition, or flash to a partition of your choice.
- Flash from a USB stick, or "on the fly".
- "On the fly" means flashing directly from the internet, or from an image you previously sent to an mSD card/USB stick/SSD/HDD.
- Make a backup of your settings, or restore your settings.
Some of these options only work on Combo/Twin, others work on all H9 models.
![]()
![]()
Repartitioning recovery procedure (Combo/Twin, first-time only)
This procedure installs the secondary bootloader / changes the flash partitioning — only do this once, or if there are significant changes to the partitioning, fastboot, etc.
- Download H9comborecovery (also works for Twin). PurE2 v6.3 (currently the stable version) is here: http://pur-e2.club/OU/images/index.php?dir=6.3/airdigital/H9combo-Recovery/
- Unzip it onto a compatible FAT32-formatted USB stick.
- Download a normal zipped h9combo v6.3 here: http://pur-e2.club/OU/images/index.php?dir=6.3/airdigital/
- Send it as-is (do NOT unzip/decompress this one!) to the same USB stick.
- Insert the USB stick into the Combo's front or back USB port.
- Press the white power button at the back while holding the small black reset button. Let go of the reset button once the LED shows FLSH — at that point, the multiboot/partitioning system starts and the eMMC will end up with 4 Enigma2 partitions and 1 Android partition. This is quick.
- You'll then see a menu — select Bootmenu > Flash local image > choose the USB stick with the image > choose the zipped
h9combo.zip> choose the partition to flash to (e.g. Linux 1) > wait while it shows "Flashing" > "Flashing completed". - You'll see the menu again — boot into the image you just flashed.
Tip: PurE2 > MENU > Standby > Recovery Mode lets you boot straight into Recovery mode from within PurE2.
Simple single-image flash (Combo/Twin, partitioning already set up)
If you're happy with your existing partitioning and just want to quickly flash a new image onto one of the 4 available partitions, you don't need to delete whatever's already on that partition first.
- Power off your Combo/Twin at the back using the white power button.
- Download an unzipped new Combo/Twin image on your PC and send it to a compatible USB stick.
- Insert the USB stick into either of the 2 Combo/Twin USB slots.
- Press the white power button at the back, and immediately press and hold OK on your remote until the LED shows rCUY.
- You'll see the Recovery menu — choose Bootmenu > Flash local image > choose the USB stick > choose the zipped
h9combo.zip> choose the partition (Linux 1–4 are for Enigma2 images) > wait for "Flashing" then "Flashing completed". - Back at the main recovery/boot menu, choose which partition to boot into.
Deleting an image you no longer want
This works on all OE-Alliance images (confirmed on PurE2): MENU > Setup > MultiBoot Maintenance > green button to "Erase" an image. You can delete any partition except the one currently in use.
Flashing a PurE2 image "on the fly" (no USB stick needed)
You don't need to download an image to your PC, decompress it, copy it to a USB stick, then plug that into the H9 — this can all be done from your remote control:
- MENU > pManager > Software Manager > Flash on the fly
- Yellow button — choose which partition to install the new PurE2 image to.
- Green button — flash a PurE2 image online, directly from the internet (not from mSD/USB/HDD/SSD).
- Blue button — switch to a different version of the PurE2 image (currently stable is v6.3).
- Choose the version you want, then press Green again to flash it.
You can also "Flash on the fly" using an image you downloaded to your PC and sent via FileZilla Client to an mSD/USB/HDD/SSD — in that case choose LOCAL instead of ONLINE, having already sent the image to the receiver.
How to back up your settings
Making a settings backup file on an mSD card, USB stick, or HDD/SSD means you don't have to reconfigure everything from scratch (tuner/motor, video, audio, subtitles, language, timezone, etc.) after flashing.
Note: this can occasionally cause problems if Enigma2 has changed significantly between versions — for a major version jump, it's sometimes safer to configure from scratch manually. For smaller changes, a settings restore saves a lot of time.
- MENU > Setup > Software management > Advanced options > Select backup location. (If you see a "missing a txt file" message, create one on your PC and move it to your device — this is what makes it possible to back up to that device.)
- Select the files to back up. The most important/crucial ones are already pre-selected — adjust if you want.
Warning: do not press EXIT to go back to a previous folder before you press SAVE — doing so loses all your selections so far. To go back a folder, use the v/^/</> buttons to navigate at the top of the page instead.
Once you've finished choosing files, press SAVE first, then EXIT to continue. - Confirm to create the settings backup file, then put the receiver into Standby ready for flashing.
How to restore your settings
Once you've flashed a new image and want to restore your previously-saved settings:
- Plug in the USB stick (or whichever medium the backup file is on). If Automount is switched off, go to MENU > pManager > Device Manager > Mount Manager > OK > Automount ON/OFF (yellow button) > OK to switch it to ON (confirm Yes) > use left/right around OK to choose the mount point (e.g.
/media/usb) > OK > Yes > restart the box and wait. - Go to MENU > Setup > Software management > Restore system settings — or alternatively MENU > pManager > SW Manager > Restore previously saved settings.
- Sometimes you'll be offered a settings restore automatically right after flashing, during the Wizard setup of the new image — Enigma2 will likely find the settings on your USB/mSD/HDD/SSD and offer to restore them immediately (sometimes in 2 phases: settings first, then plugins — you can even choose which plugins to restore).


- Alternatively, install DreamExplorer from Plugins > Extensions, then navigate to your backup settings file and restore it from there.


Replies 11
gorski
@ all: above post(s) have been edited substantially... ;)
gorski
Discussion of article Flashing, backup and restore settings on Zgemma H9 series:
zorro71
flash procedures have changed
valegmail2020
Hi mate,where can I find the new procedures, please?
Many thanks
gorski
Here: Flashing, backup and restore settings on Zgemma H9 series
joddilui
I've the same problem too. Now i can't flash with USB drive. This is problem with updates! My Zgemma H9.2S box becomes a white elephant & i thought i could die a happy - any soul to help? via joddlui@gmail.com
I like your spiritual insight very much. It makes me feel closer to Nature. No doubt Nature decays but memories are the most naturally things always fresh and I live by the moment.
gorski
If the latest RESCUE FILE for H9 Twin/Combo might not work....
1) Use the recovery file I attached to this message. Unzip it to a USB stick.
2) Then, download the latest emmc file (PurE2 image with the latest date) and do not unzip it, just send it to the USB stick as well.
3) Do the full procedure, rescue file, i.e. partitioning first, then in Rescue/Recovery menu flash the latest image from a USB stick into Linux/Enigma2 partition no. 1! :)
urie
I had problem after doing software update on zgemma h9 combo think it was on the 28th, ended up with boot light and red led didn't matter what inage or recovery file tried and various old and new usb flash drives. Ended up I used older openatv-6.4-zgemmah9combo-20200331_recovery_emmc.zip unpacked that to usb it worked got me to multiboot menu where I could flash backup I had stored on internal hard drive. A few people also mentioned same problem on openatv forum there were airdigital kernal updates fast boot etc on list when I did software update.
After I was up running i tried online update wityh image dated 28th it worked ok.
gorski
Yes, change in partitioning...
One must use an older Recovery file with the latest image and it will all work...
As for Recovery files - we must wait for a proper fix... I will see what I can do to help with this....
I am attaching a Recovery file for Zgemma H9 Twin/Combo which works... ;)
XSA
What is the problem here? Is memory corrupted or something? Why cannot erase mtd0?
After flashing, content of /dev/mtd0 is different than in the file.