nice 1 thing most people dont know the names from the satellite ike astra2 = 28.2E in the menu are only the names no 28.2E it easy addon i think if the 28.2E and so i in the list then it is very easy :)
btw it works on kodi 15.0b1 too


nice 1 thing most people dont know the names from the satellite ike astra2 = 28.2E in the menu are only the names no 28.2E it easy addon i think if the 28.2E and so i in the list then it is very easy :)
btw it works on kodi 15.0b1 too
Quotethanks guys its perfect gift, just one question i have to restart oscam every time after boot any ideas
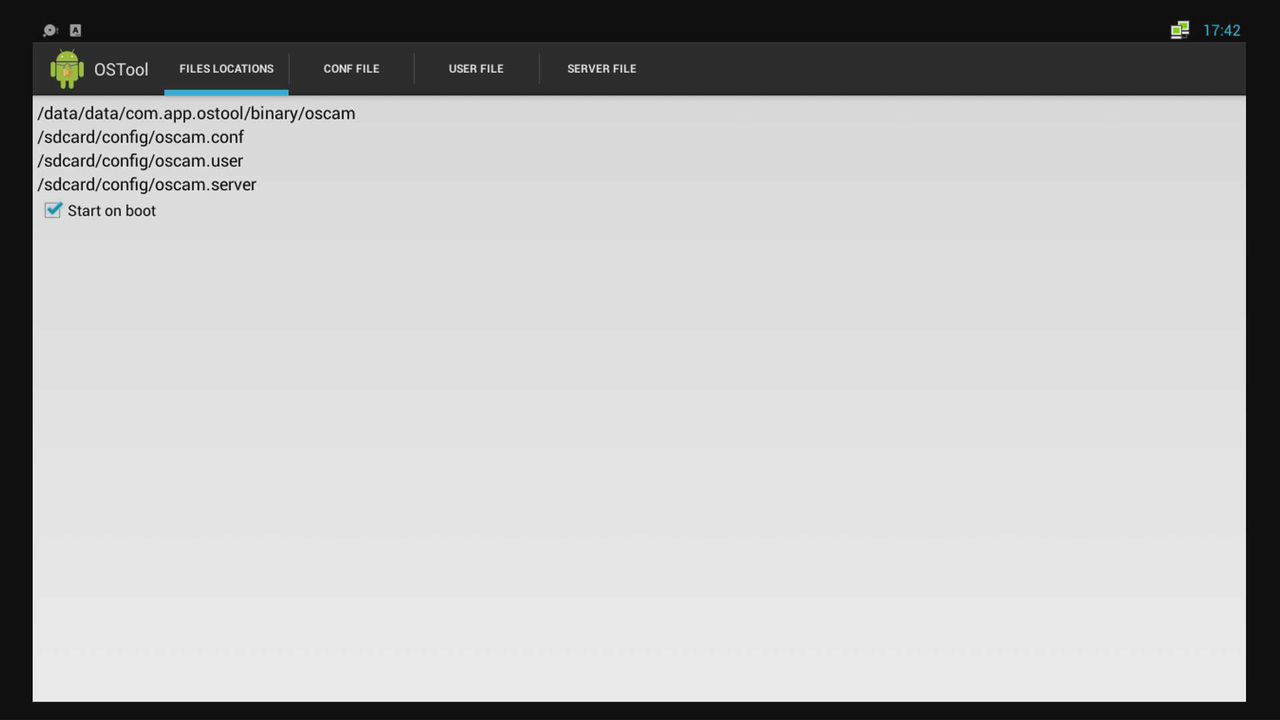
in ostool config can you do it
- - - Updated - - -
only this dont works by me arg
No matter which I use, totalcommander, filezilla,,,
But I can connect (SFTP 22) no problem .
firewall has all the permissions..must be somewhere in openelec to permit ftp¿?
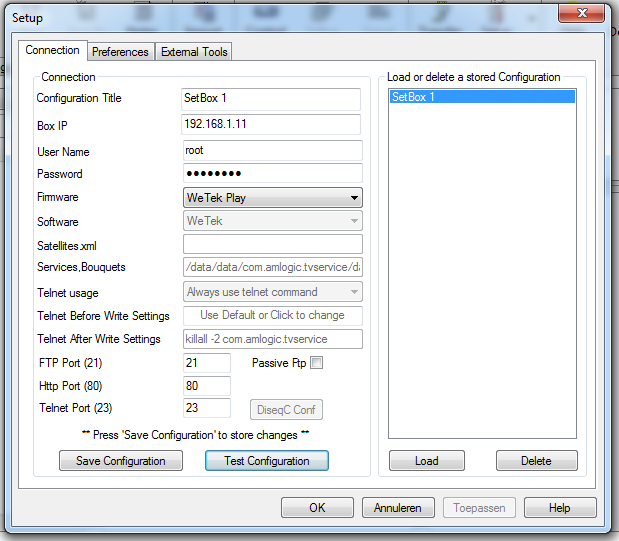
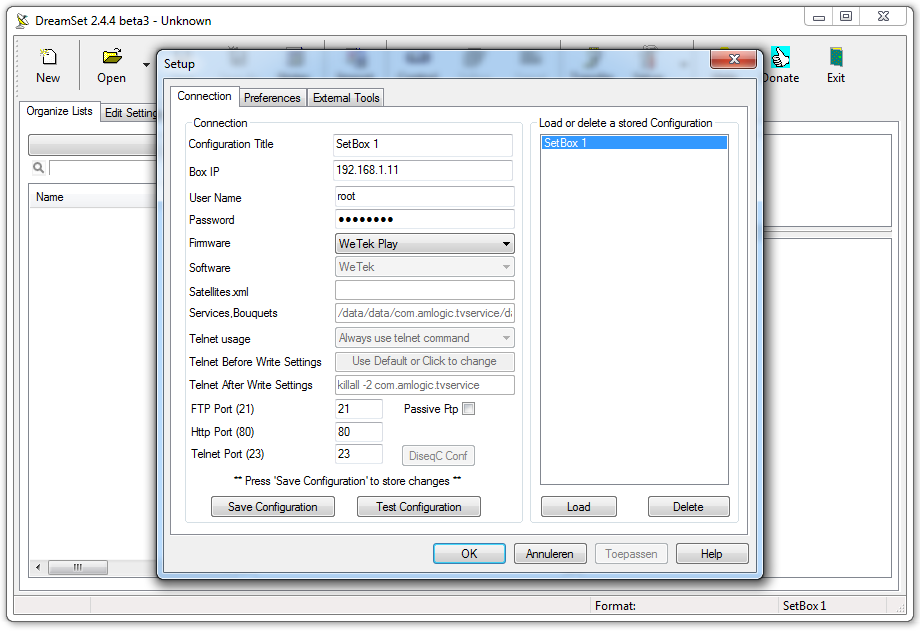
cazuela can you click here on [test configuration] if i that do i get the firewall message
by this it works on port 21 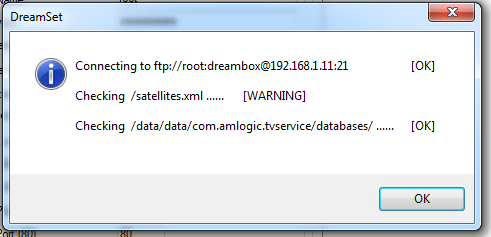

Windows Firewall is disabled, some parts of this program
[allow access]
this i get
- - - Updated - - -
eeh stupid google translate :) hope you understand
QuoteFTP root@192.168.0.3:21 connection rejected.
have rechecked all and tried passwords but no joy.
¿ any ideas??
maybe your firewall ? i got a popup from windows firewall if you not accept then you get a reject if you try to connect
yep look at this little tutorial how to setup :)
http://linuxsat-support.com/showthread.php?t=81265&p=264945#post264945
Quote

Quote
Quote
changes ip number in your ip number
Quote
QuoteDisplay More
Quote

QuoteVirtualBox is a powerful x86 and AMD64/Intel64 virtualization product for enterprise as well as home use. Not only is VirtualBox an extremely feature rich, high performance product for enterprise customers, it is also the only professional solution that is freely available as Open Source Software under the terms of the GNU General Public License (GPL) version 2. See "About VirtualBox" for an introduction.
Presently, VirtualBox runs on Windows, Linux, Macintosh, and Solaris hosts and supports a large number of guest operating systems including but not limited to Windows (NT 4.0, 2000, XP, Server 2003, Vista, Windows 7, Windows 8), DOS/Windows 3.x, Linux (2.4, 2.6 and 3.x), Solaris and OpenSolaris, OS/2, and OpenBSD.
VirtualBox is being actively developed with frequent releases and has an ever growing list of features, supported guest operating systems and platforms it runs on. VirtualBox is a community effort backed by a dedicated company: everyone is encouraged to contribute while Oracle ensures the product always meets professional quality criteria.
Quote1. download VirtualBox platform packages and VirtualBox 4.3.* and Oracle VM VirtualBox Extension Pack here
Quote2. run VirtualBox-4.3.26-98988-Win.exe
Quote3. Download ubuntu-14.04.2-desktop-amd64.iso

Quoteclick on the left button (run)
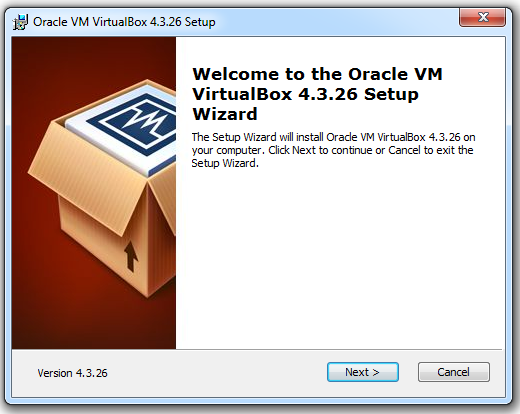
QuoteClick on [Next]
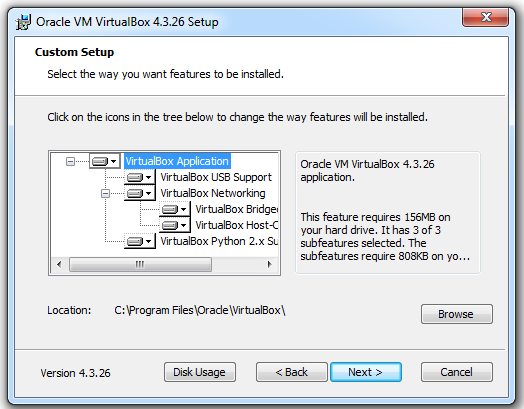
QuoteClick on [Next]
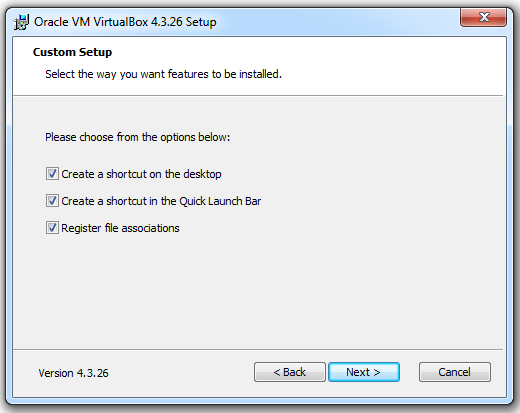
QuoteClick on [Next]
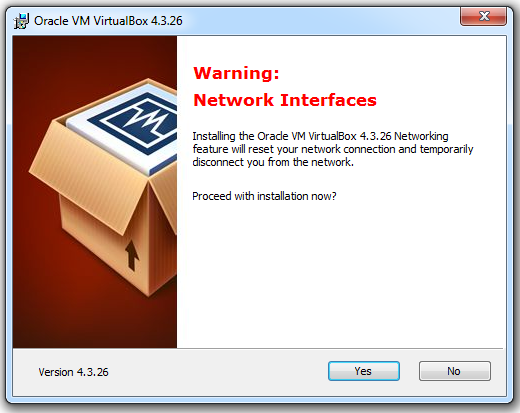
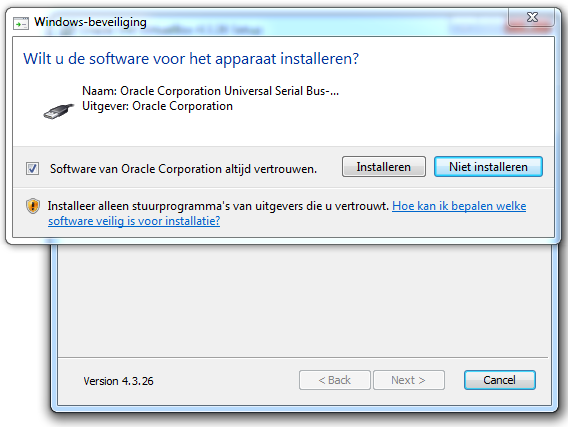
QuoteClick on [Yes]
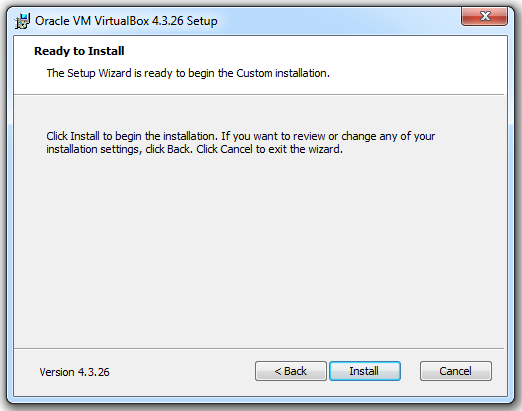
QuoteClick on [Install]
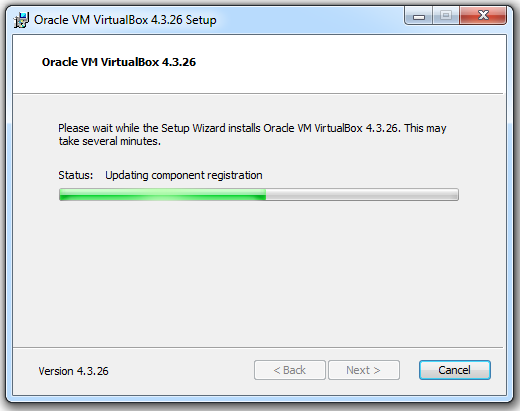
Quotecheck the check box and press on [Install]
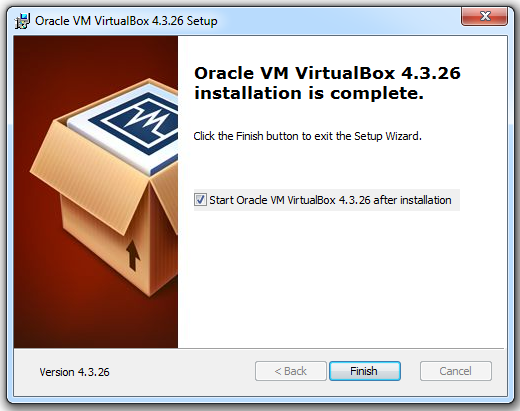
QuoteClick on [Finish]
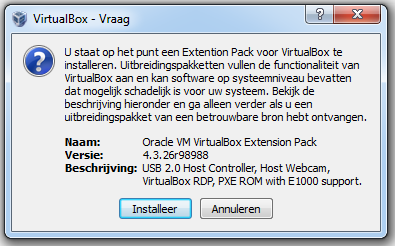
Quoteclick now 2 times on "Oracle_VM_VirtualBox_Extension_Pack-4.3.26-98988.vbox-extpack"
Quoteclick on [Install]
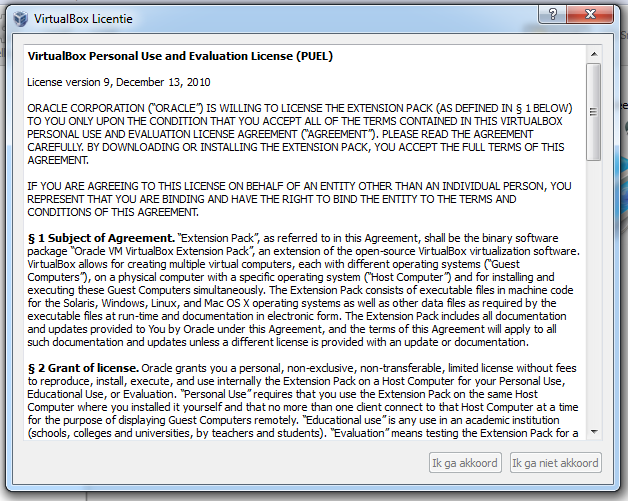
Quotescroll down

QuoteClick on [I agree]

Quoteclick on this icon on your desktop to start VirtualBox

Quoteclick on [new]
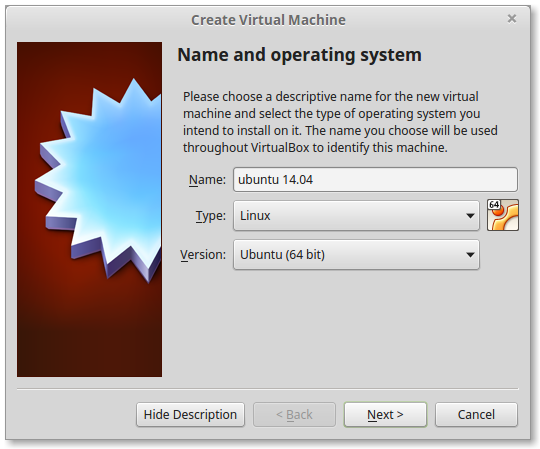
QuoteClick on [Next]
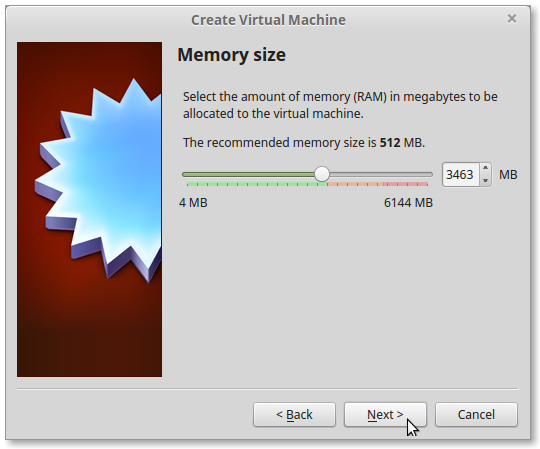
Quotei do most time the 1/2 of my memory
Click on [Next]

QuoteClick on [Create]
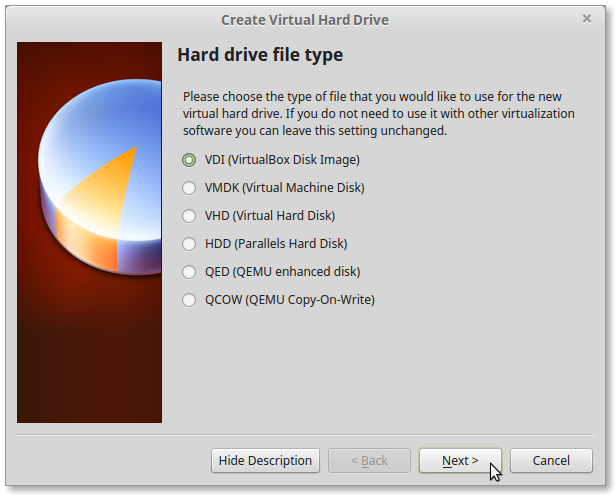
QuoteClick on [Next]

QuoteClick on [Next]
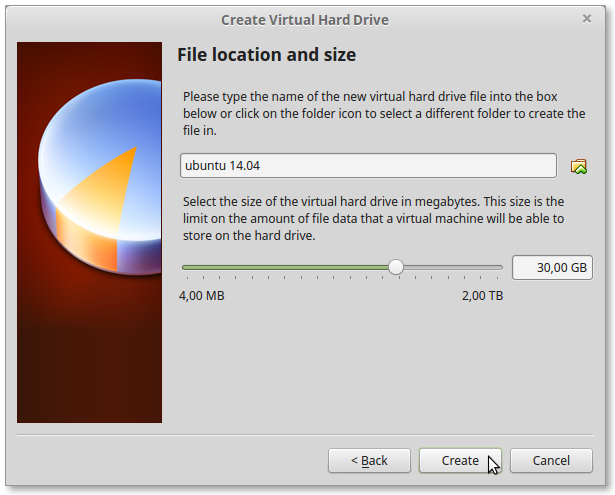
QuoteI have make a 30gig harddisk
Click on [Create]
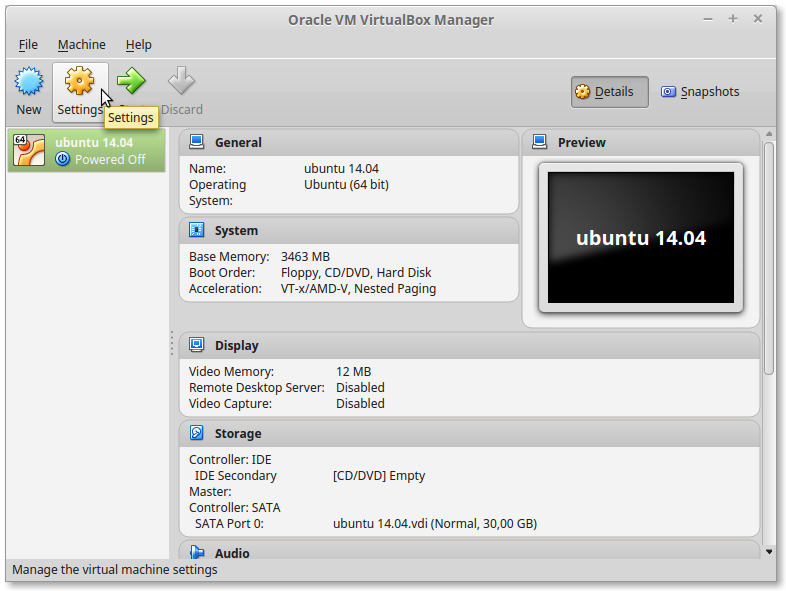
QuoteClick on [Settings]
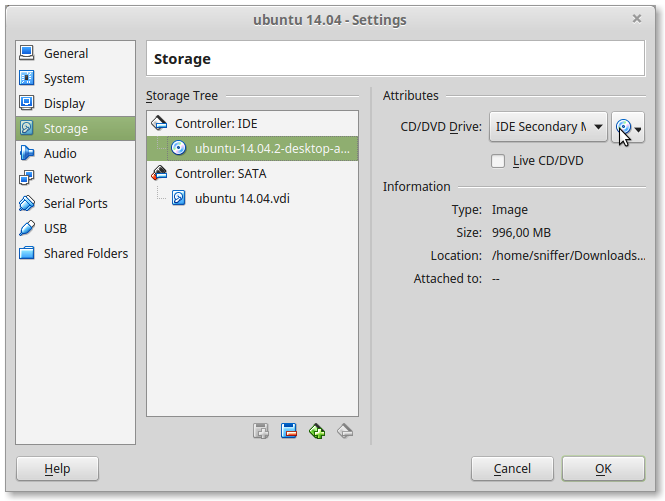
Quoteclick on the cd icon and the choose for your download iso file


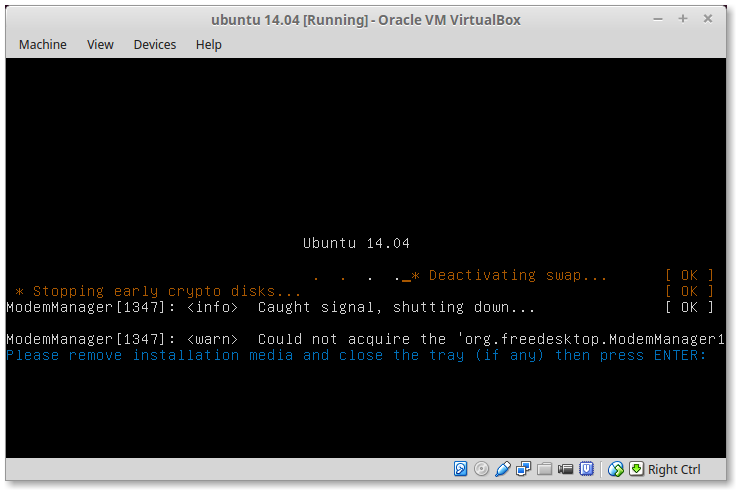
QuotePress Enter
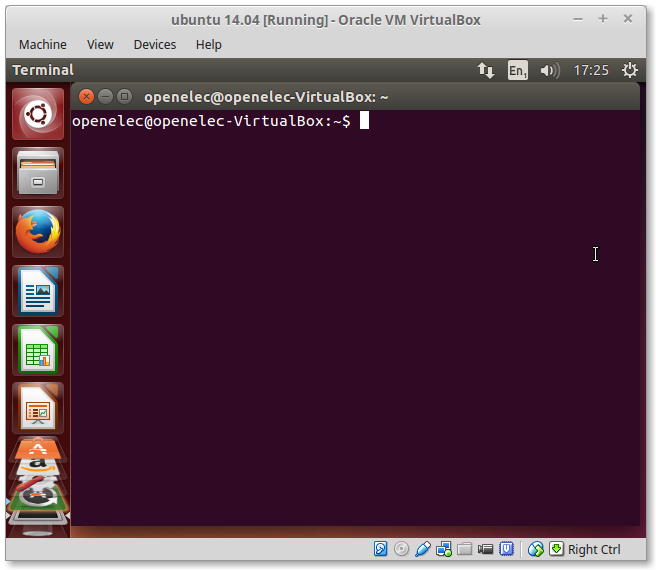
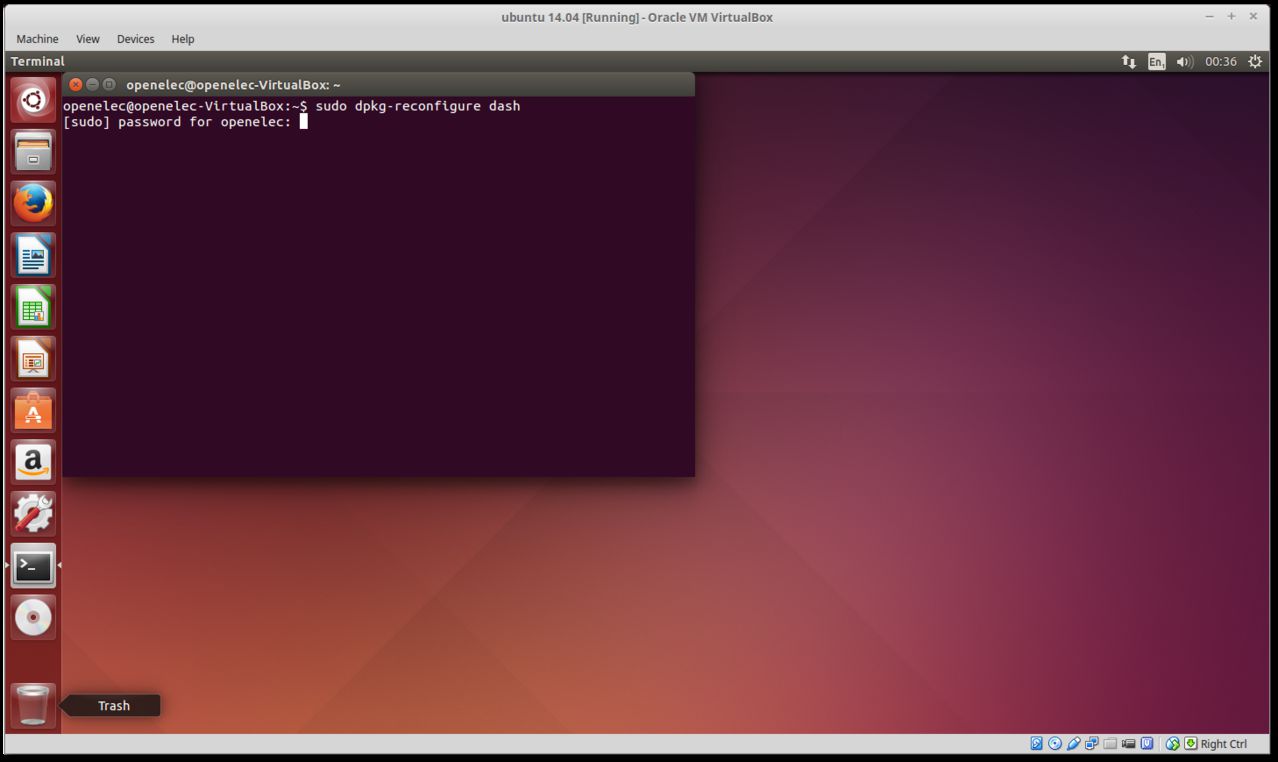
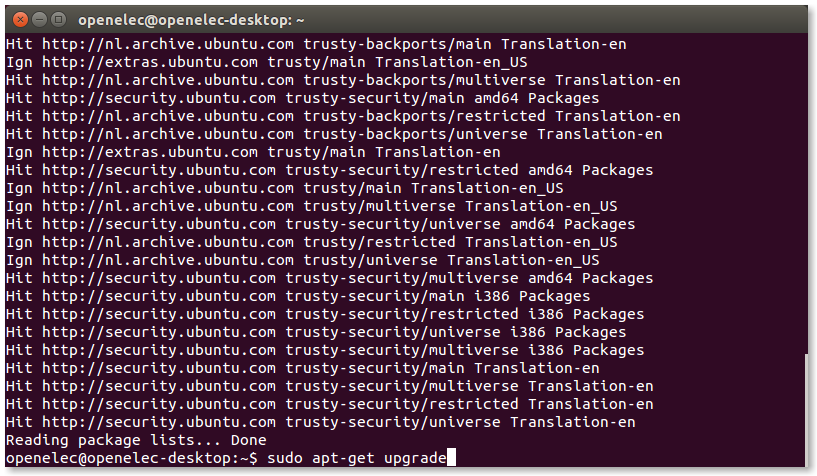
QuotePress [Ctrl]+[alt]+[t]
QuoteEnter
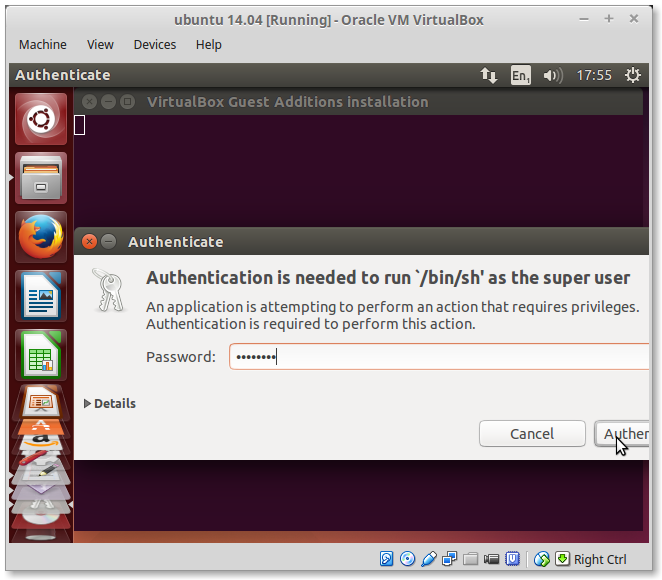
QuoteEnter your Password
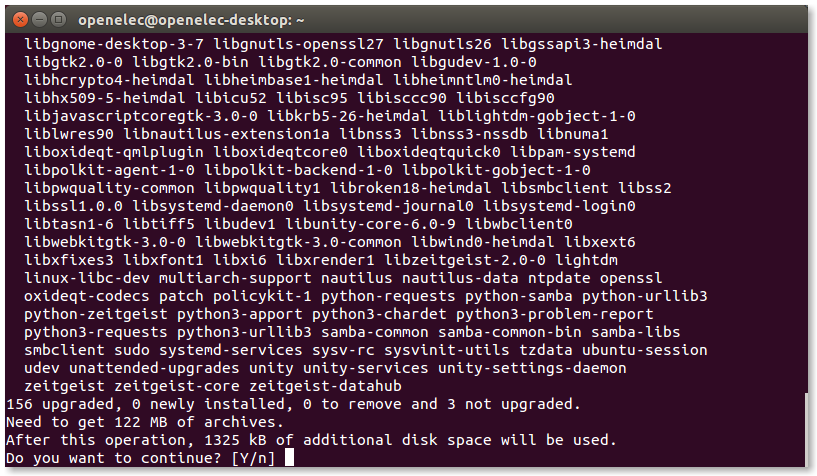
QuotePress Y
QuoteEneter password
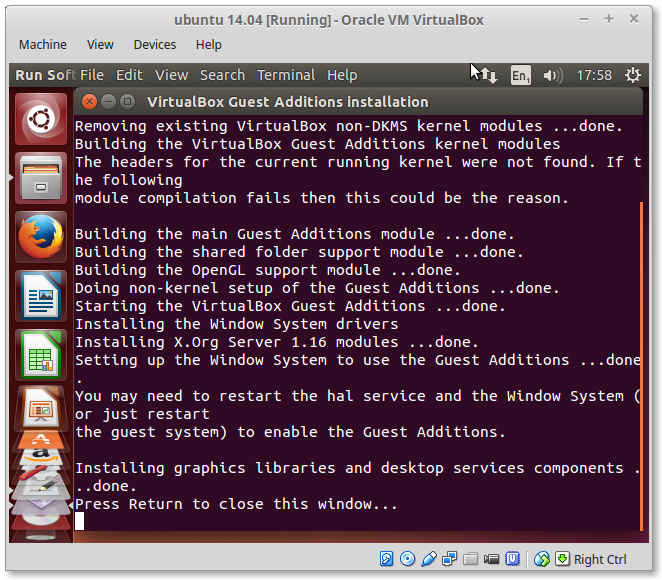
Quoteafter this you can resize the ubuntu window or do full screen
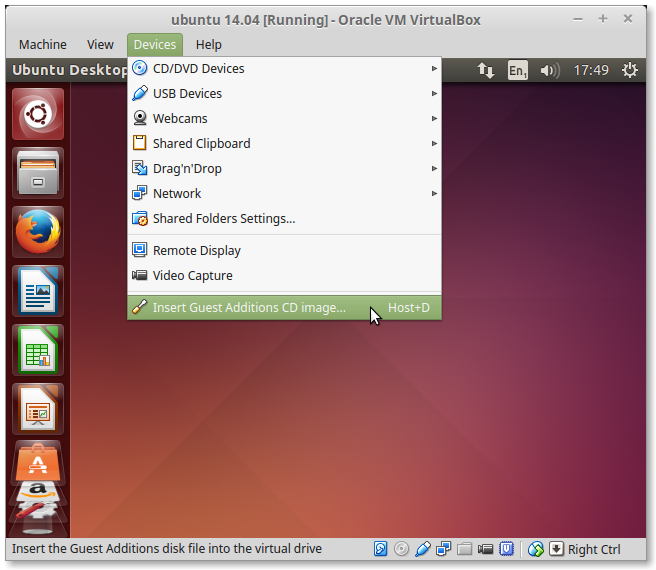
Quoteyou can close this
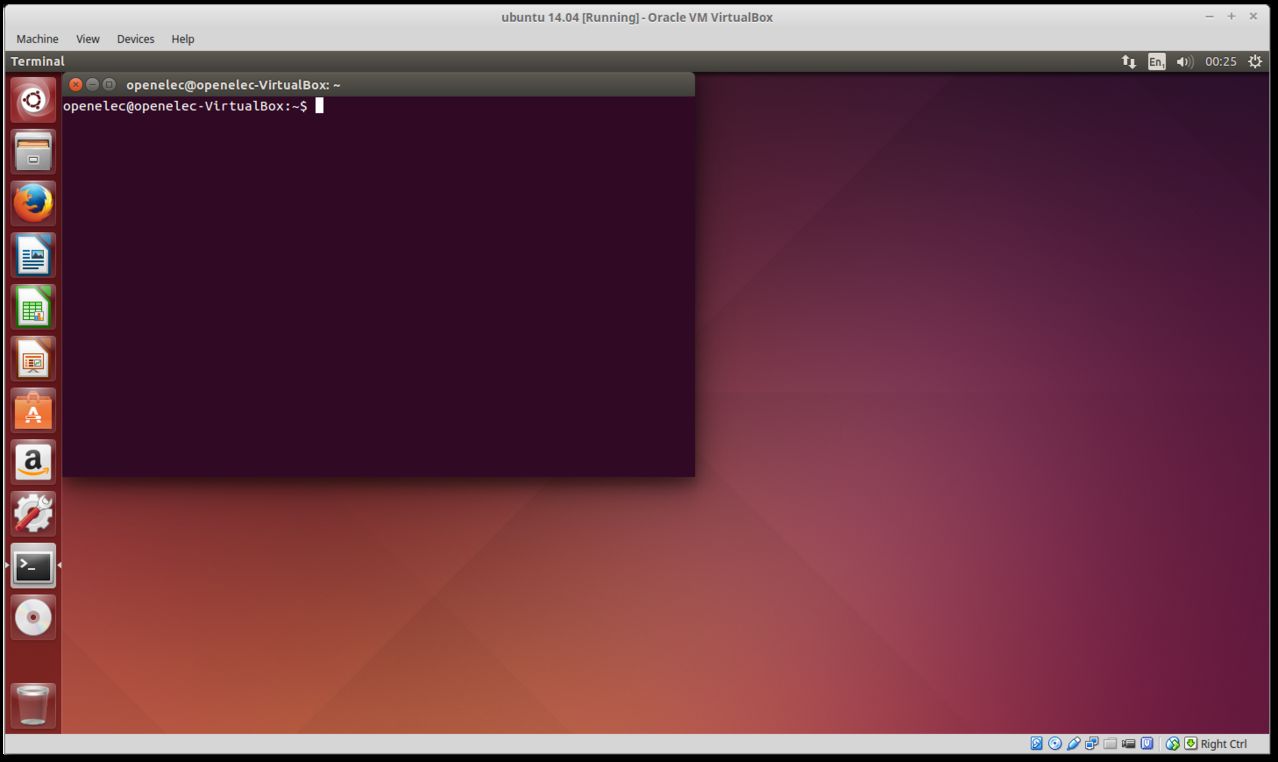
Quotepress agian [CTRL]+[ALT]+{T}
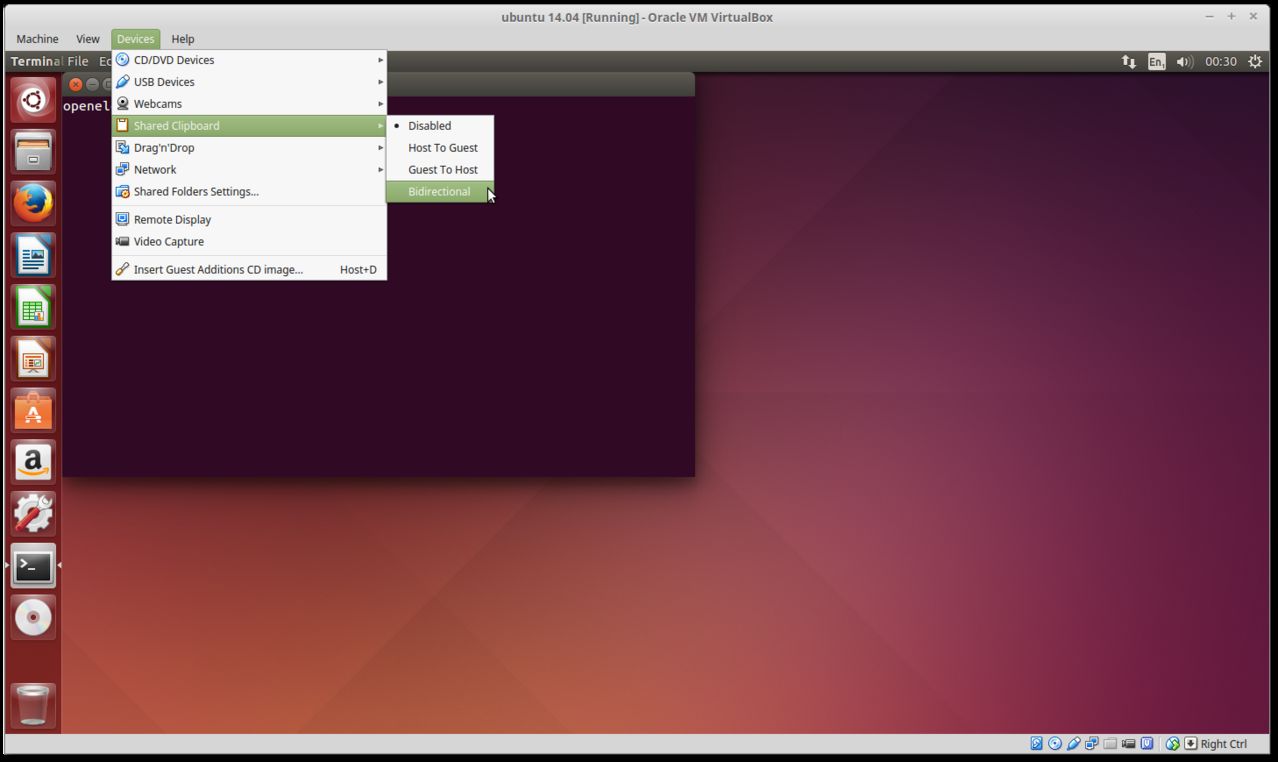
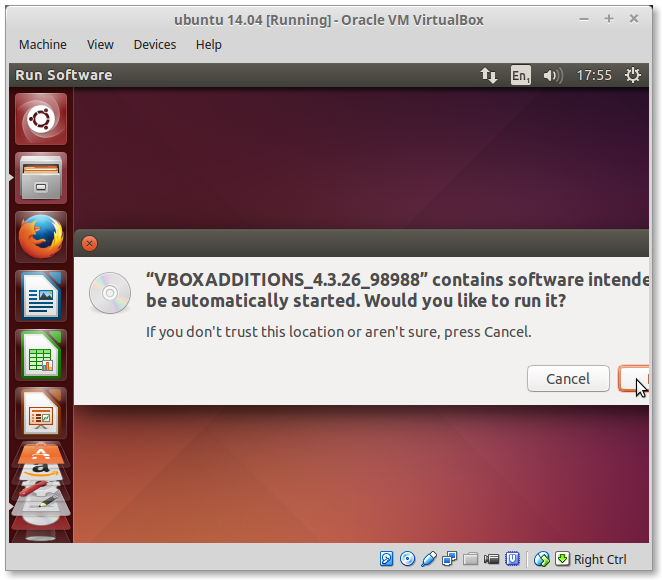
QuoteNow works cute and past both ways
QuoteEnter Password
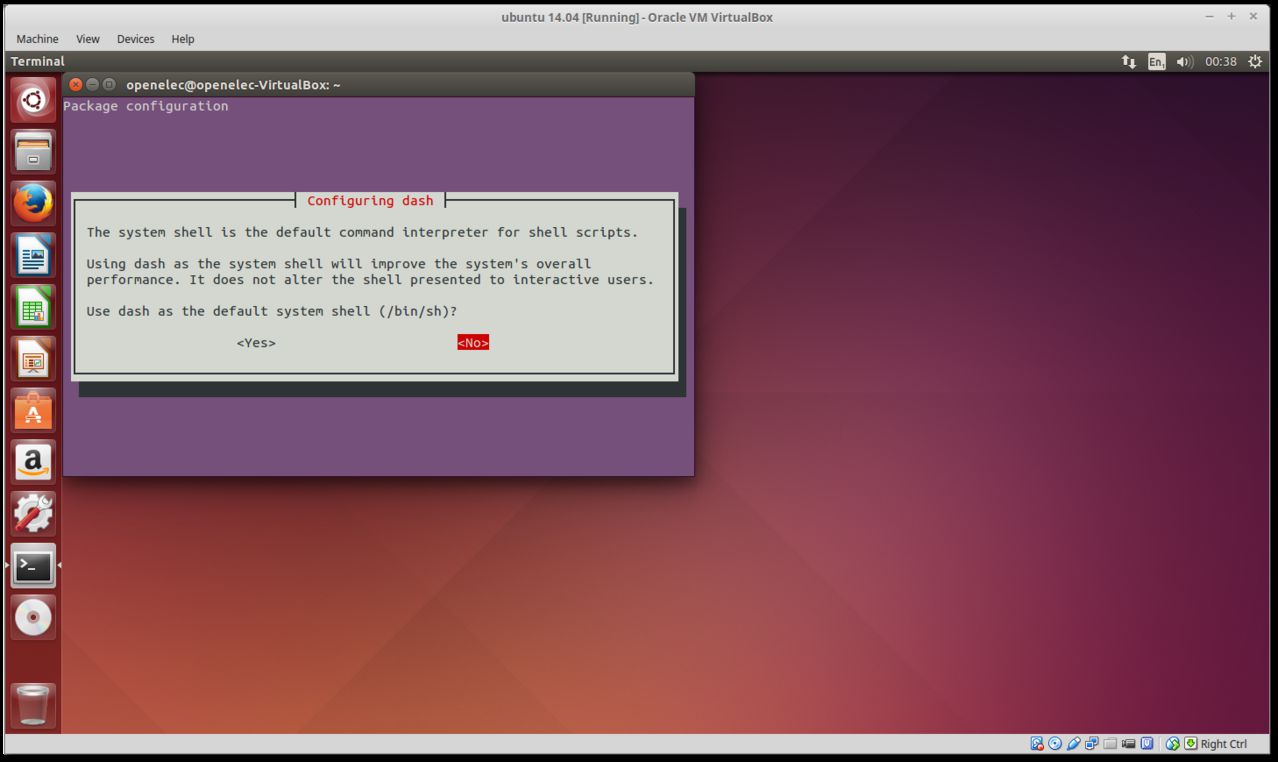
Quotepress on no
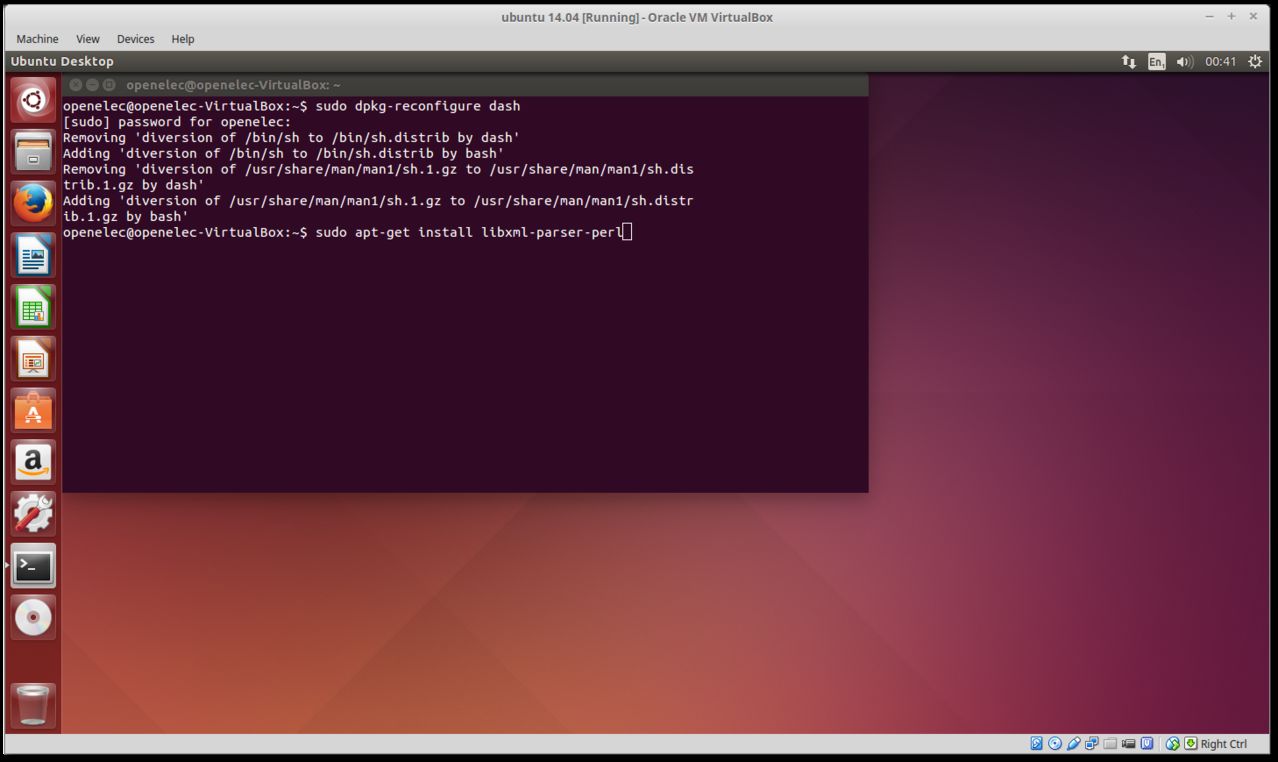
QuotePress Y

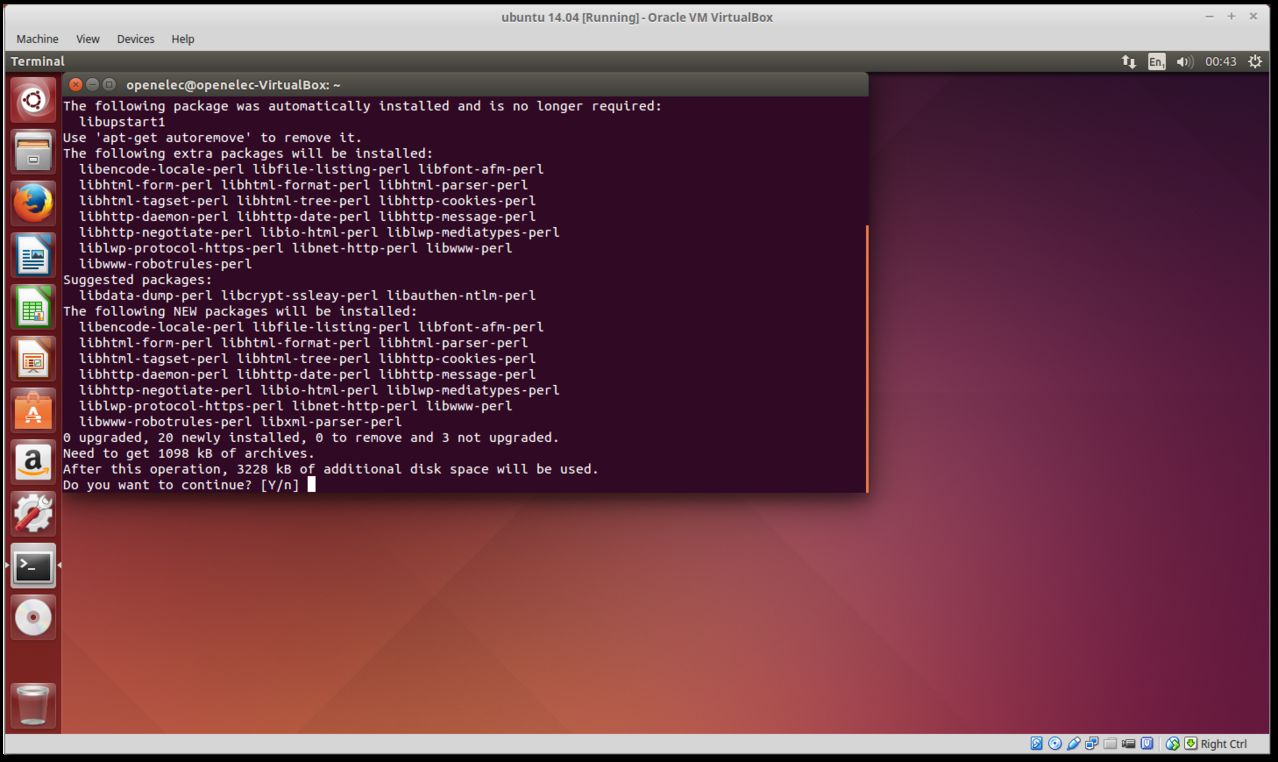
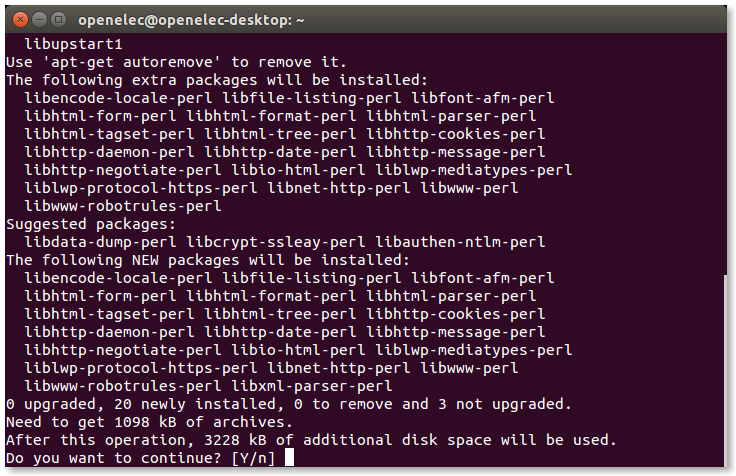
Quotesudo apt-get install git
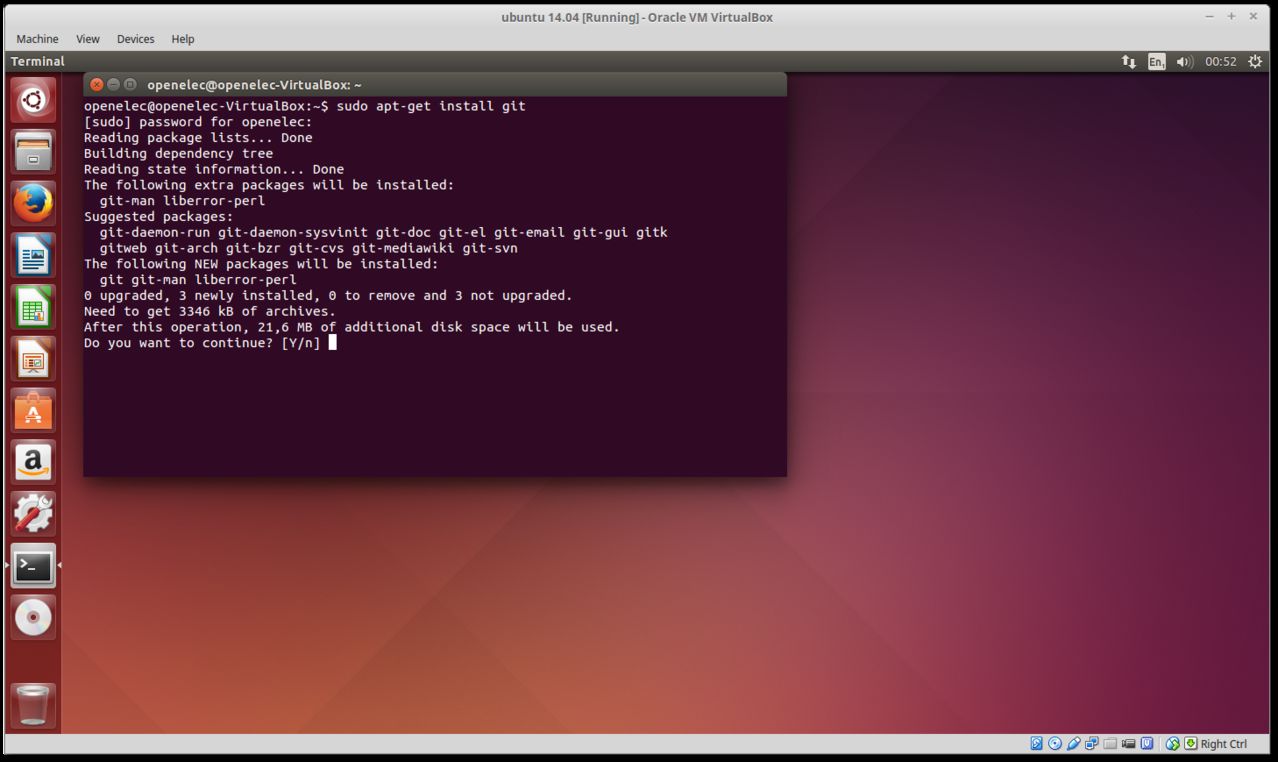
QuotePress Y
type now
for wetek type
QuoteDisplay MorePROJECT=WeTek_Play ARCH=arm make image
./scripts/image mkimage
=================================================================================
Configuration for OpenELEC (unofficial)
=================================================================================
Buildoptions:
======================================================
- CPU (ARCH): cortex-a9 (arm)
- FLOAT: hard
- FPU: neon-fp16
- SIMD support: yes
- Optimizations: size
- LTO (Link Time Optimization) support: yes
- GOLD (Google Linker) Support: yes
- LLVM support:
Graphic configuration:
======================================================
- OpenGL (GLX) support (provider): no (no)
- OpenGLES support (provider): yes (opengl-meson6)
- uvesafb support: no
Hardware decoder configuration:
======================================================
- Kodi Player driver: libamcodec
- VAAPI Support:
- VDPAU Support:
Input device configuration:
======================================================
- Remote support: yes
- ATV Remote support: no
- CEC Adapter support: yes
- IRTrans support: no
- Kodi Joystick support: yes
Misc. hardware configuration:
======================================================
- ALSA support: yes
- Bluetooth support: yes
- LCD drivers: irtrans,imon,imonlcd,mdm166a,MtxOrb,lis,dm140,hd44780,CFontz,SureElec,vlsys_m428,serialVFD,shuttleVFD
- Include driver: RTL8192CU
- Include driver: RTL8192DU
- Include driver: RTL8188EU
- Include driver: wetekdvb
- Include firmware: misc-firmware
- Include firmware: wlan-firmware
- Include firmware: dvb-firmware
- Include firmware: brcmfmac_sdio-firmware
Network service configuration:
======================================================
- Avahi (Zeroconf) support: yes
- NFS mounting support: yes
- SAMBA mounting support: yes
- SAMBA server support: yes
- SFTP server support: yes
OS configuration:
======================================================
- OEM Support: no
- Default ROOT Password: openelec
- Bootloader: u-boot
- U-Boot configuration:
- U-Boot config file:
- UDevil support: yes
- Installer support: no
Misc. Filesystems:
======================================================
- Swap Support: no
- exFAT Support (via Fuse): yes
- NTFS Support (via Fuse): yes
- Install HFS Tools: yes
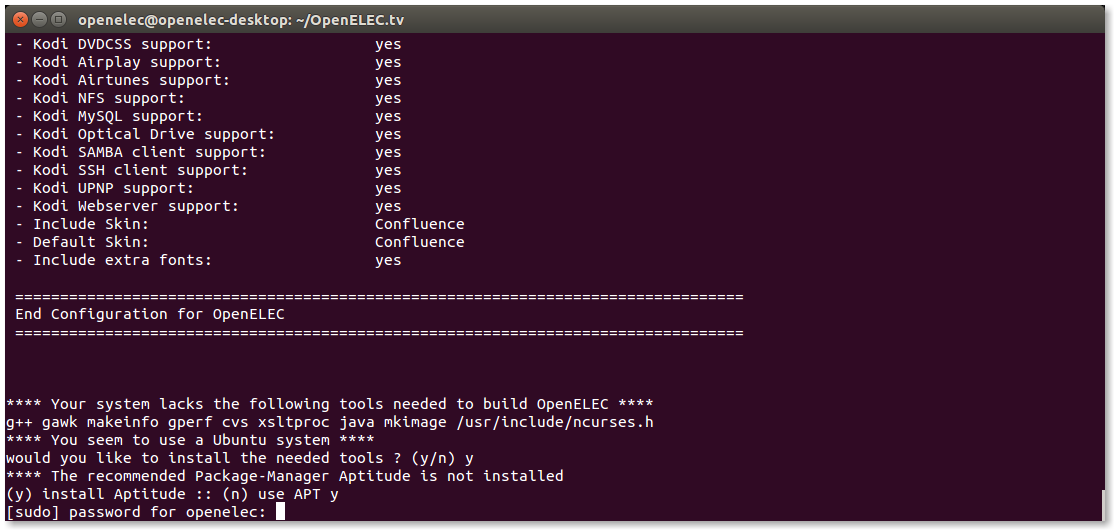
Kodi configuration:
======================================================
- Kodi version: kodi
- Kodi nonfree support: yes
- Kodi Blu-Ray support: yes
- Bluray BD+ support: yes
- Bluray AACS support: yes
- Kodi DVDCSS support: yes
- Kodi Airplay support: yes
- Kodi Airtunes support: yes
- Kodi NFS support: yes
- Kodi MySQL support: yes
- Kodi Optical Drive support: yes
- Kodi SAMBA client support: yes
- Kodi SSH client support: yes
- Kodi UPNP support: yes
- Kodi Webserver support: yes
- Include Skin: Confluence
- Default Skin: Confluence
- Include extra fonts: yes
=================================================================================
End Configuration for OpenELEC
=================================================================================
**** Your system lacks the following tools needed to build OpenELEC ****
g++ gawk makeinfo gperf cvs xsltproc java mkimage /usr/include/ncurses.h
**** You seem to use a Ubuntu system ****
would you like to install the needed tools ? (y/n)
QuotePress Y
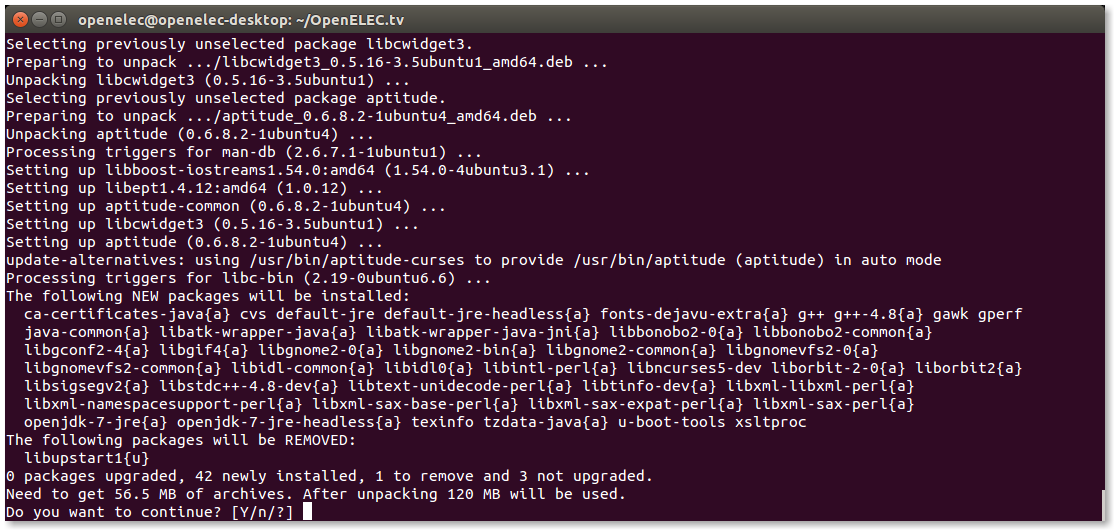
Quote**** The recommended Package-Manager Aptitude is not installed
(y) install Aptitude :: (n) use APT
QuotePress Y
Quote[sudo] password for openelec:
QuotePress Password
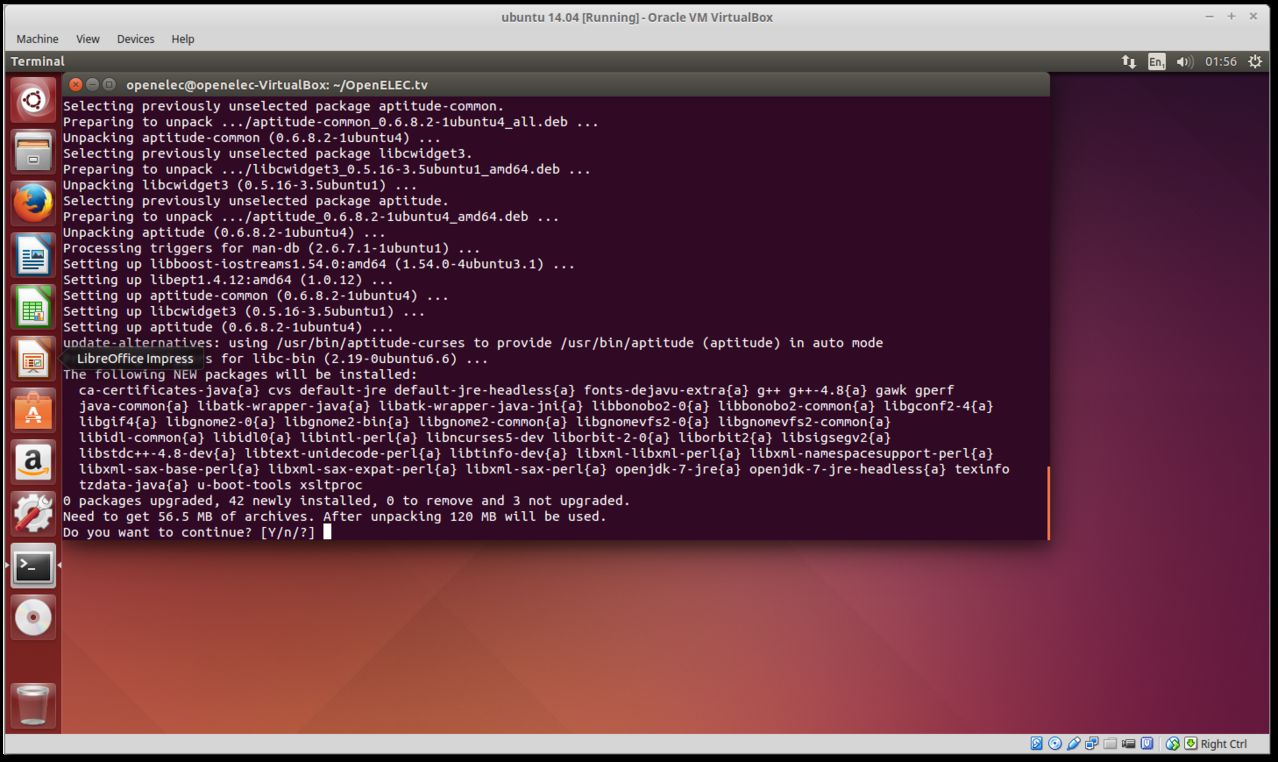
QuotePress Y
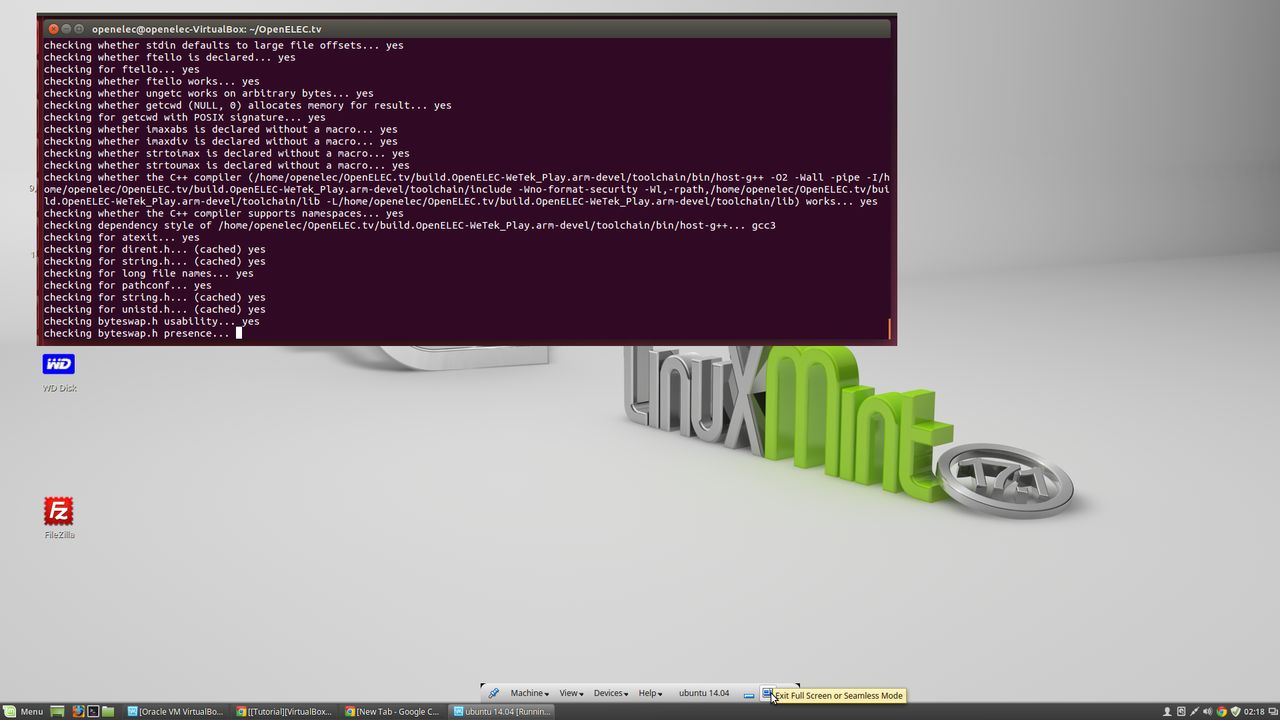
Quotenow you must wait till it finished that can take many hours
QuoteDisplay MoreParallel mksquashfs: Using 2 processors
Creating 4.0 filesystem on /home/sniffer/OpenELEC.tv/target/OpenELEC-WeTek_Play.arm-devel-20150416150507-r20681-gaa6095c.system, block size 131072.
[================================================== ================================================== ================================================== ================================================== ===================\] 6138/6138 100%
Exportable Squashfs 4.0 filesystem, lzo compressed, data block size 131072
compressed data, compressed metadata, compressed fragments, no xattrs
duplicates are removed
Filesystem size 89114.36 Kbytes (87.03 Mbytes)
51.26% of uncompressed filesystem size (173832.49 Kbytes)
Inode table size 81874 bytes (79.96 Kbytes)
35.98% of uncompressed inode table size (227579 bytes)
Directory table size 77295 bytes (75.48 Kbytes)
52.05% of uncompressed directory table size (148501 bytes)
Number of duplicate files found 267
Number of inodes 6839
Number of files 5260
Number of fragments 436
Number of symbolic links 508
Number of device nodes 0
Number of fifo nodes 0
Number of socket nodes 0
Number of directories 1071
Number of ids (unique uids + gids) 2
Number of uids 1
root (0)
Number of gids 2
root (0)
unknown (81)
mkimage: boo. now root access (sudo) is required...
mkimage: see scripts/image and scripts/mkimage if you dont trust us :)
[sudo] password for sniffer:
image: creating image: /home/sniffer/OpenELEC.tv/target/OpenELEC-WeTek_Play.arm-devel-20150416150507-r20681-gaa6095c.img...
292+0 records in
292+0 records out
306184192 bytes (306 MB) copied, 2.57053 s, 119 MB/s
image: creating partition table on /home/sniffer/OpenELEC.tv/target/OpenELEC-WeTek_Play.arm-devel-20150416150507-r20681-gaa6095c.img...
image: creating part1 on /home/sniffer/OpenELEC.tv/target/OpenELEC-WeTek_Play.arm-devel-20150416150507-r20681-gaa6095c.img...
image: creating part2 on /home/sniffer/OpenELEC.tv/target/OpenELEC-WeTek_Play.arm-devel-20150416150507-r20681-gaa6095c.img...
image: creating filesystem on part1...
mkfs.fat 3.0.26 (2014-03-07)
Loop device does not match a floppy size, using default hd params
image: mounting part1 on /tmp/tmp.gw5ipOGYCR...
image: creating bootloader configuration...
image: installing u-boot bootloader...
image: copying files to part1...
image: unmounting part1...
image: creating filesystem on part2...
tune2fs 1.42.9 (4-Feb-2014)
e2fsck 1.42.9 (4-Feb-2014)
/dev/loop0: clean, 11/8192 files, 5530/32768 blocks
image: mounting part2 on /tmp/tmp.gw5ipOGYCR...
image: unmounting part2...
image: compressing...
image: cleanup...
this you get in your

You need to use make release for that. This creates KERNEL and SYSTEM images but not the SD card image so it needs no root privileges
Both make release and make image give you an update package in the target folder.
for RPi
for RPi2
for x86_64
If you need to clean and start over do the following
update source
When the build completes, you will find the fresh build in the target directory of your build directory (the OpenELEC.tv dir) in target d
- - - Updated - - -
QuotePress the Right Ctrl key + L in
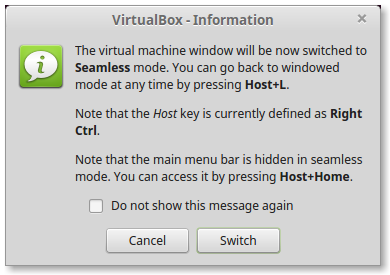
QuoteClick on [Switch]
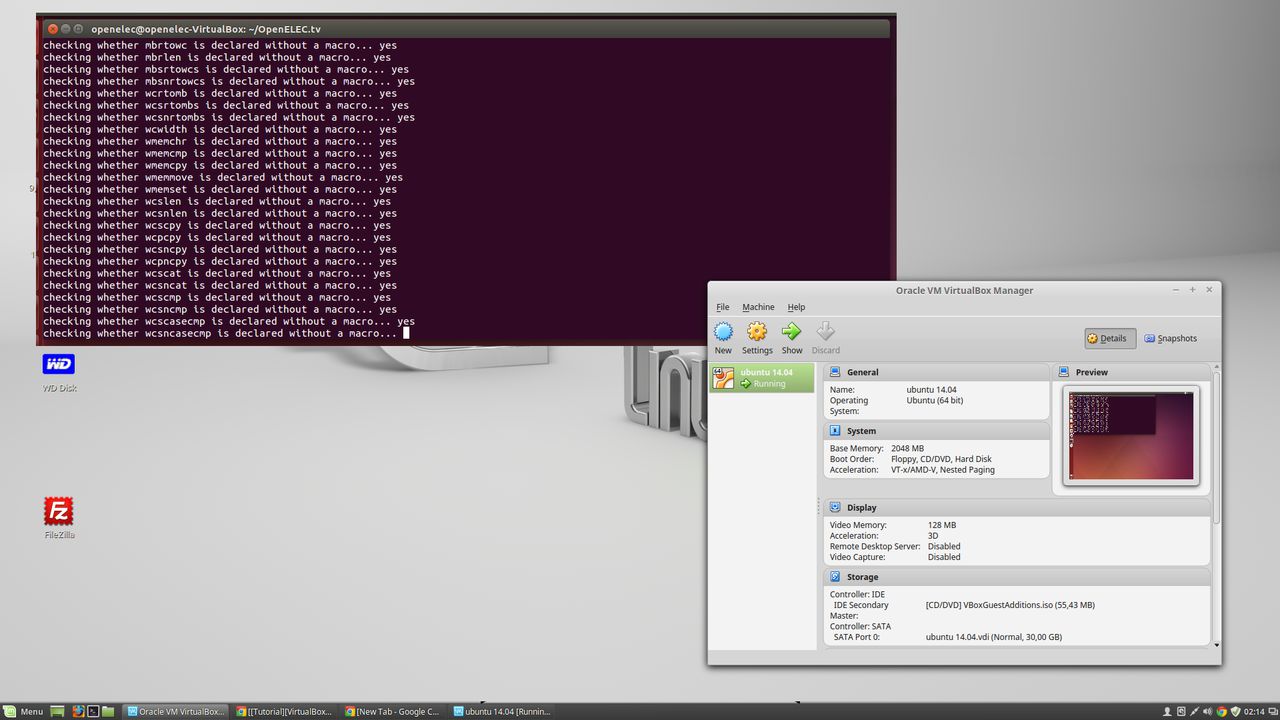
Quotenow you have only the terminal window
click the Right Ctrl key + L again then you get it so als before or
Quotemove the mouse point to the middle of the bottom look pic
QuoteDownload ubuntu-14.04.2-desktop-amd64.iso
Goto Universal USB Installer click on

(on the site not on this one )
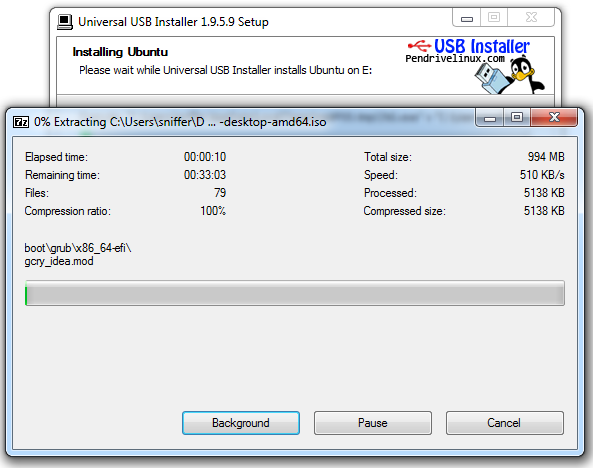
QuoteOpen "Universal USB Installer"
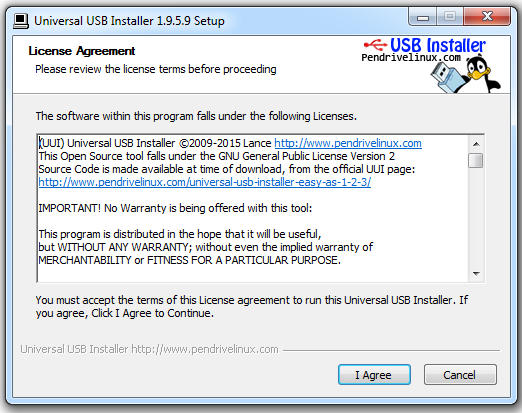
QuoteClick on [I Agree]
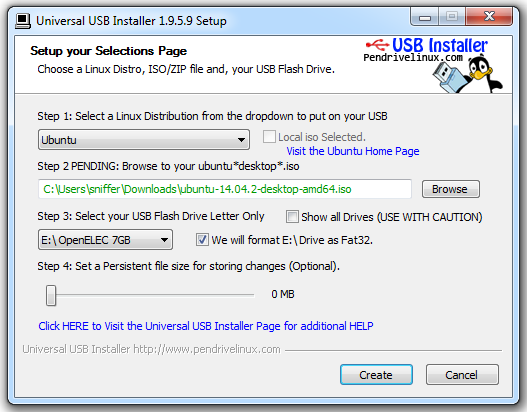
Quoteby step 1: select linux select Ubuntu
by step 2: Click on Browse then select the ubuntu ISO file
By step 3: select your usb stick and enable "we will format...."
now click on [Create]
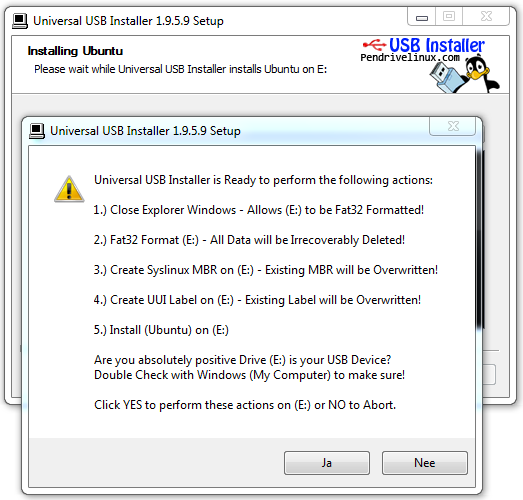
Quoteclick on [yes]
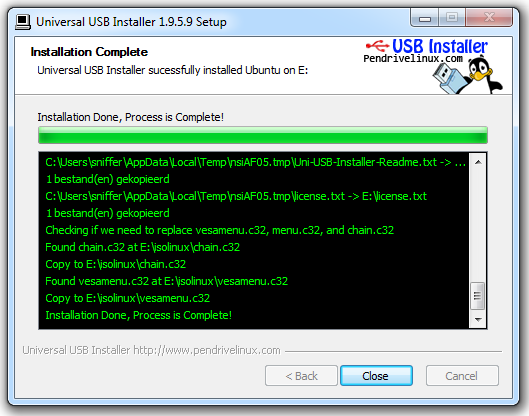
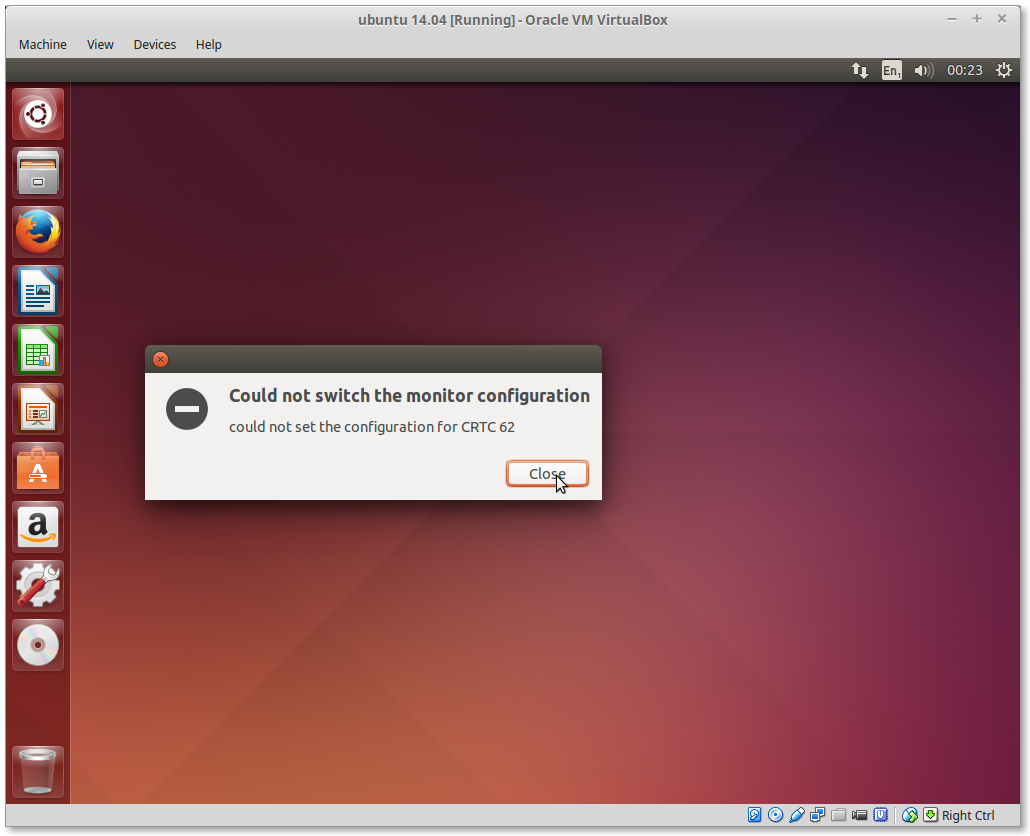
Quoteclick on [Close]
ow you have a bootble usb stick with a live version of ubuntu
Quotereboot your pc and boot from usb
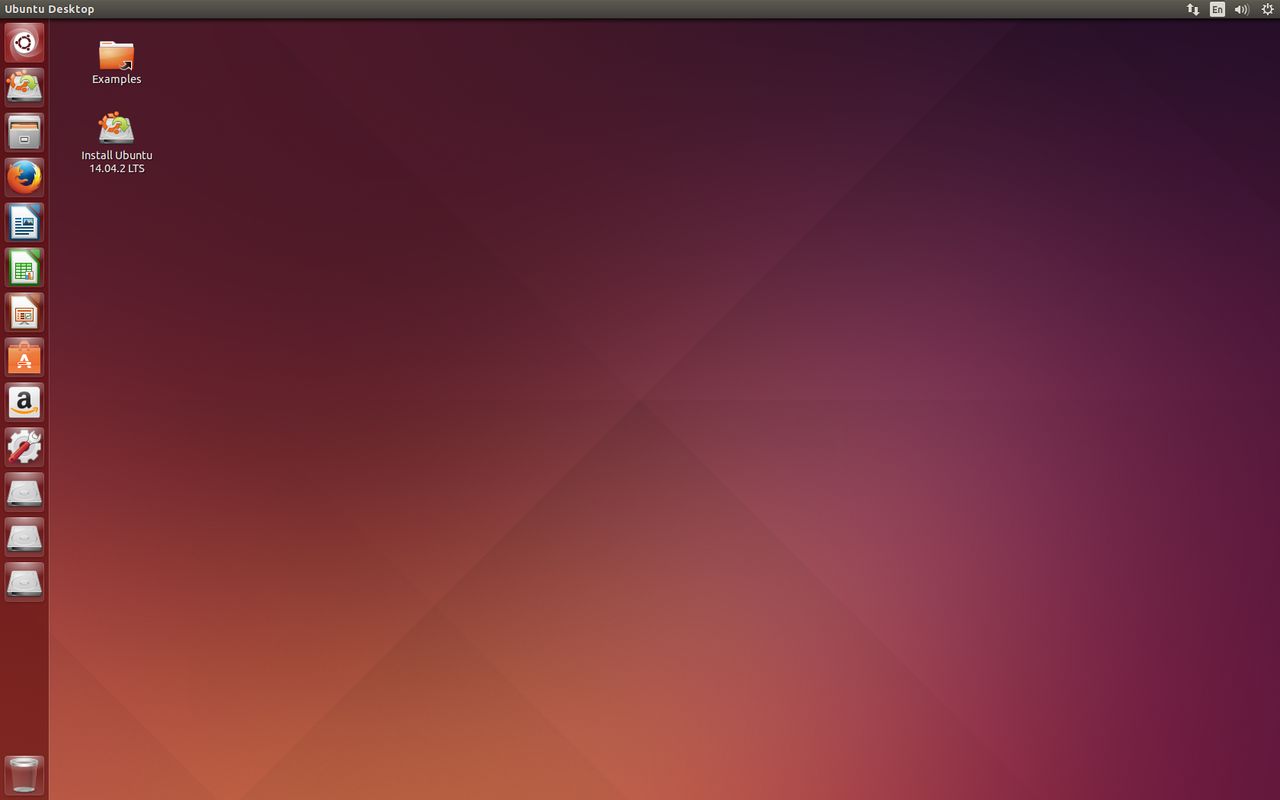
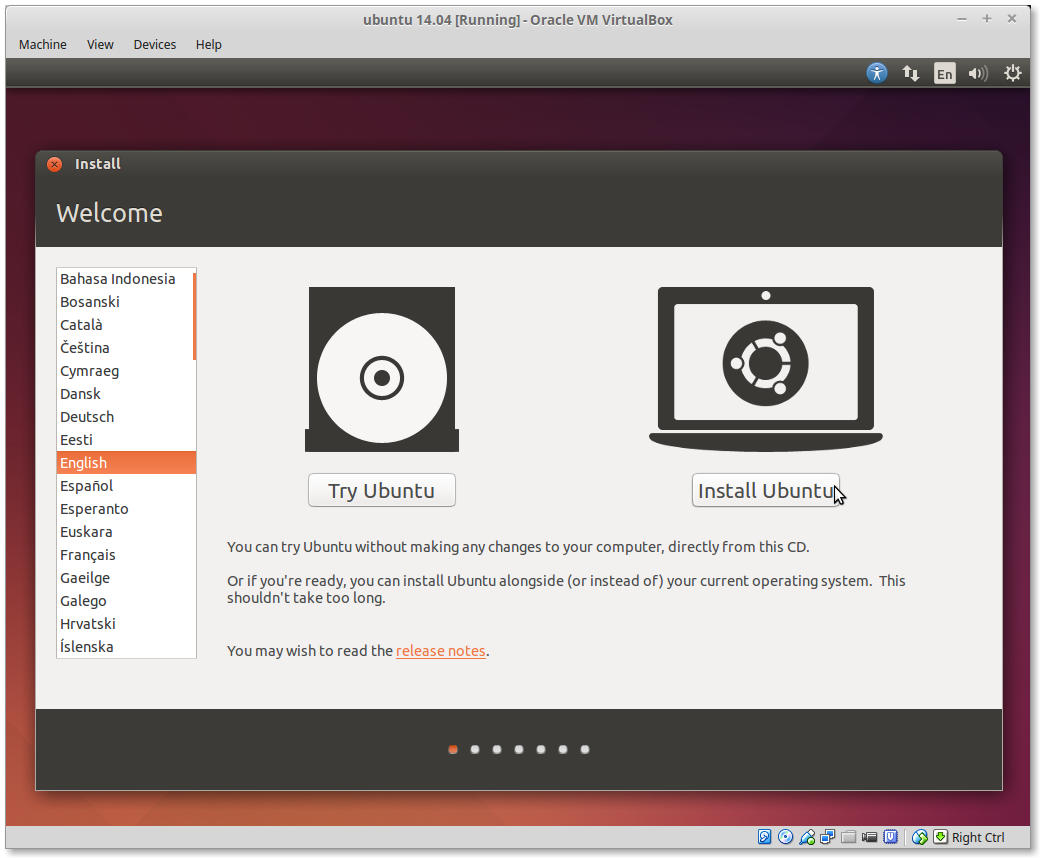
QuoteClick on this Icon on your desktop
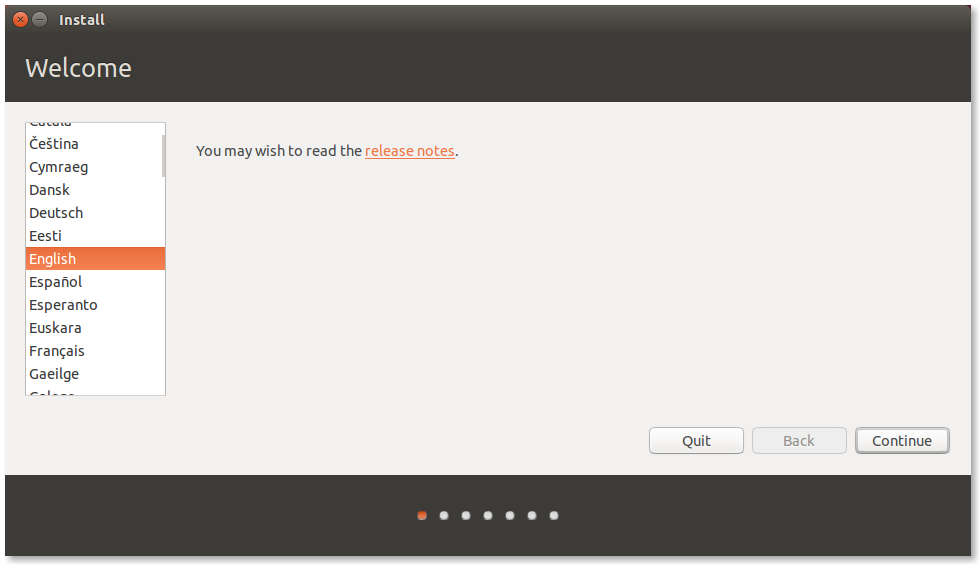
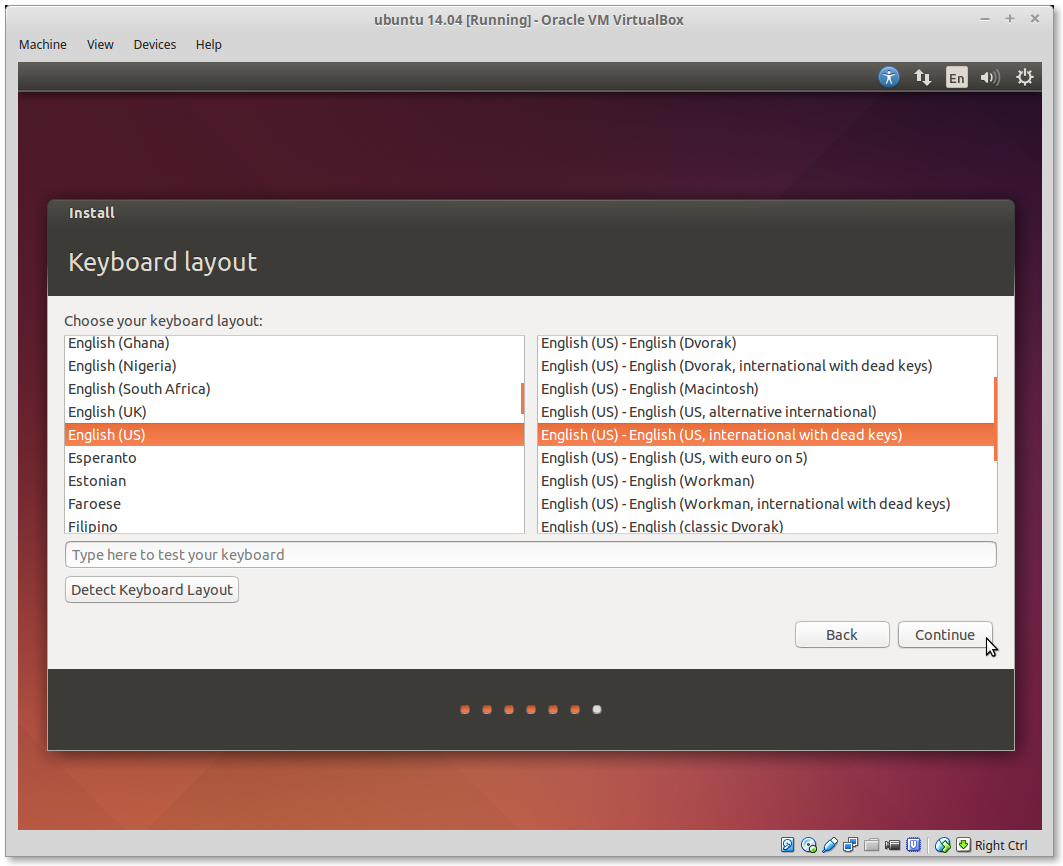
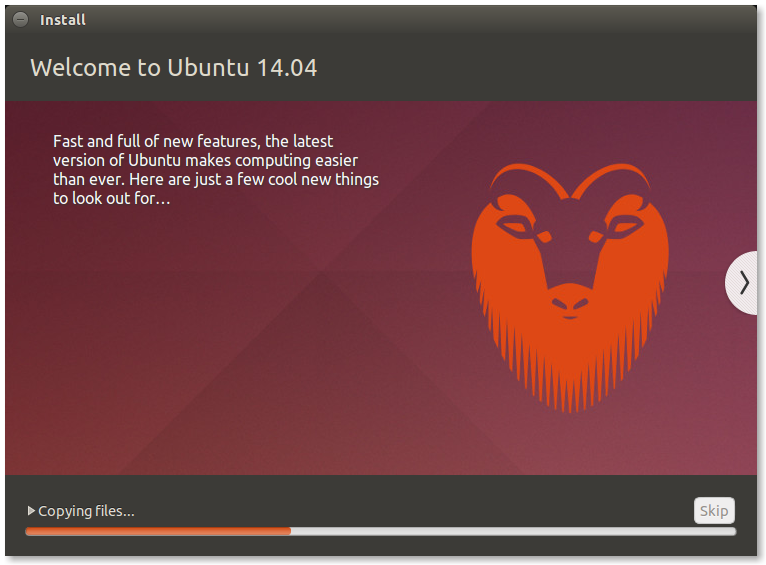
QuoteClick on [Continue]
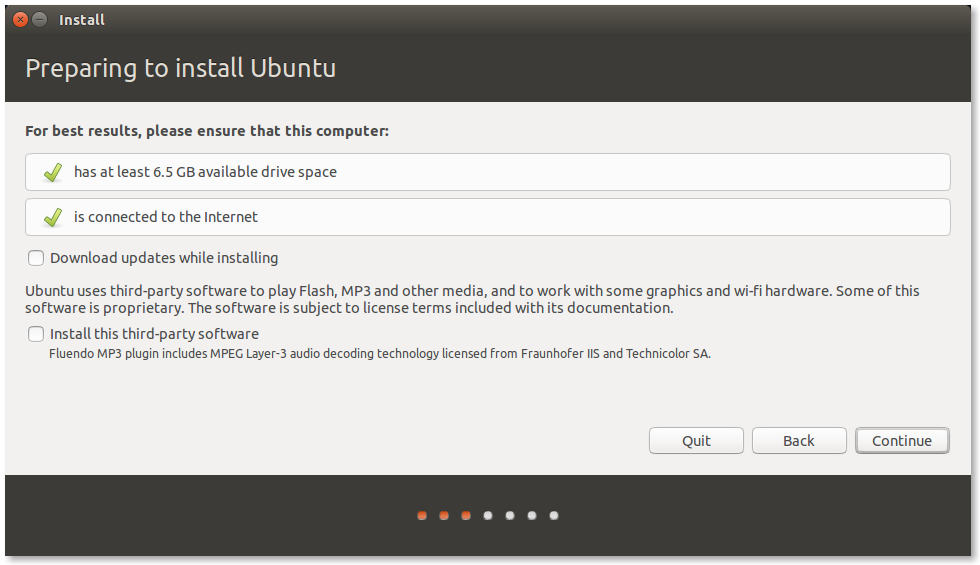
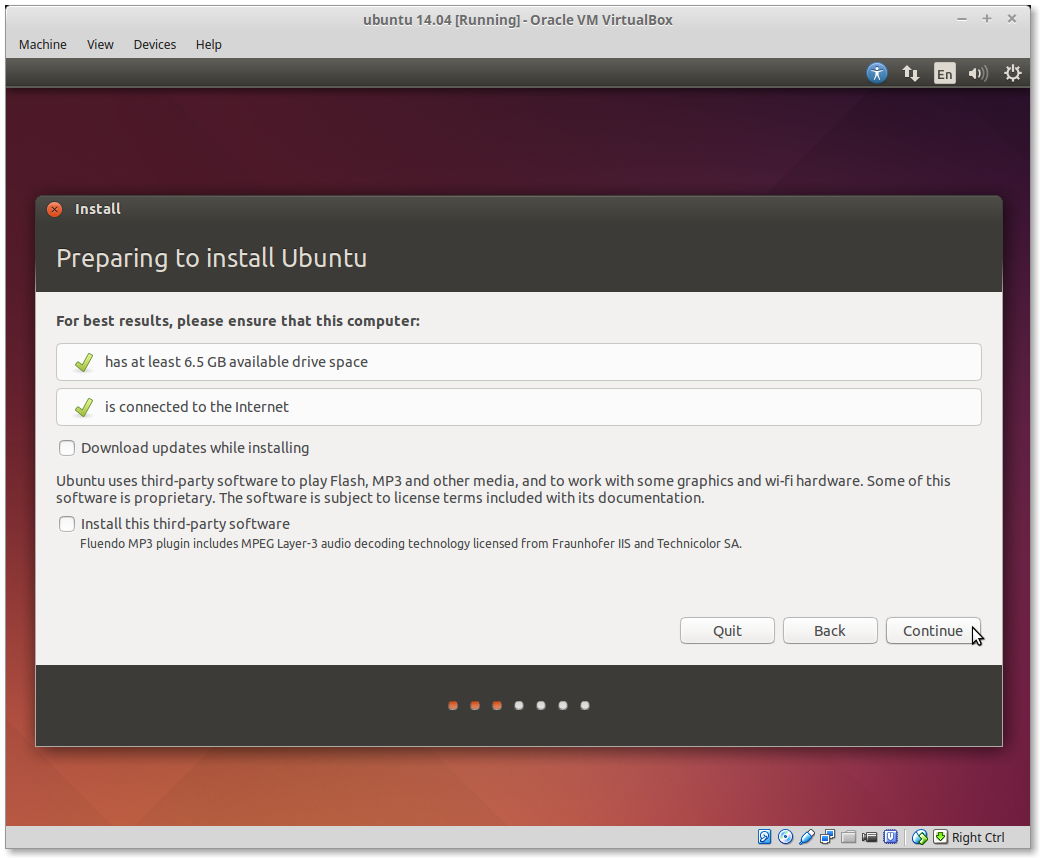
QuoteClick on [Continue]

Quoteif you want make a partition on your windows hdd you can use this i use a other drive so i dont use this option
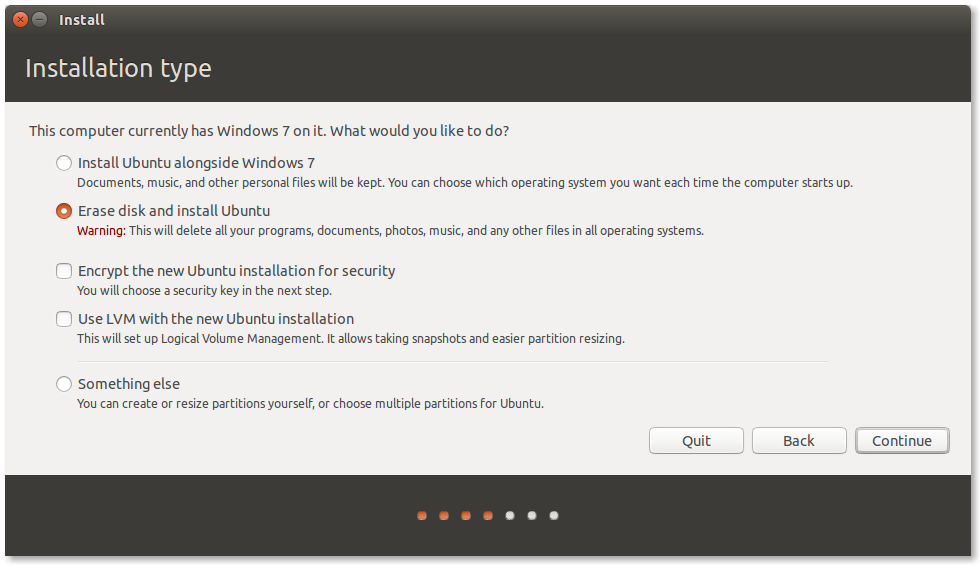
QuoteClick on [Continue]
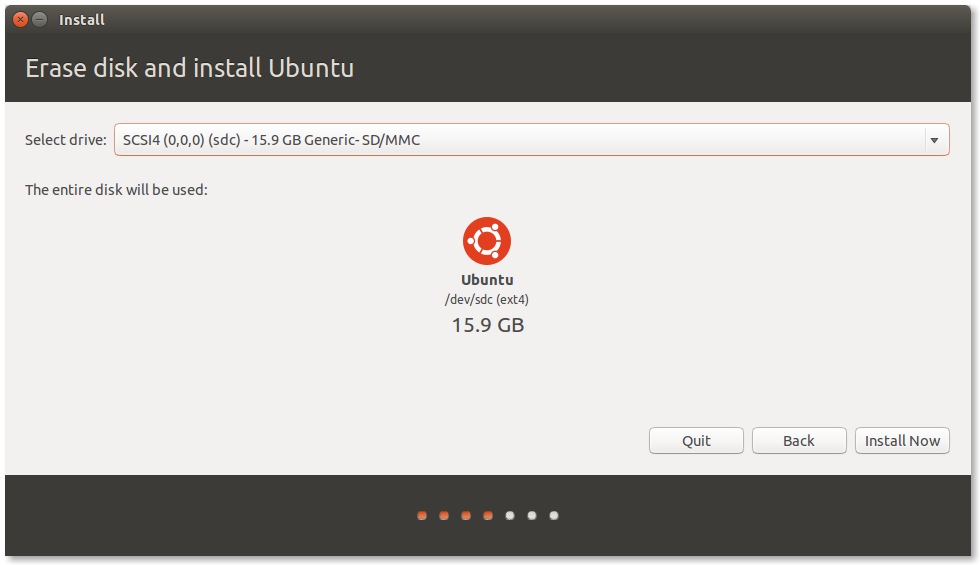
Quoteyou need more space then this al less 32gig if you compile a image it use +- 17 gig, linux install +- 6 a 7 gig so 32gig must be enough
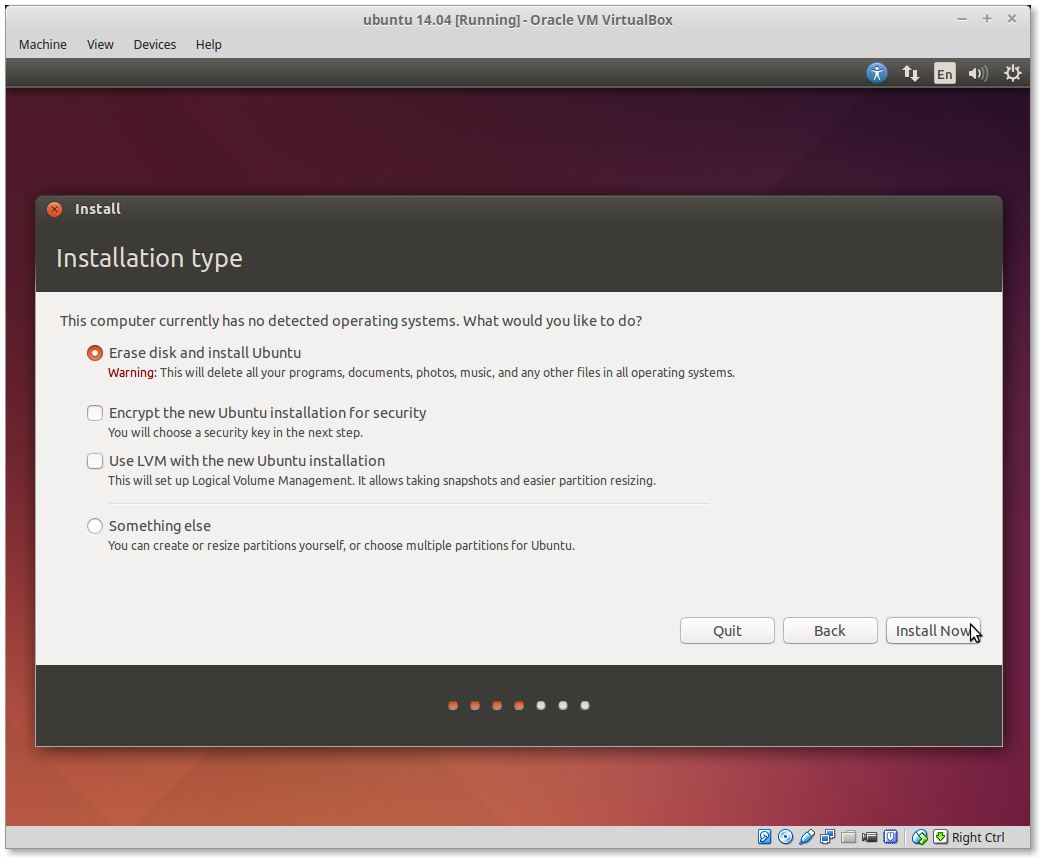
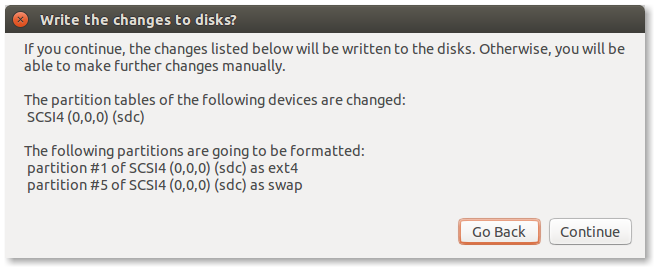
QuoteClick on [Install Now]
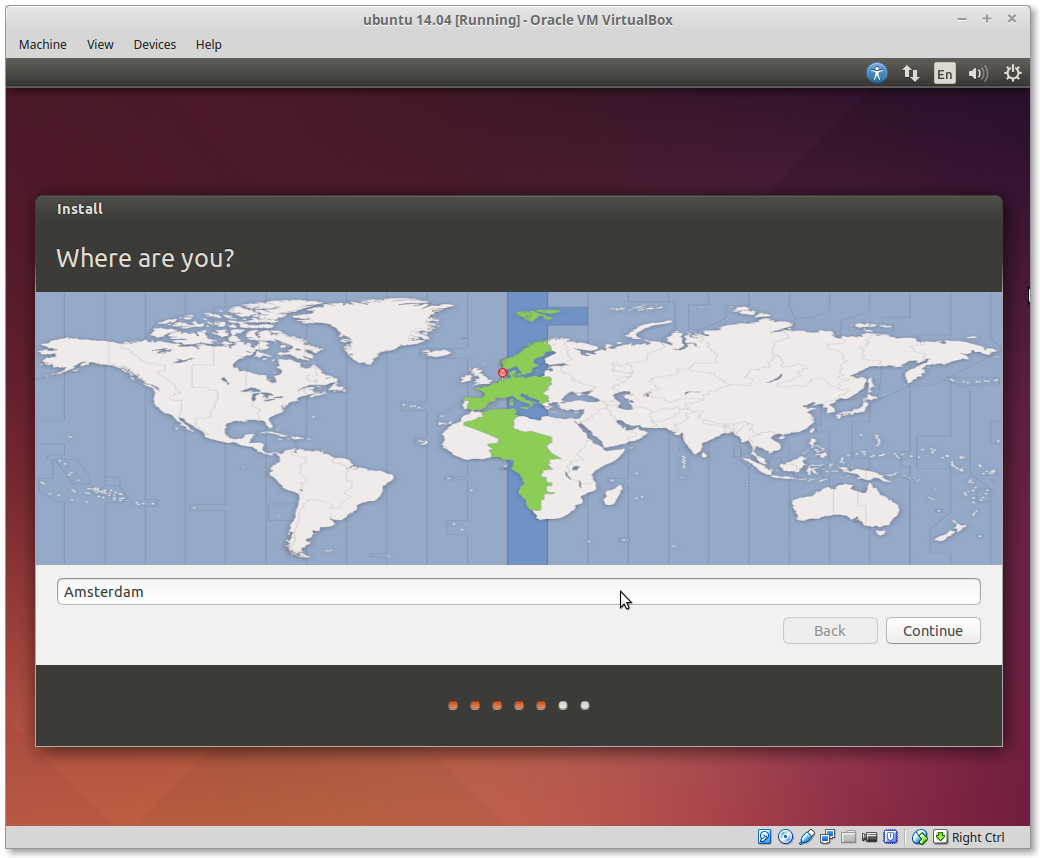
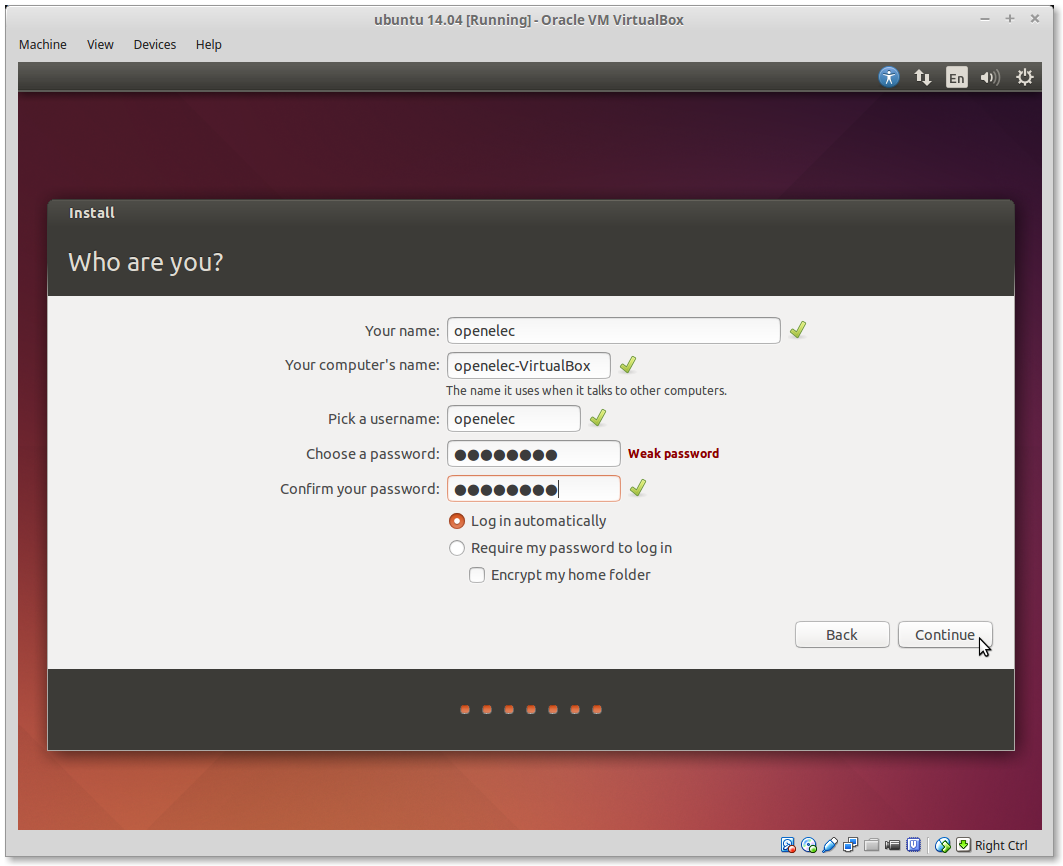
QuoteClick on [Continue]
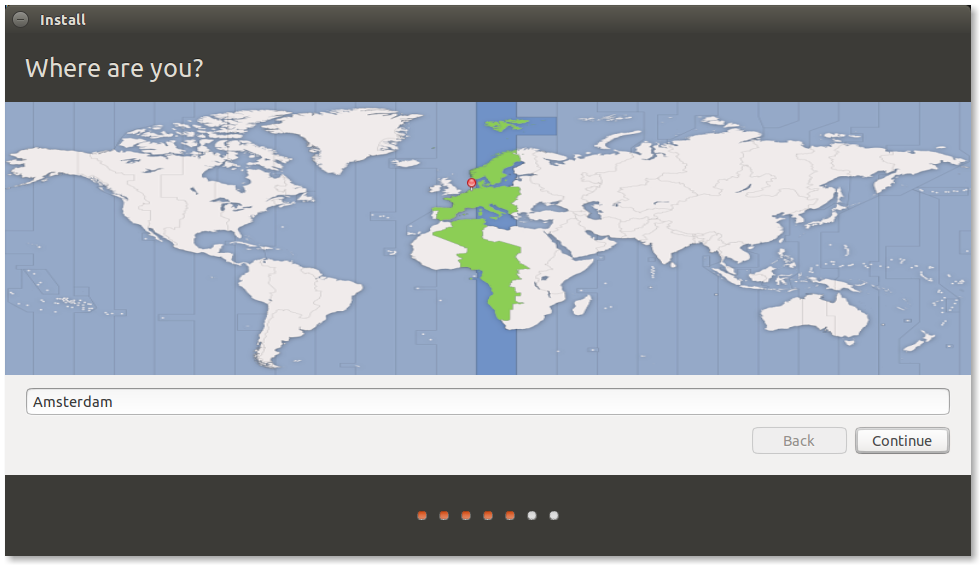
QuoteClick on [Continue]
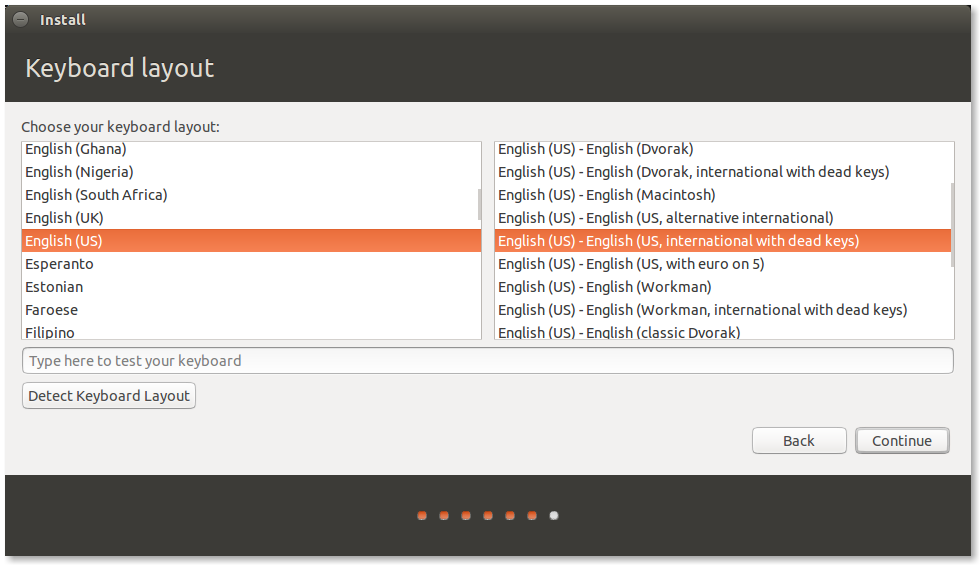
QuoteClick on [Continue]
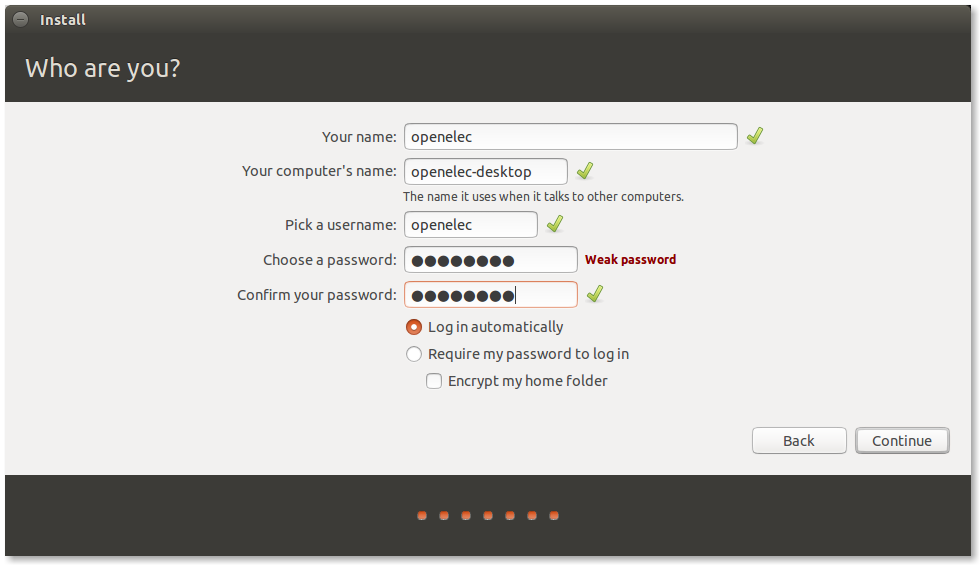
QuoteClick on [Continue]
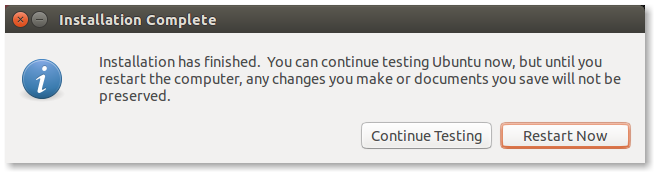
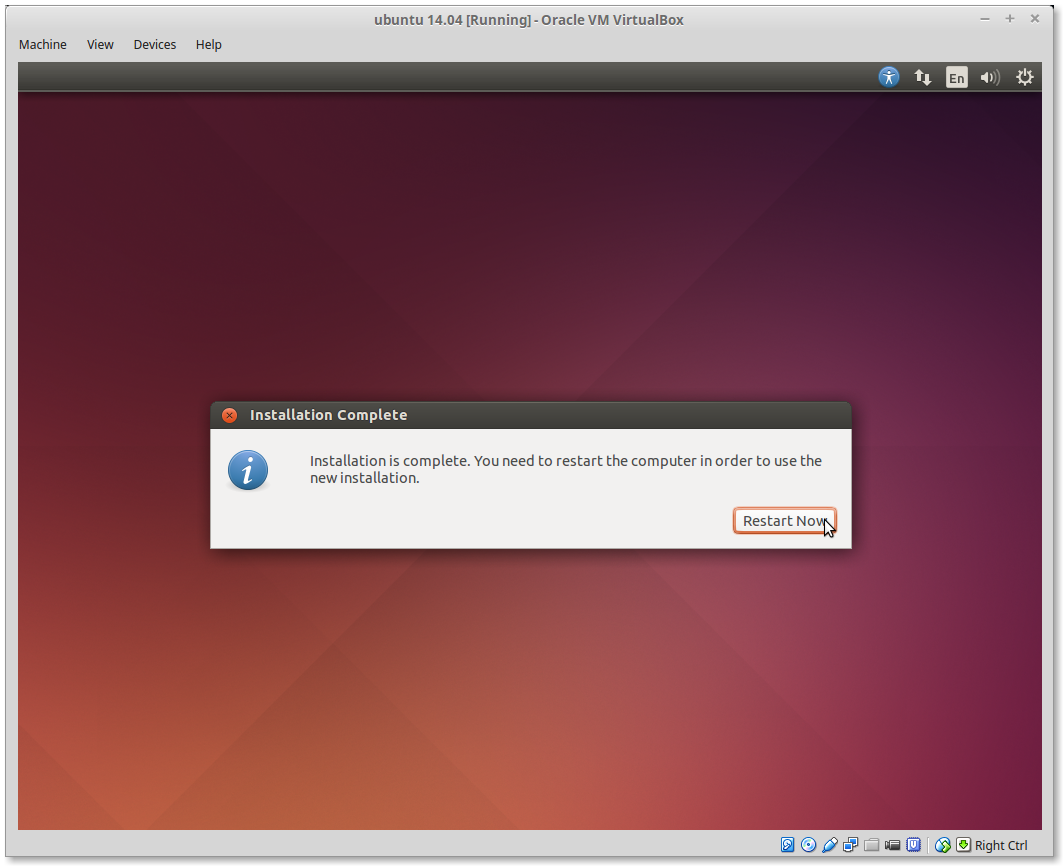
QuoteRestart Now
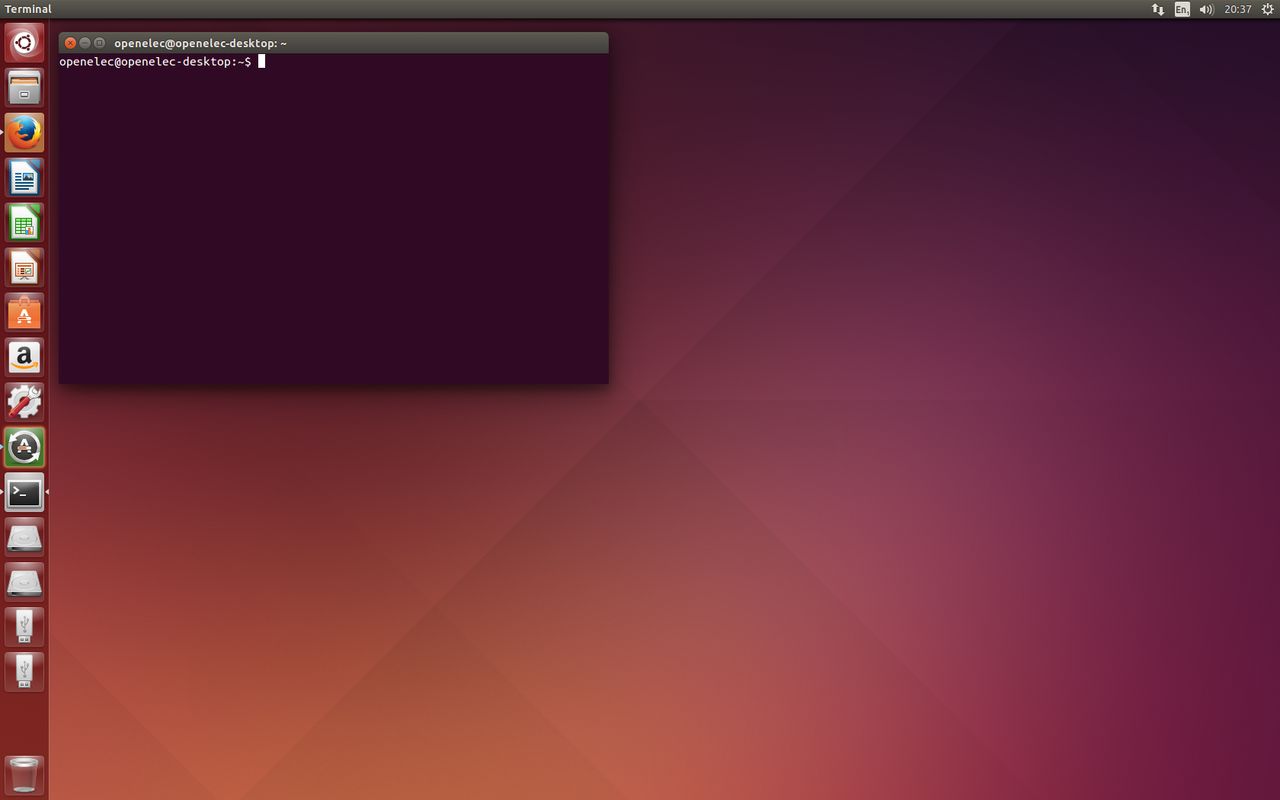
QuotePress [Ctrl]+[alt]+[t]
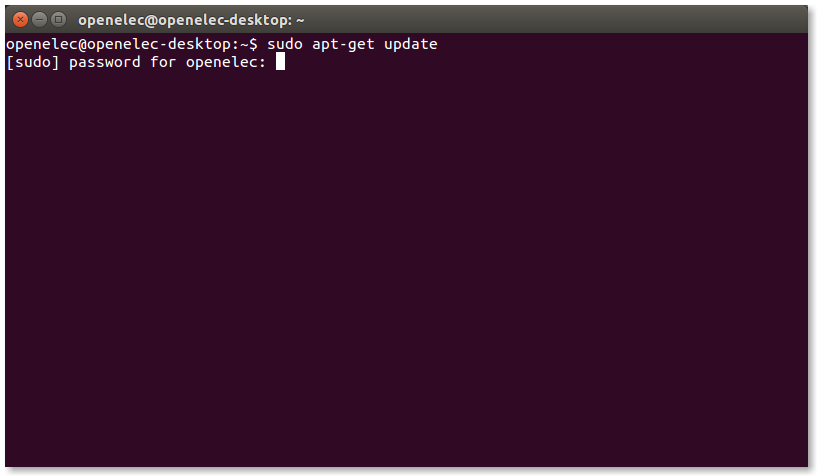
Quotetype your password
Quotepress Y
Quotereboot now ubuntu
Quotepress agian [CTRL]+[ALT]+{T}
Quoteenter your password

Quotepress on no

Quotepress enter
Quotepress Y
Quotepress enter
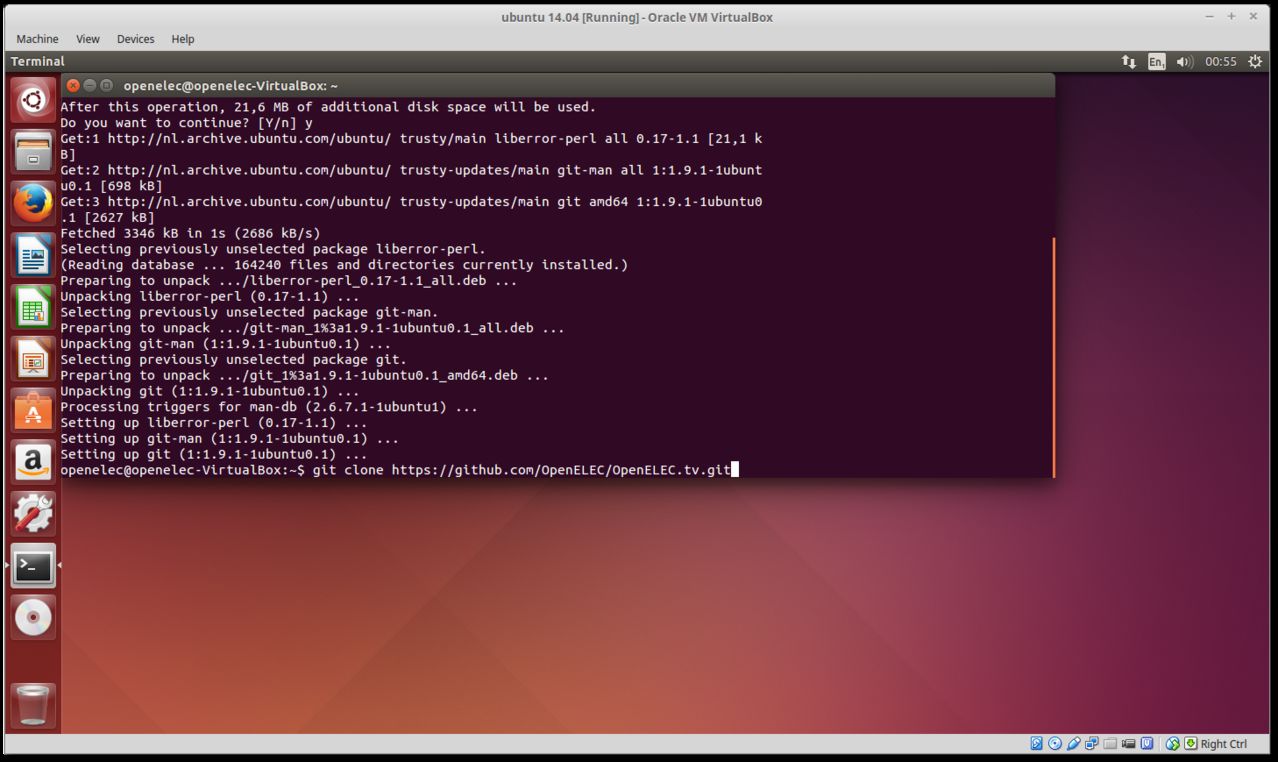
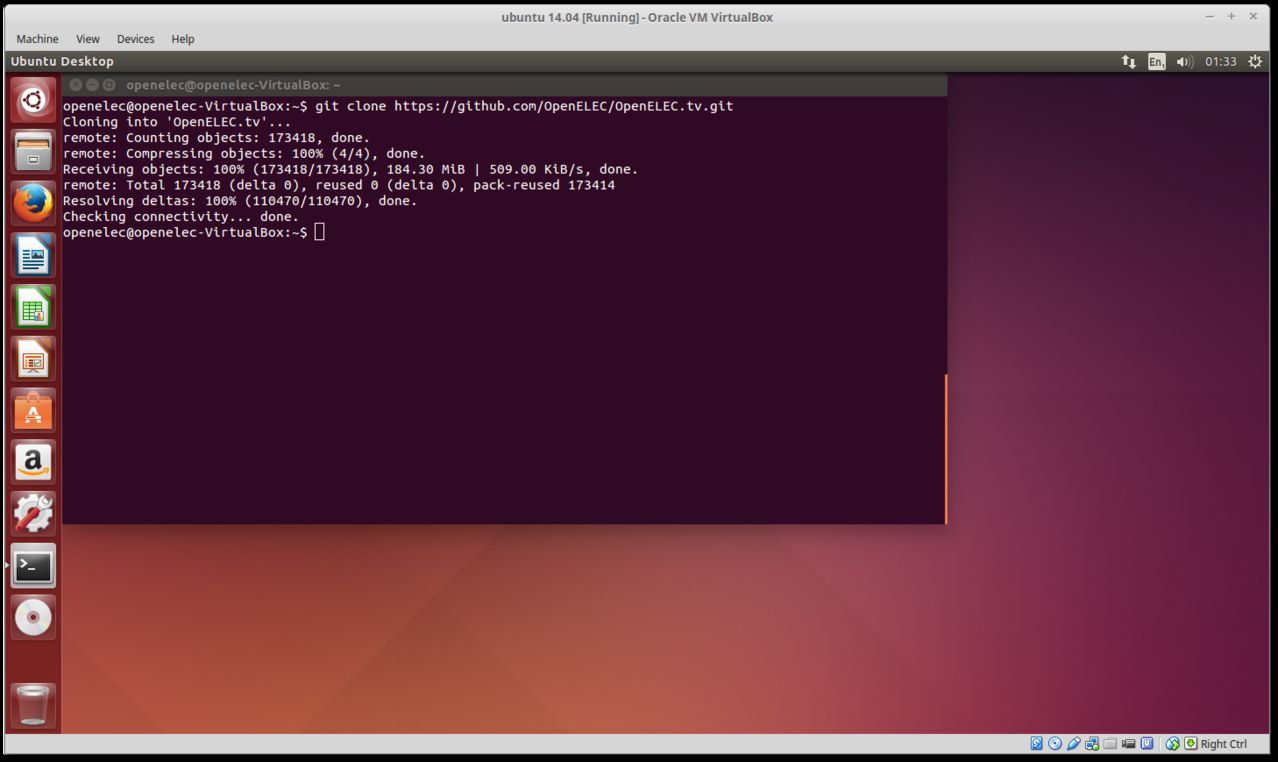
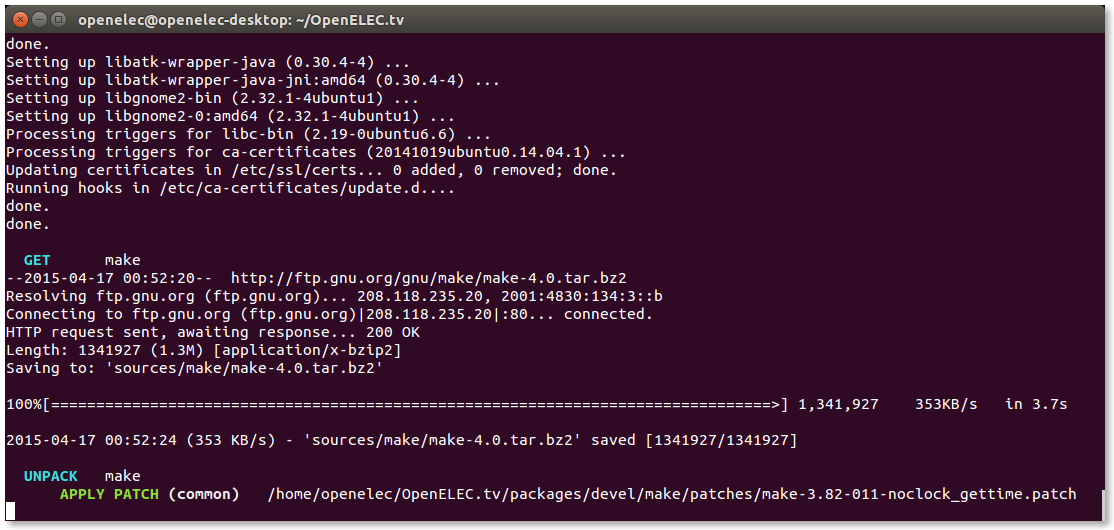
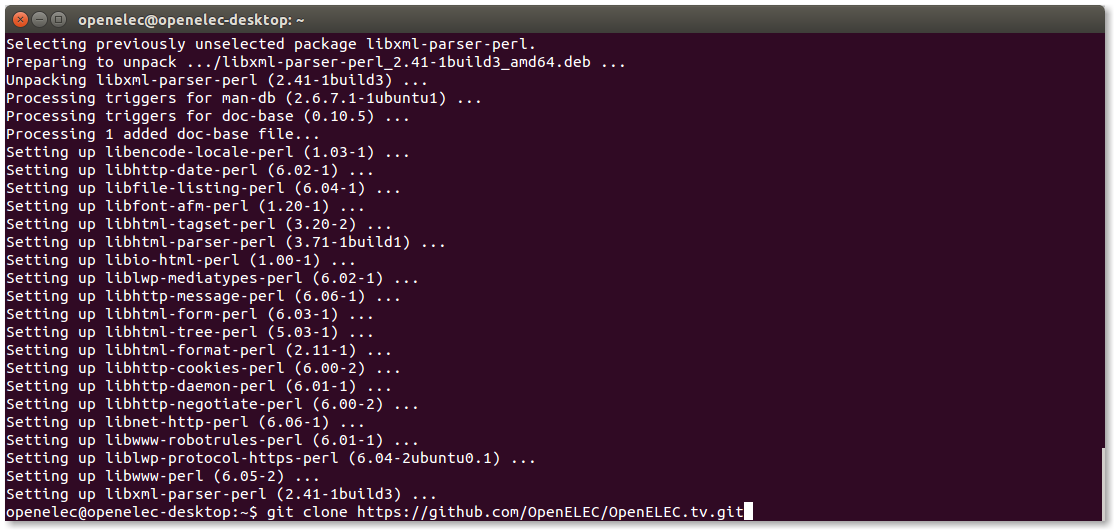
QuoteDisplay Moregit clone https://github.com/OpenELEC/OpenELEC.tv.git
Cloning into 'OpenELEC.tv'...
remote: Counting objects: 173418, done.
remote: Compressing objects: 100% (4/4), done.
remote: Total 173418 (delta 0), reused 0 (delta 0), pack-reused 173414
Receiving objects: 100% (173418/173418), 184.30 MiB | 53.00 KiB/s, done.cd OpenELEC.tv
Resolving deltas: 100% (110470/110470), done.
Checking connectivity... doncd OpenELEC.tve.
type
for wetek type
QuoteDisplay MorePROJECT=WeTek_Play ARCH=arm make image
./scripts/image mkimage
================================================== ===============================
Configuration for OpenELEC (unofficial)
================================================== ===============================
Buildoptions:
================================================== ====
- CPU (ARCH): cortex-a9 (arm)
- FLOAT: hard
- FPU: neon-fp16
- SIMD support: yes
- Optimizations: size
- LTO (Link Time Optimization) support: yes
- GOLD (Google Linker) Support: yes
- LLVM support:
Graphic configuration:
================================================== ====
- OpenGL (GLX) support (provider): no (no)
- OpenGLES support (provider): yes (opengl-meson6)
- uvesafb support: no
Hardware decoder configuration:
================================================== ====
- Kodi Player driver: libamcodec
- VAAPI Support:
- VDPAU Support:
Input device configuration:
================================================== ====
- Remote support: yes
- ATV Remote support: no
- CEC Adapter support: yes
- IRTrans support: no
- Kodi Joystick support: yes
Misc. hardware configuration:
================================================== ====
- ALSA support: yes
- Bluetooth support: yes
- LCD drivers: irtrans,imon,imonlcd,mdm166a,MtxOrb,lis,dm140,hd44 780,CFontz,SureElec,vlsys_m428,serialVFD,shuttleVF D
- Include driver: RTL8192CU
- Include driver: RTL8192DU
- Include driver: RTL8188EU
- Include driver: wetekdvb
- Include firmware: misc-firmware
- Include firmware: wlan-firmware
- Include firmware: dvb-firmware
- Include firmware: brcmfmac_sdio-firmware
Network service configuration:
================================================== ====
- Avahi (Zeroconf) support: yes
- NFS mounting support: yes
- SAMBA mounting support: yes
- SAMBA server support: yes
- SFTP server support: yes
OS configuration:
================================================== ====
- OEM Support: no
- Default ROOT Password: openelec
- Bootloader: u-boot
- U-Boot configuration:
- U-Boot config file:
- UDevil support: yes
- Installer support: no
Misc. Filesystems:
================================================== ====
- Swap Support: no
- exFAT Support (via Fuse): yes
- NTFS Support (via Fuse): yes
- Install HFS Tools: yes
Kodi configuration:
================================================== ====
- Kodi version: kodi
- Kodi nonfree support: yes
- Kodi Blu-Ray support: yes
- Bluray BD+ support: yes
- Bluray AACS support: yes
- Kodi DVDCSS support: yes
- Kodi Airplay support: yes
- Kodi Airtunes support: yes
- Kodi NFS support: yes
- Kodi MySQL support: yes
- Kodi Optical Drive support: yes
- Kodi SAMBA client support: yes
- Kodi SSH client support: yes
- Kodi UPNP support: yes
- Kodi Webserver support: yes
- Include Skin: Confluence
- Default Skin: Confluence
- Include extra fonts: yes
================================================== ===============================
End Configuration for OpenELEC
================================================== ===============================
**** Your system lacks the following tools needed to build OpenELEC ****
g++ gawk makeinfo gperf cvs xsltproc java mkimage /usr/include/ncurses.h
**** You seem to use a Ubuntu system ****
would you like to install the needed tools ? (y/n)
Quotepress y
Quotepress Y
Quotenow you must wait till it finished that can take many hours
QuoteDisplay MoreParallel mksquashfs: Using 2 processors
Creating 4.0 filesystem on /home/sniffer/OpenELEC.tv/target/OpenELEC-WeTek_Play.arm-devel-20150416150507-r20681-gaa6095c.system, block size 131072.
[================================================== ================================================== ================================================== ================================================== ===================\] 6138/6138 100%
Exportable Squashfs 4.0 filesystem, lzo compressed, data block size 131072
compressed data, compressed metadata, compressed fragments, no xattrs
duplicates are removed
Filesystem size 89114.36 Kbytes (87.03 Mbytes)
51.26% of uncompressed filesystem size (173832.49 Kbytes)
Inode table size 81874 bytes (79.96 Kbytes)
35.98% of uncompressed inode table size (227579 bytes)
Directory table size 77295 bytes (75.48 Kbytes)
52.05% of uncompressed directory table size (148501 bytes)
Number of duplicate files found 267
Number of inodes 6839
Number of files 5260
Number of fragments 436
Number of symbolic links 508
Number of device nodes 0
Number of fifo nodes 0
Number of socket nodes 0
Number of directories 1071
Number of ids (unique uids + gids) 2
Number of uids 1
root (0)
Number of gids 2
root (0)
unknown (81)
mkimage: boo. now root access (sudo) is required...
mkimage: see scripts/image and scripts/mkimage if you dont trust us :)
[sudo] password for sniffer:
image: creating image: /home/sniffer/OpenELEC.tv/target/OpenELEC-WeTek_Play.arm-devel-20150416150507-r20681-gaa6095c.img...
292+0 records in
292+0 records out
306184192 bytes (306 MB) copied, 2.57053 s, 119 MB/s
image: creating partition table on /home/sniffer/OpenELEC.tv/target/OpenELEC-WeTek_Play.arm-devel-20150416150507-r20681-gaa6095c.img...
image: creating part1 on /home/sniffer/OpenELEC.tv/target/OpenELEC-WeTek_Play.arm-devel-20150416150507-r20681-gaa6095c.img...
image: creating part2 on /home/sniffer/OpenELEC.tv/target/OpenELEC-WeTek_Play.arm-devel-20150416150507-r20681-gaa6095c.img...
image: creating filesystem on part1...
mkfs.fat 3.0.26 (2014-03-07)
Loop device does not match a floppy size, using default hd params
image: mounting part1 on /tmp/tmp.gw5ipOGYCR...
image: creating bootloader configuration...
image: installing u-boot bootloader...
image: copying files to part1...
image: unmounting part1...
image: creating filesystem on part2...
tune2fs 1.42.9 (4-Feb-2014)
e2fsck 1.42.9 (4-Feb-2014)
/dev/loop0: clean, 11/8192 files, 5530/32768 blocks
image: mounting part2 on /tmp/tmp.gw5ipOGYCR...
image: unmounting part2...
image: compressing...
image: cleanup...
this you get in your
You need to use make release for that. This creates KERNEL and SYSTEM images but not the SD card image so it needs no root privileges
Both make release and make image give you an update package in the target folder.
for RPi
for RPi2
for x86_64
If you need to clean and start over do the following
update source
When the build completes, you will find the fresh build in the target directory of your build directory (the OpenELEC.tv dir) in target dir
i use only openelec on sdcard never in my nand
mmh ok this is on your own risk i have do this oft in the last months i get only his after update from my build
if you your looks like that because andriod want not more start and openelec then you can fix it with this
[HOWTO] Unbrick WeTek Play ths i have use the last months +- 8 times
if your want realy try it read this too http://wiki.openelec.tv/index.php/Compile_from_source
- - - Updated - - -
btw you use
this make 4 files a a image file and the files for update
QuoteChanges
Commits on Apr 11, 2015

kodi: update to kodi-15.0-beta1-23ef019 …
sraue authored 2 hours ago
sqlite: update to sqlite-autoconf-3080900 …
sraue authored a day ago
pciutils: update to pciutils-3.3.1 …
sraue authored a day ago
libgpg-error: update to libgpg-error-1.18 …
sraue authored 2 days ago
libgpg-error: add patch to avoid breakage with gcc 5 …
sraue authored 2 days ago
projects/RPi*/patches/linux: add upstream patches …
sraue authored 2 days ago
u-boot: add upstream patches …
sraue authored 2 days ago
xorg-server: add upstream patch to make sdksyms.sh work with gcc5 …
sraue authored 2 days ago
ncurses: add upstream fix …
sraue authored 2 days ago
Commits on Apr 10, 2015
libssh: dont build with '-pedantic-errors' …
sraue authored 2 days ago
libmicrohttpd: update to libmicrohttpd-0.9.40 …
sraue authored 3 days ago
gcc: remove dynamic linker patch, create /lib64 in initramfs …
sraue authored 3 days ago
gcc: remove auto-color patch …
sraue authored 3 days ago
autoconf-archive: update to autoconf-archive-2015.02.24 …
sraue authored 3 days ago
eventlircd: update X10 remote config …
sraue authored 3 days ago
linux: update to linux-4.0-rc7 …
sraue authored 3 days ago
Quote
what do you need
Quotea build from openelec like my nightbuild the one i use in this video http://linuxsat-support.com/showthread.php?t=80403 (OpenELEC-Generic.x86_64-devel-20150405232404-r20594-gc5220b4.img.xz)
1. unpack the xz files
Quoteyou can install the image file the same then from the raspberry-pi and wetek http://linuxsat-support.com/showthread.php?t=74020
i have did on the video usb to SD card you can it install it on hdd or ssd too
or for linux [Tutorial] how _to Install a diskImage on usbstick or sdcard under Linux
[tutorial][kodi 15.0] howto live tv activate (tvheadend) [video]
hi all
i will post most kodi howto in XBMC - Kodi Tutorials, HowTo & Guides because it will works on all devices
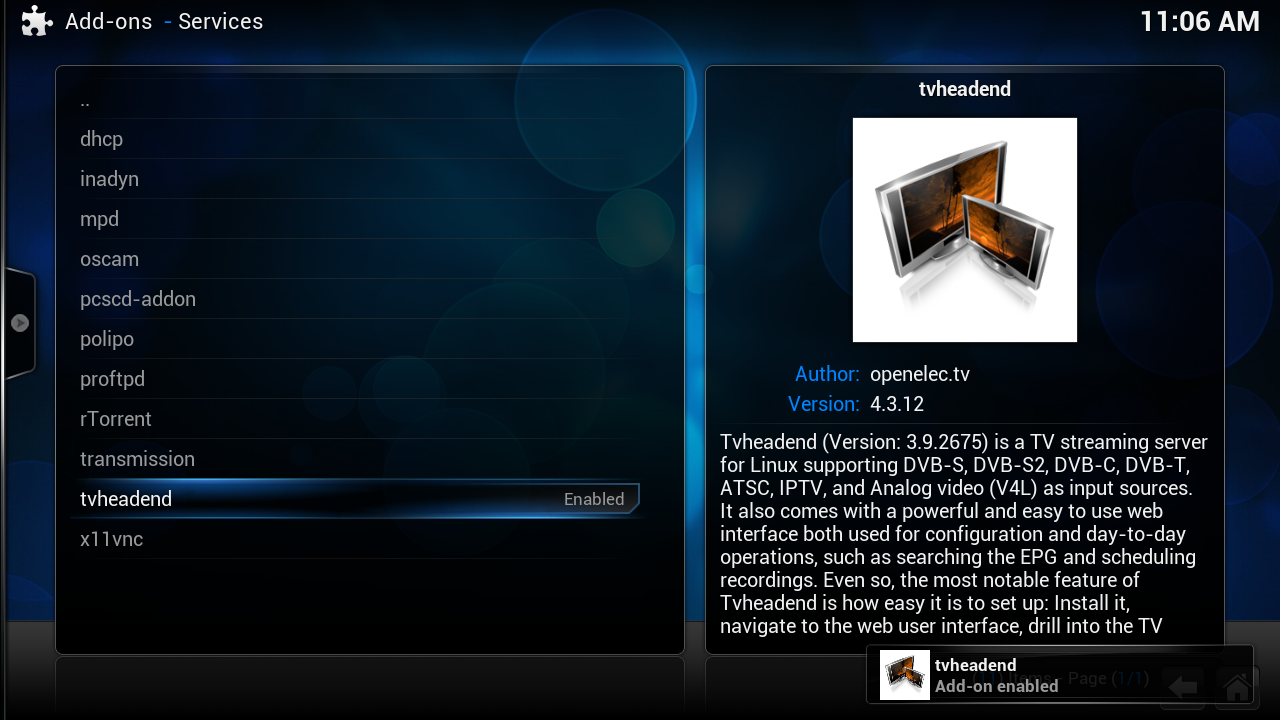
QuoteThis Tutorial goes about install TVHeadend on Kodi 15 Isengard
this works on all platforums the same
dont know if it will be the same in the final version
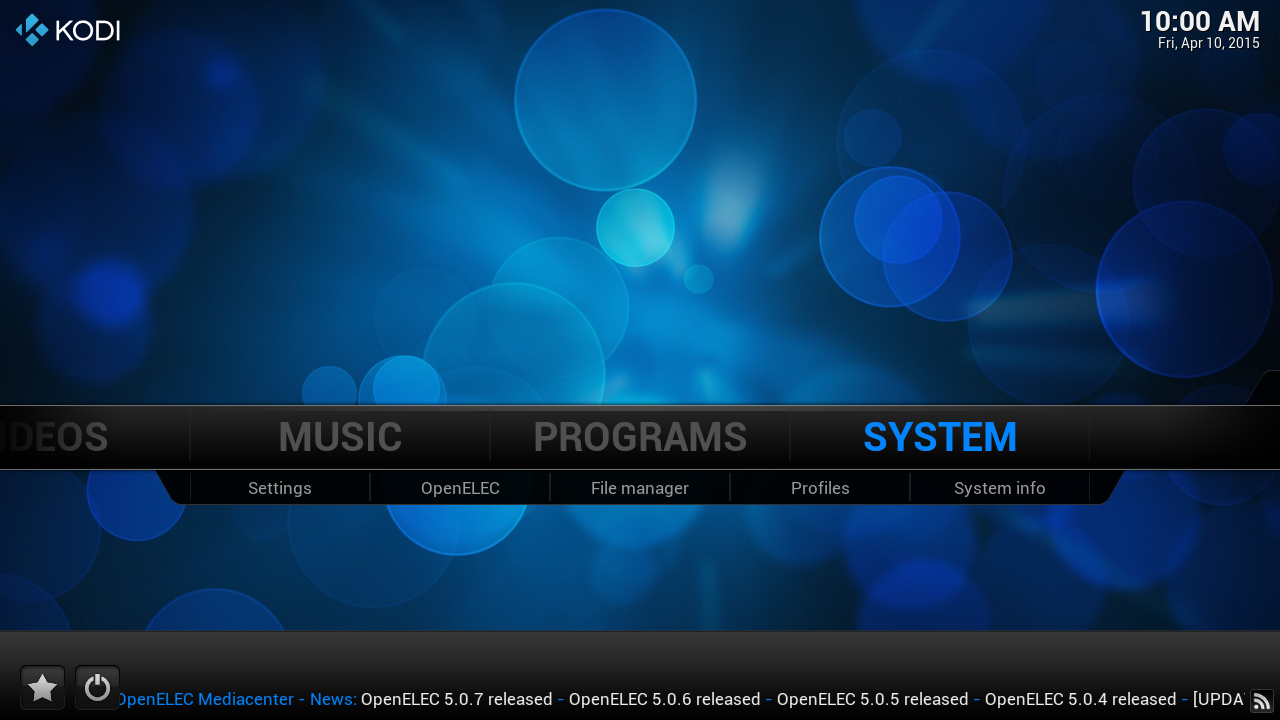
Quote01. Click on [SYSTEM]
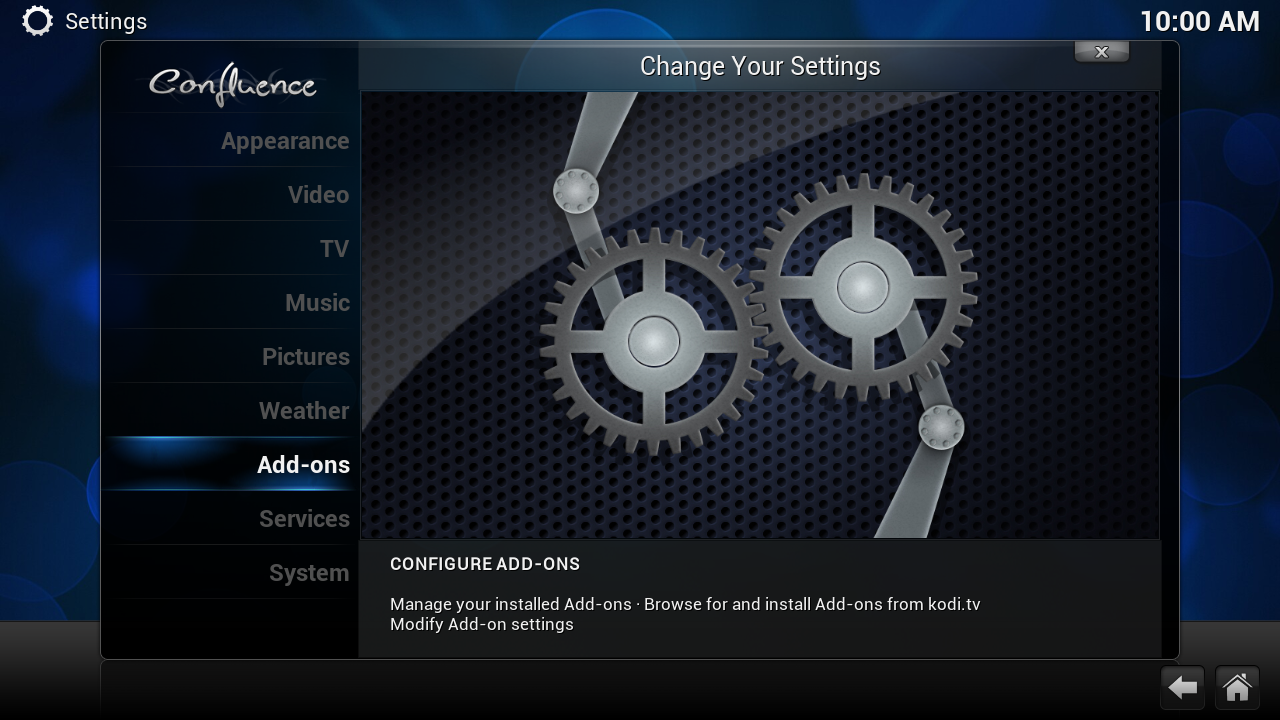
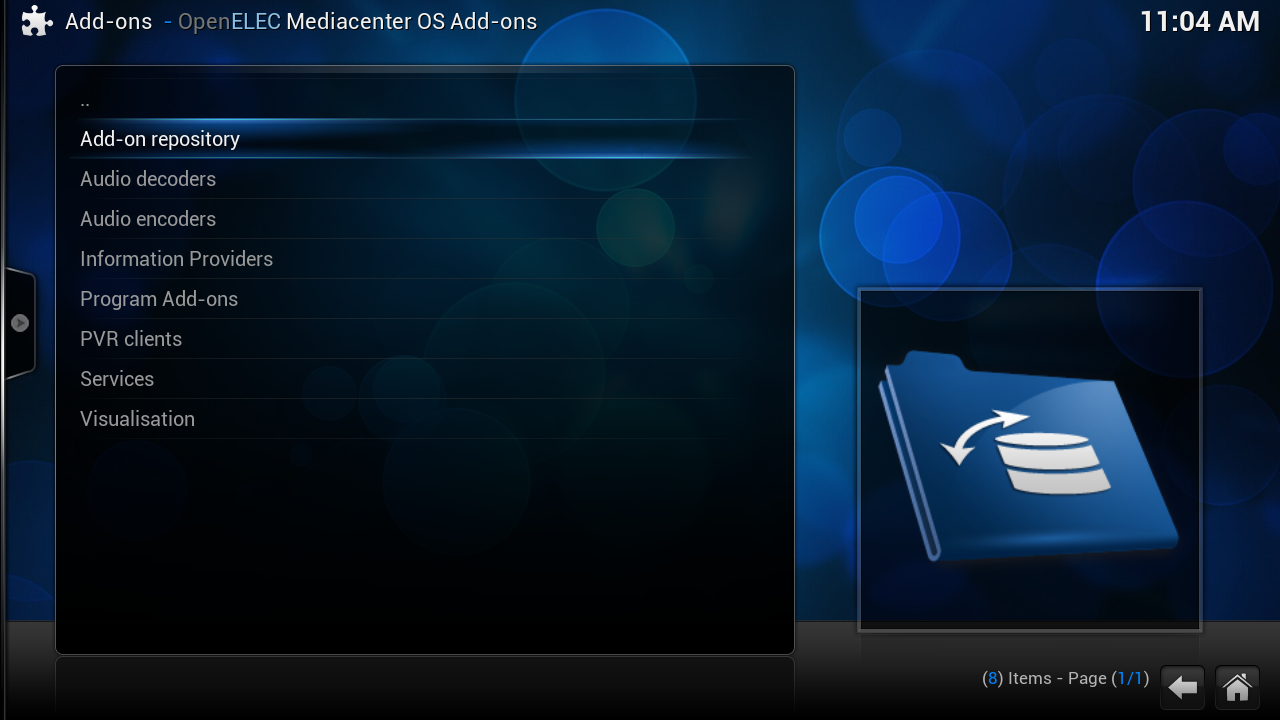
Quote02. Click on [Add-ons]
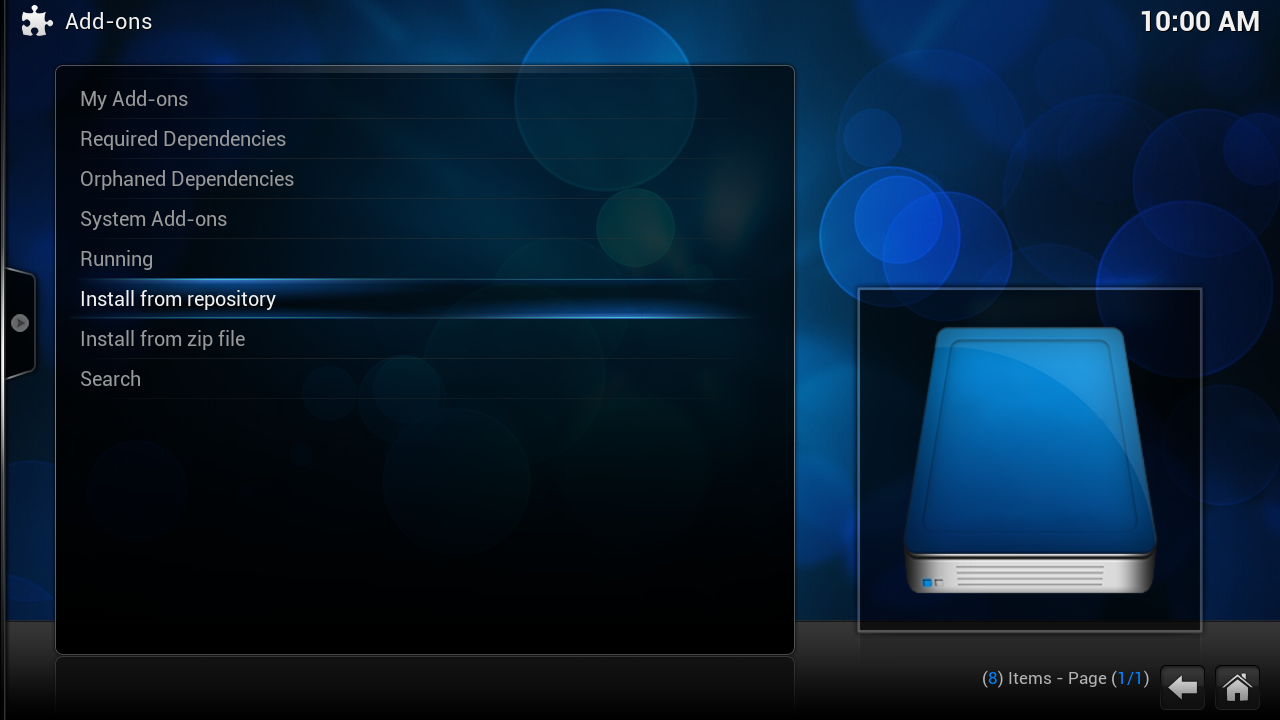
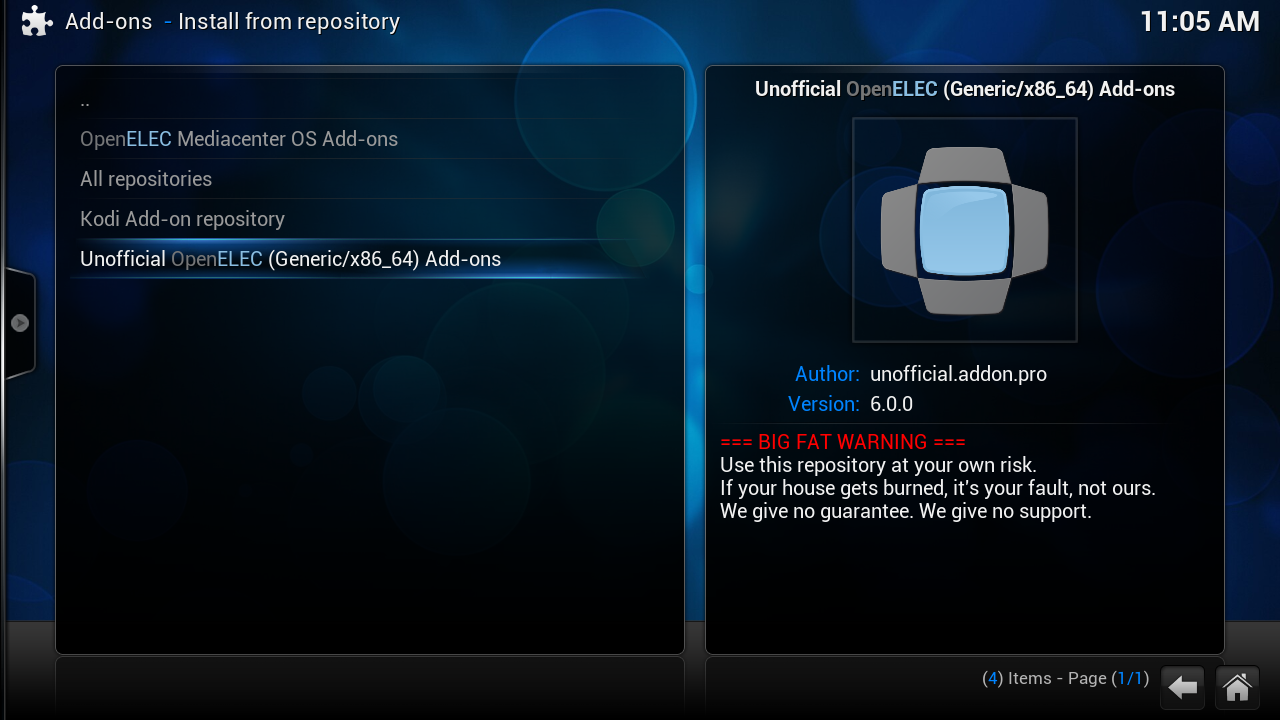
Quote03. Click on [Install from repository]
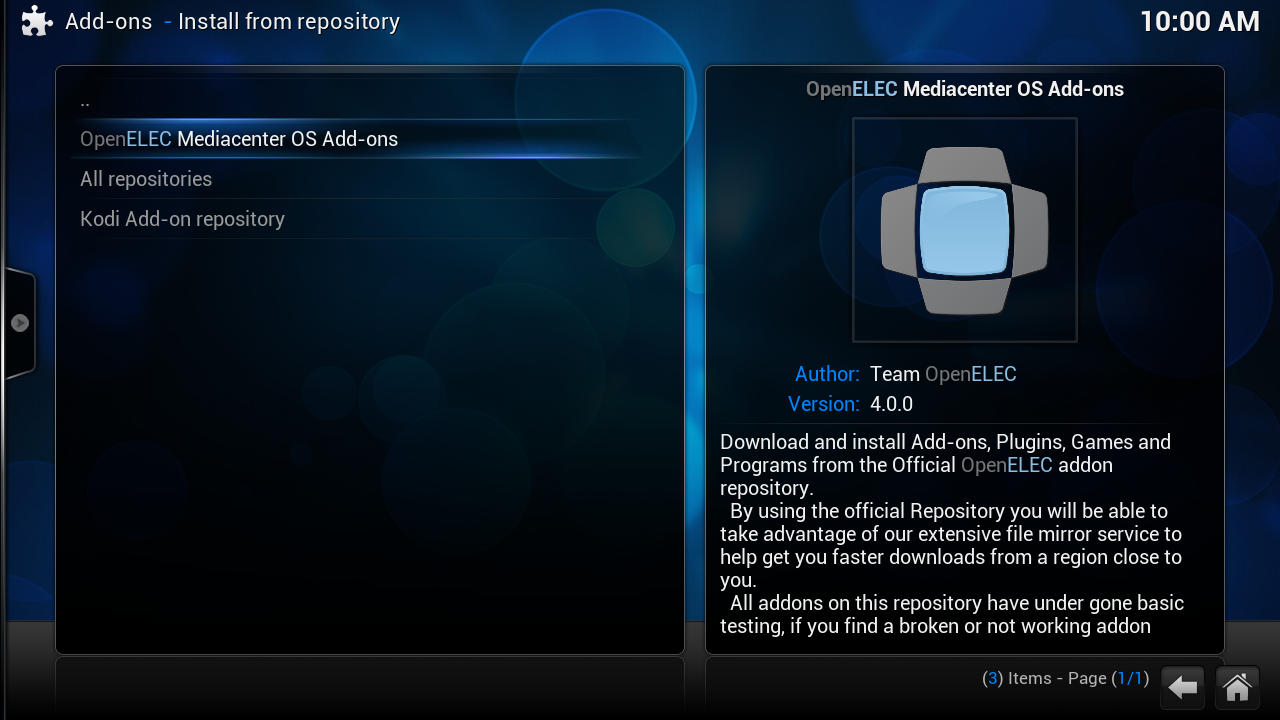
Quote04. Click on [OpenELEC Mediacenter OS Add-ons]
Quote05. Click on [Add-on respository]
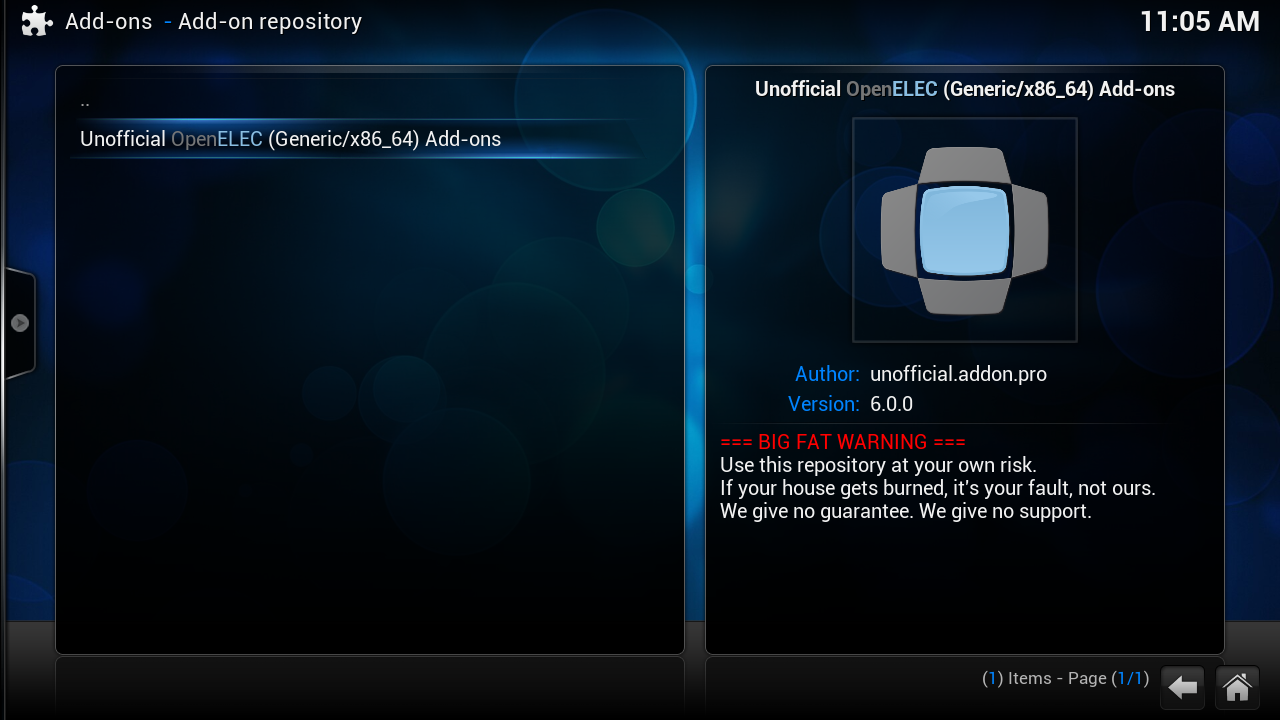
Quote06. Click on [Unofficial OpenELEC (name OpenELEC build you use) Add-on]
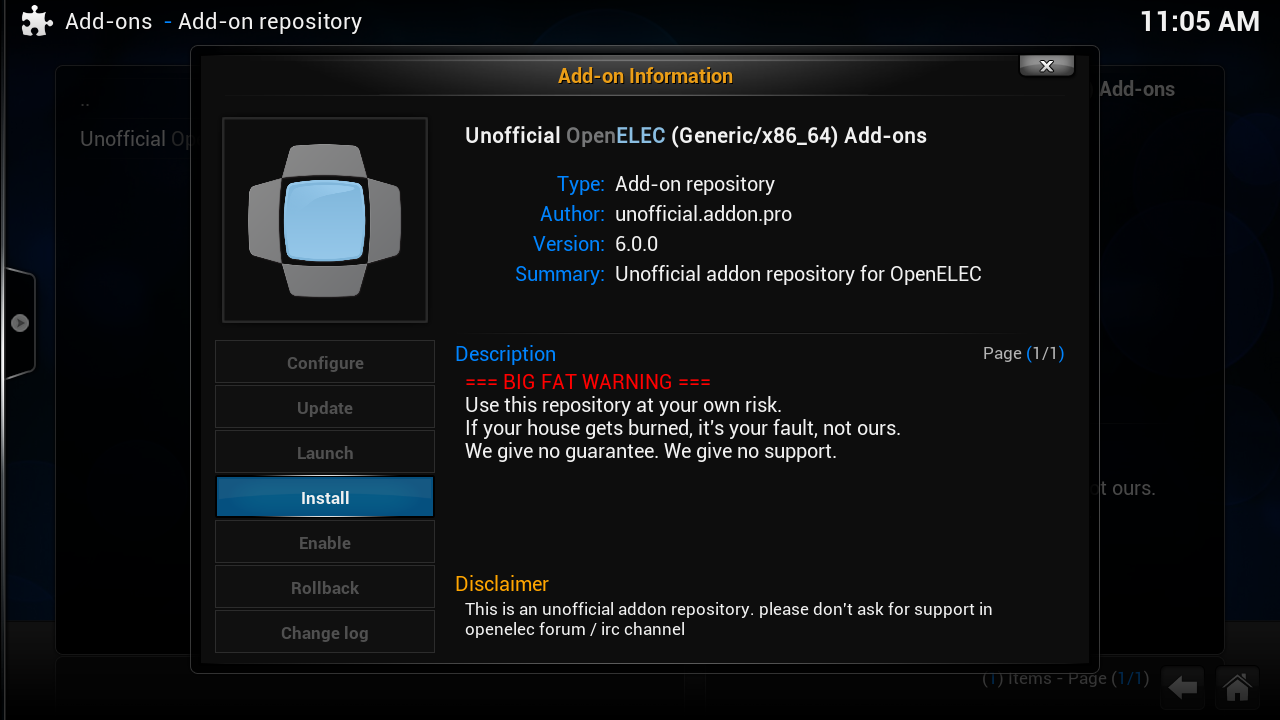
Quote07. Click on [Install]
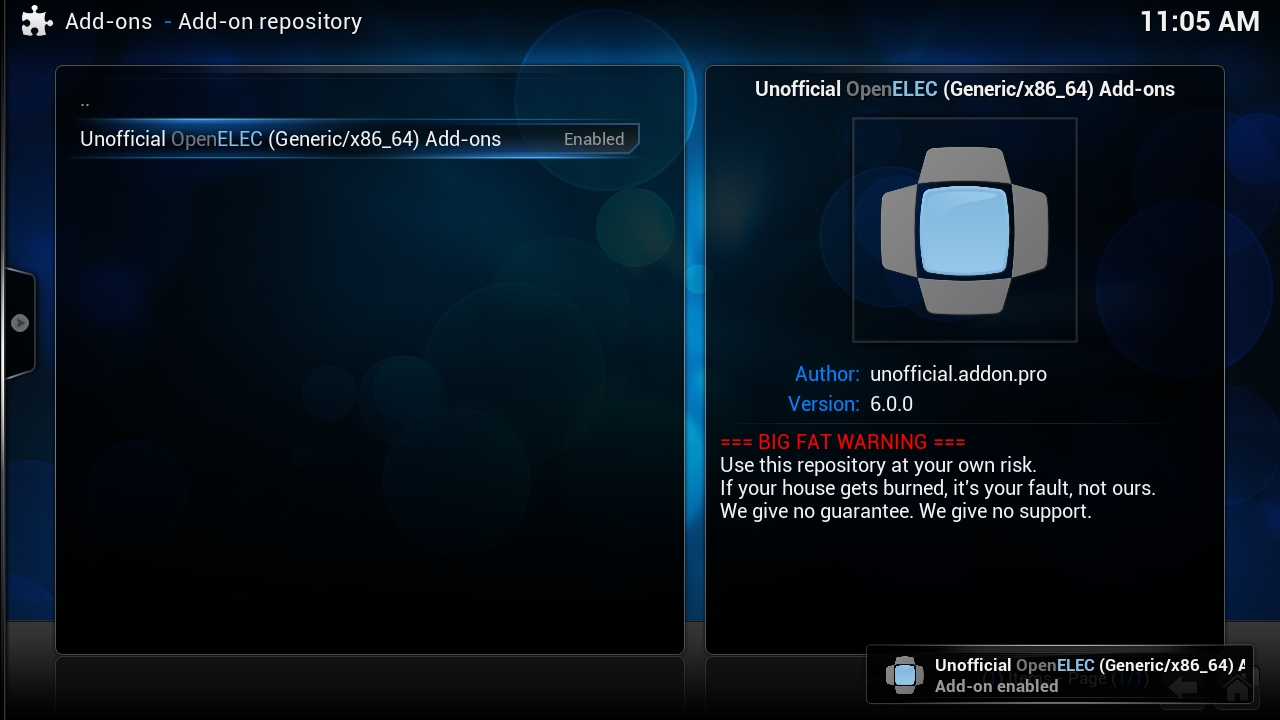
Quote08. Click on [Unofficial OpenELEC (name OpenELEC build you use) Add-on]
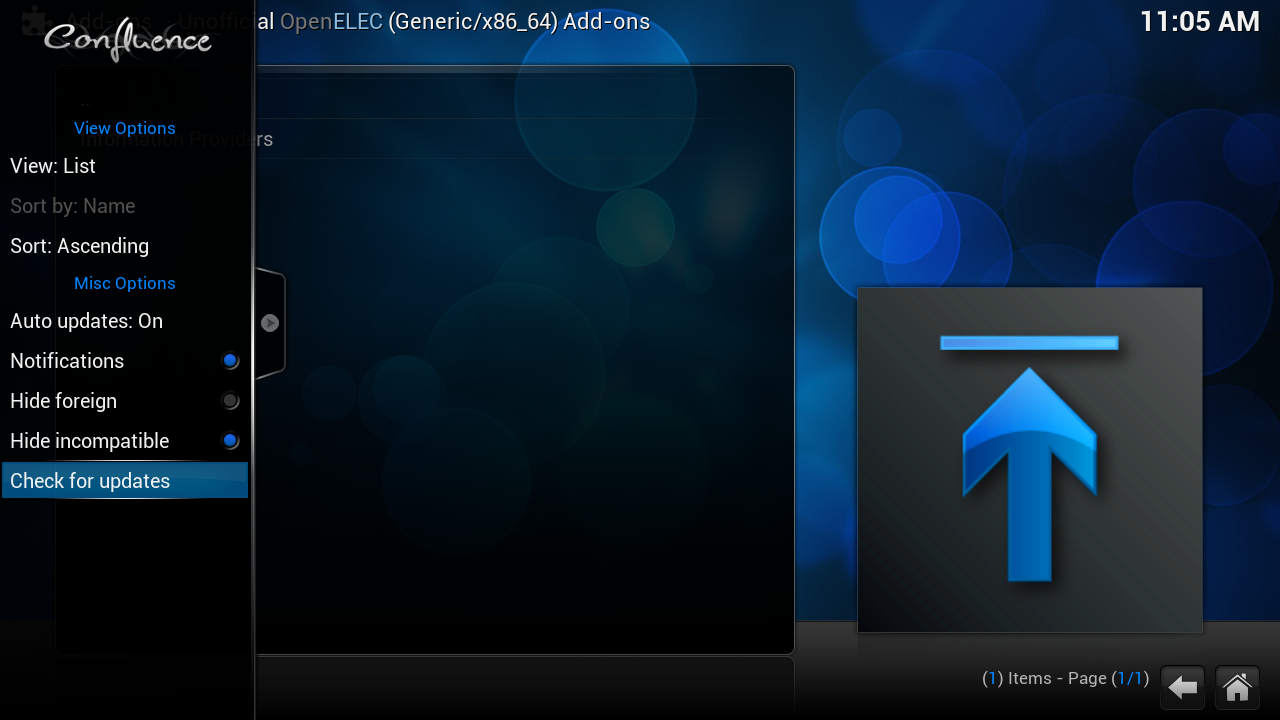
Quote09. Click on [Left Arrow] then [Check for updates]
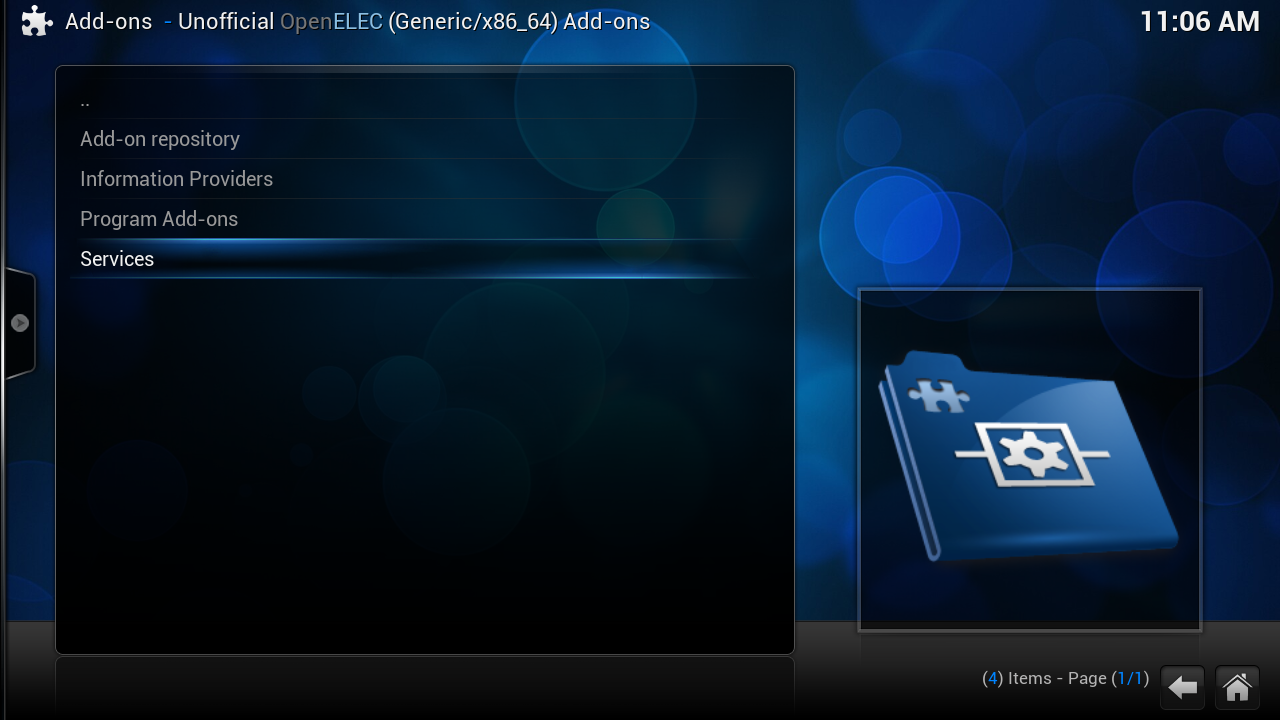
Quote10. Click on [Services]
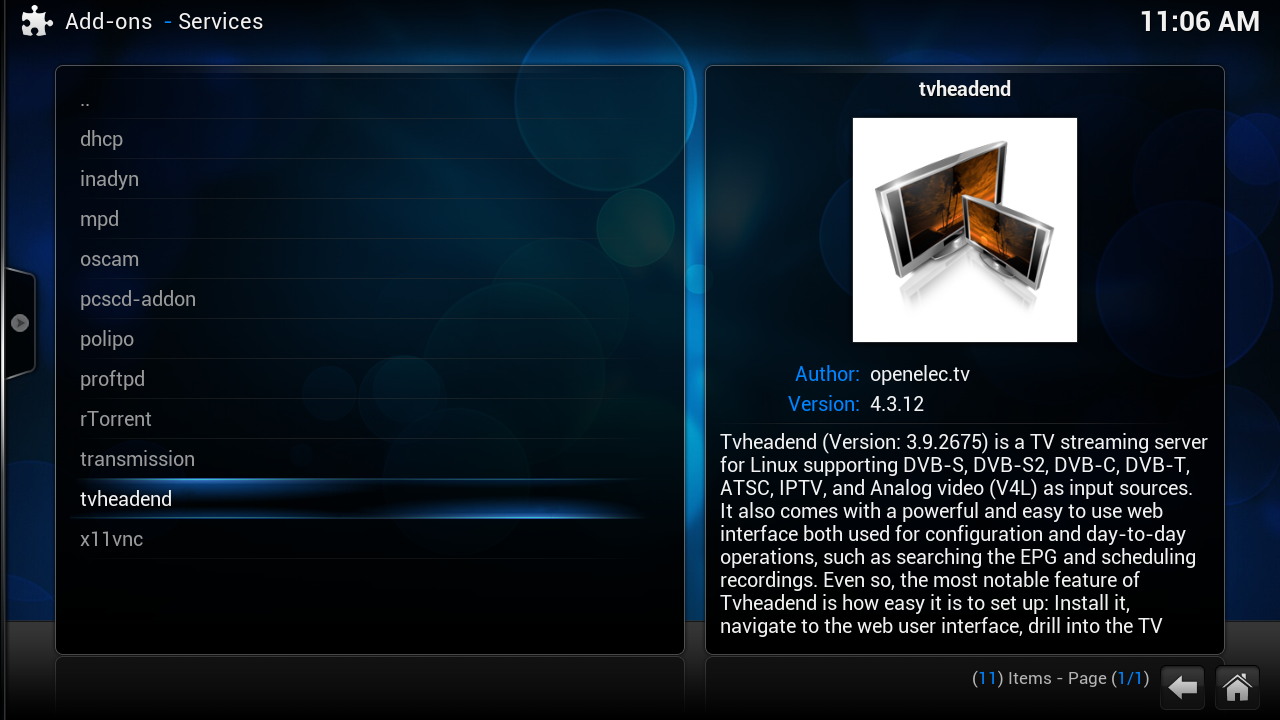
Quote11. Click on [tvheadend]
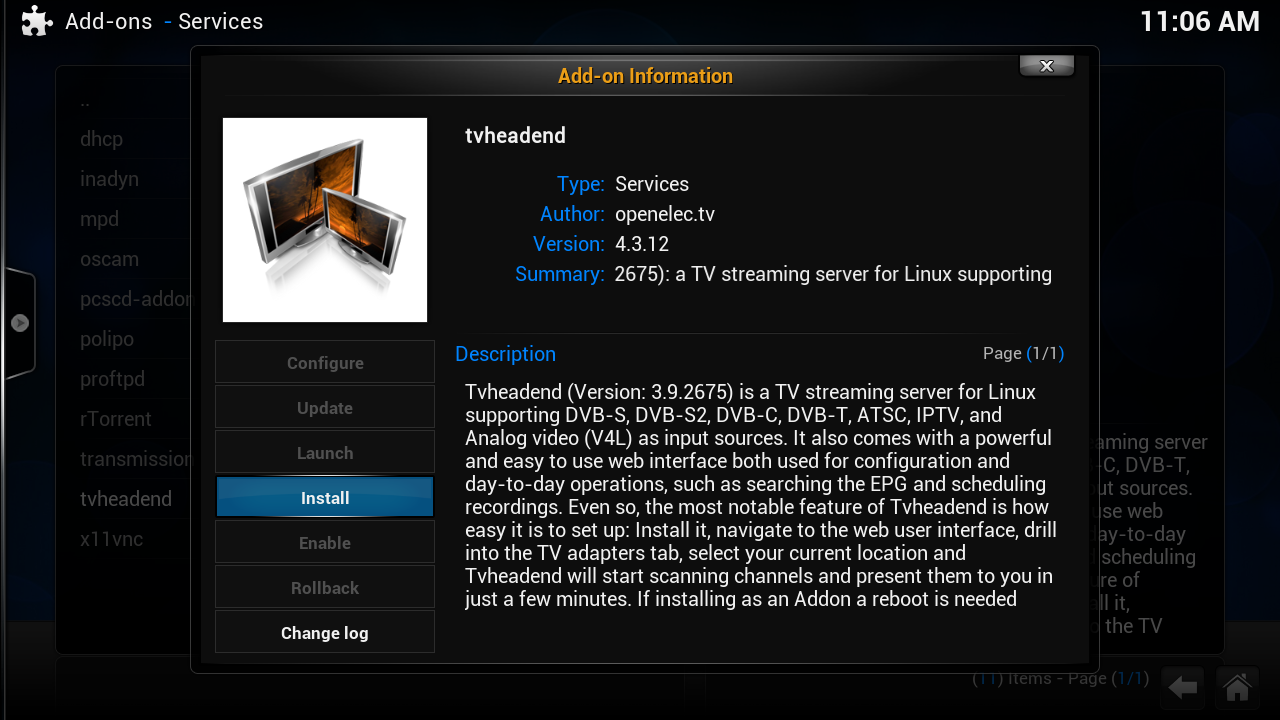
Quote12. Click on [Install]
[tutorial][kodi 15.0] howto live tv activate (tvheadend) [video]
Quotehi all this is a tutorial about how to install a DiskImage on a Usb stick or SDcard/mSD
[Format sdcard/Usb sick]
QuoteClick on [Menu] then on [Accessories] -> [USB Stick Formatter]
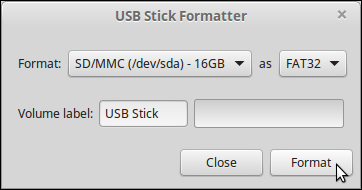
QuoteClick on [Format]
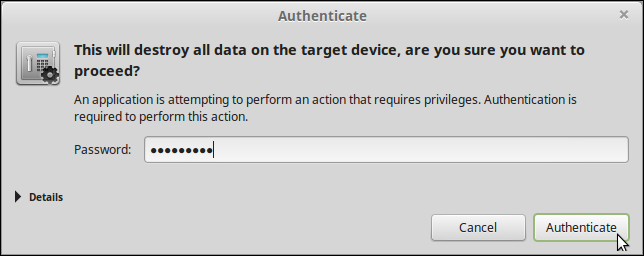
QuoteType your password and the click on [Authenticate]
[Write image on sdcard/Usb stick]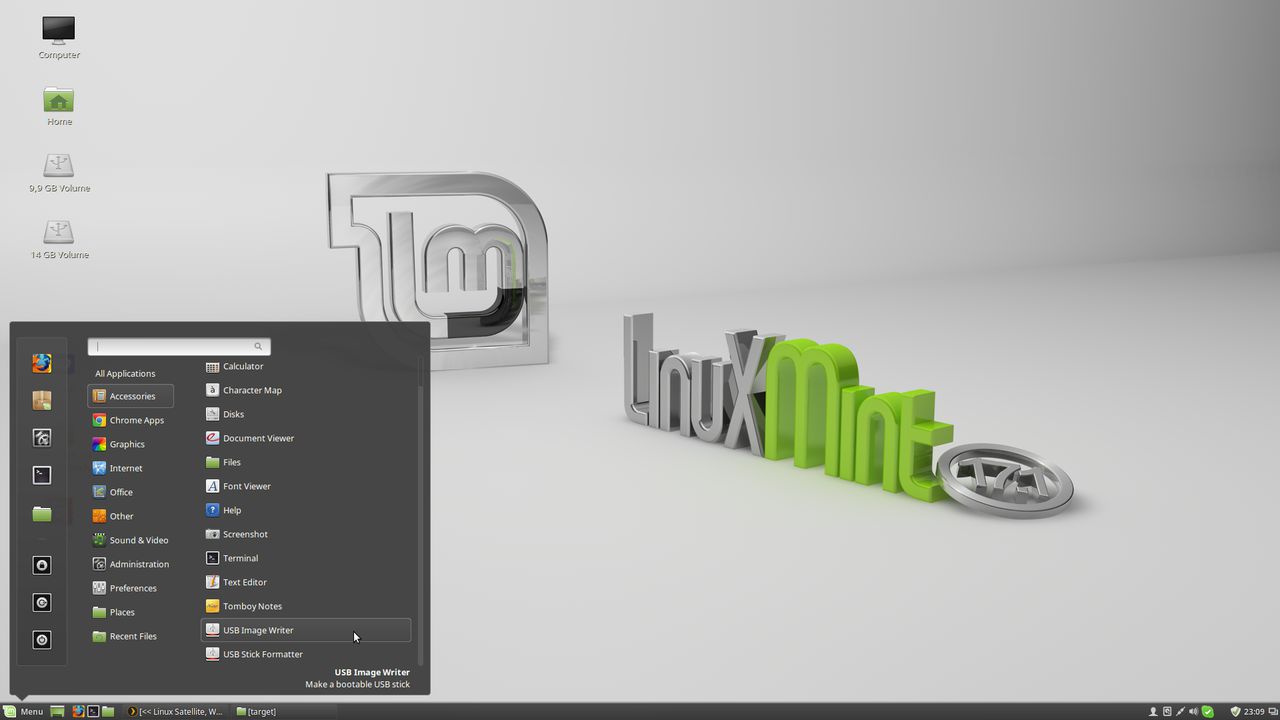
QuoteClick on [Menu] then on [Accessories] -> [USB Image Writer]
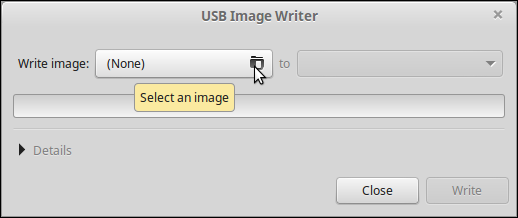
QuoteSelect a image file
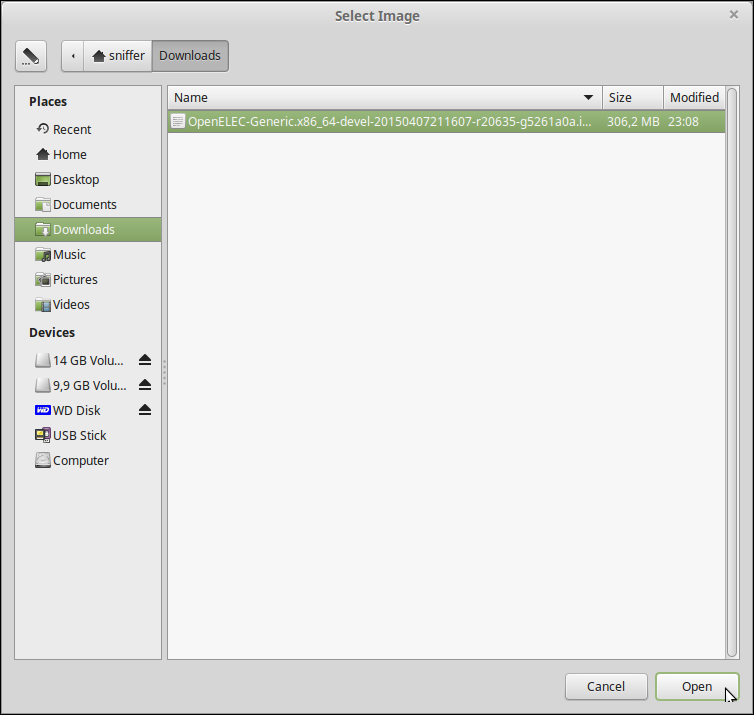
QuoteClick on [Open]
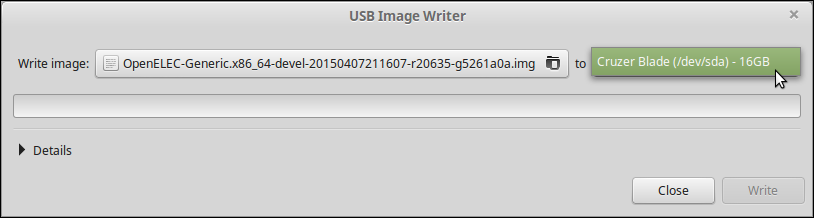
QuoteSelect your card writer or Usb stick
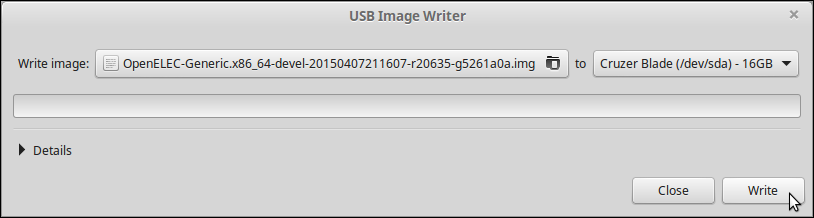
QuoteClick on [Write]
QuoteType your password and the click on [Authenticate]
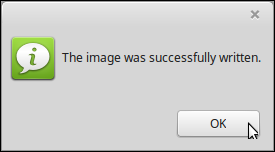
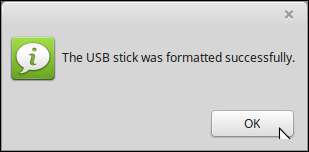
QuoteClick on [OK]
Generic (64 & 32bit): Intel HD/GMA graphics, NVIDIA Geforce / ION / ION2, AMD Radeon / Fusion
this build have
and lot more changes to many to say

 OpenELEC 5.0.8 released
WeTek team is proud to announce the next stable release of OpenELEC for WeTek Play - OpenELEC 5.0.8.
New in this release:
Quote
- Updated XVDR addon
- Other bug fixes and enhancements
To install OpenELEC to WeTek Play you don't need to overwrite your Android installation. Just write OpenELEC to an SD-card, and enjoy both of the worlds at the same time with dual boot
Downloads
QuoteDisplay MoreSD-card image for new installations:
OpenELEC 5.0.8 .img file for fresh installation on microSD card
To install, unzip the provided archive and use a tool, such as Win32DiskImager ( http://sourceforge.net/projects/win32diskimager/) to create a bootable SD-card. Turn off your WeTek Play, insert the SD-card, turn on the box again and enjoy OpenELEC. If you want to boot Android, just turn off the box, eject SD-card, turn on the box again, and you'll see Android booting.
Or you can use WeTek OpenELEC Installer app, which will download latest OpenELEC release and burn it to MicroSD:
QuoteDisplay MoreFor updating the existing SD-card installations (Do not use this for updating NAND installations!!!):
OpenELEC 5.0.8 .tar file for updating existing installation on microSD Card
BACKUP YOUR DATA BEFORE UPDATING!!!
You can read about how to update an existing OpenELEC installation at http://wiki.openelec.tv/index.php?title ... g_OpenELEC
Now you can also install OpenELEC instead of Android into NAND memory.
QuoteImage for for new installations into NAND memory:
OpenELEC 5.0.8 .zip file for installation to NAND Flash
Just unpack the provided ZIP archive onto SD-card, insert it into the box, and enter recovery using toothpick. Installation should start automatically.
QuoteFor updating the existing NAND installations (Do not use this for updating SD-card installations!!!):
OpenELEC 5.0.8 .tar file for update of existing installation in NAND Flash
BACKUP YOUR DATA BEFORE UPDATING!!!