

sounds like you have only enabled 1 out of your 3 tuners? also, have you assigned the network for each tuner?
Posts by fezz0
-
-
IMO I don't think OpenPCTV is worthy enough to be used as a daily satellite reciever. Yes it gives you the ability to run e2 and Kodi, but the enimga2 side of things was very rusty (may of changed but I highly doubt it) - There was no 7 day epg or autobouquets, pretty much all plugins won't function correctly/if at all, since they are compiled for MIPS processors and not x64.
If you want a solid experience then I would highly recommend building a reciever based on Intel hardware, running Openelec/Tvheadend.
-
New feature being worked on:
Merge the sideblade buttons into the epg interface for a seamless transition between timeline, recordings, search and channel list. Simply press the left arrow to navigate the buttons along the top of the grid, or press down to go back on the epg grid.
Colour remote buttons displayed along the bottom
New graphics to give a sharper look
Currently a mess... but you get the idea
-
How do you get rid of all the question marks on the epg?
Whenever I used vdr it would show the epg like this ?bbc1? ?the cooking show? Ect... And only now and next if I remember correctly
-
What are you using vdr via kodi or the actual vdr distro?
If your using vdr via kodi then the skin will still work, the only thing I've noticed thats different when using vdr client is the numbers on the infobar, their not in the exact same position/font for some reason
-
New update coming soon ;)
New sky font on the epg
Different shades of blue on each row similar to official sky reciever (was a right pain in the a**!!)

-
If it's a external brick style power supply then have a look on ebay, you can pick them up for around £10 new, just search 12v power supply. Make sure the fitting is the same dimension as on the back of the box, and also check the amps on your current power supply, it will say something like 12v 3a
-
I only discovered this the other day and it's a really handy feature which will save you buying a dedicated keyboard (providing you own a remote which has numbers 0-9).
What this does is allows to you input text by pressing numeric buttons on your remote, ie. to enter the letter "c" you would simply press the number "2" three times on your remote, rather than using the on screen keyboard.
Add this to your keymap:
<VirtualKeyboard>
<keyboard>
<zero>Number0</zero>
<one>Number1</one>
<two>Number2</two>
<three>Number3</three>
<four>Number4</four>
<five>Number5</five>
<six>Number6</six>
<seven>Number7</seven>
<eight>Number8</eight>
<nine>Number9</nine>
<backspace>Backspace</backspace>
</keyboard>
</VirtualKeyboard> -
Alright lads!
This skin still isn't finished and I tbh haven't bothered working on it in months! But I'm going upload it as it is later today so you can all try it out.
Do not ask for feature requests or bug fixes as this skin is not going to be worked on any time soon - feel free to tear it apart and add stuff to it yourself.
- - - Updated - - -
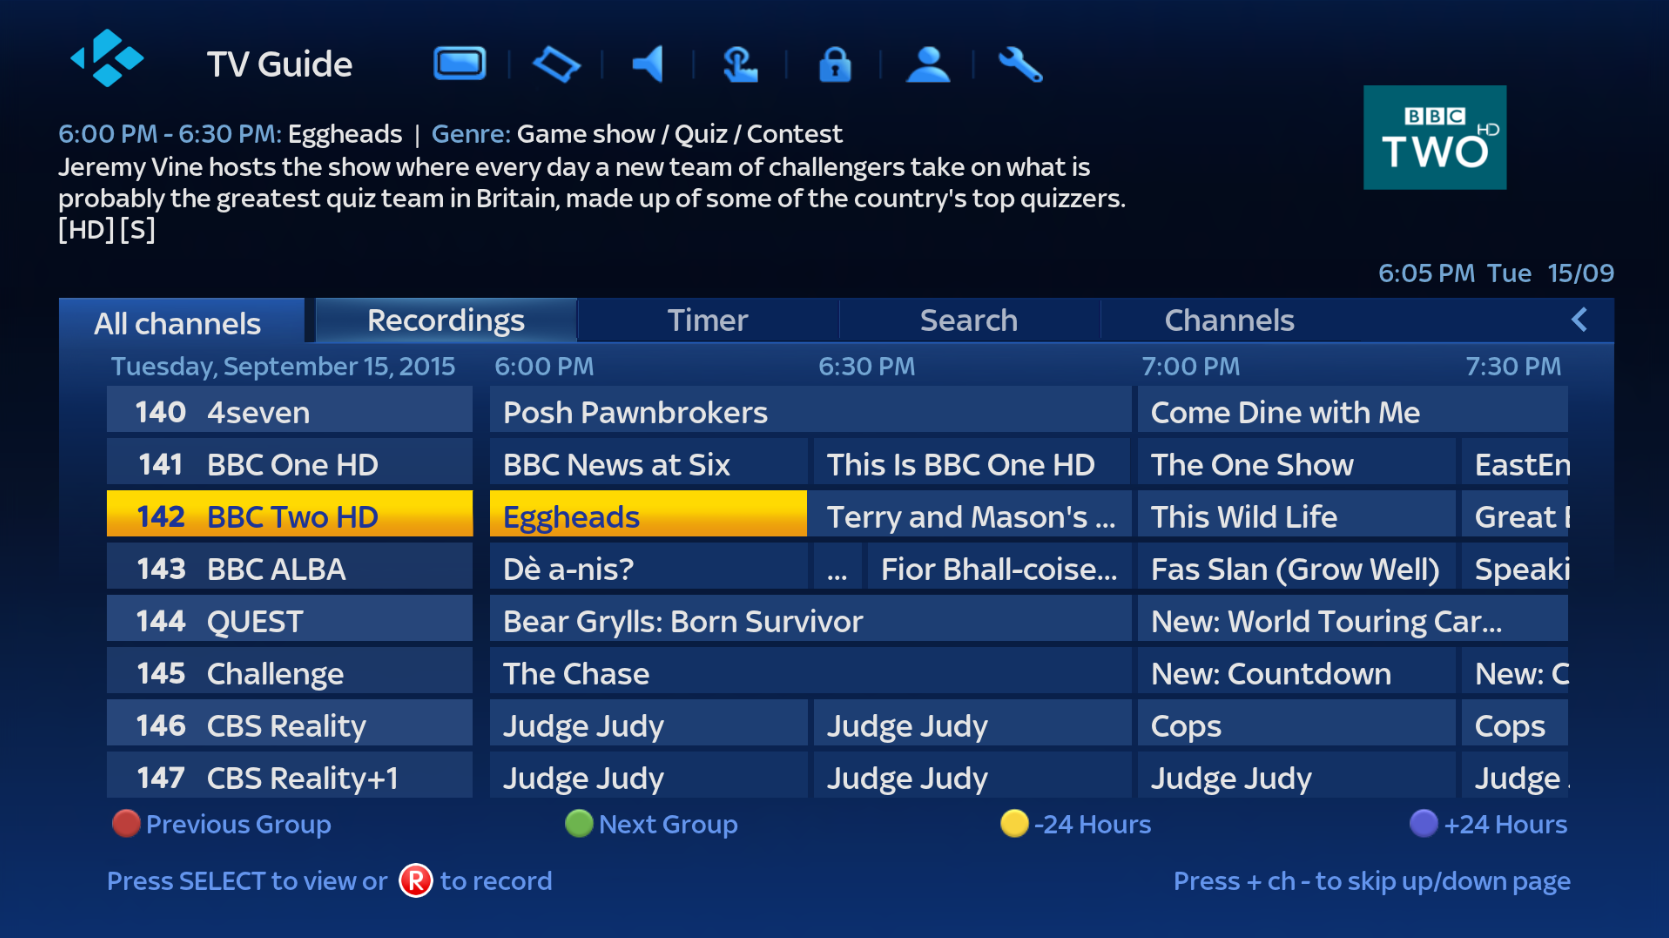
Before you install this I recommend you add the following to your advancedsettings.xml otherwise the EPG won't function as intented:
Code<advancedsettings> <pvr> <cacheindvdplayer>false</cacheindvdplayer> </pvr> <epg> <lingertime>0</lingertime> </epg> </advancedsettings>If you do not have a advancedsettings file, then simply open notepad, paste the above into a black document and save it as advancedsettings.xml (making sure you select save as all file types). Then place it in the userdata folder. (restart Kodi once you have amended the above.)
To install the skin go to system>addons>install from zip.
Once activated you must go to system>appearance>skin settings>Home window - Aeon Nox main menu layout: set this to 3 items. This changes the font and font colour, and also seperates each label evenly.
Next, open the EPG, press left on your remote to bring up the sidebar, select skin mod settings, now make sure you hide encryption, tuner and signal information, then press save - If you do not do this then the fullscreen infobar will look a right mess (as I said this skin isn't finished!)
Please note: this skin was optimised for Tvheadend, if your using a different backend then somethings may look different, ie channel numbers etc.
-
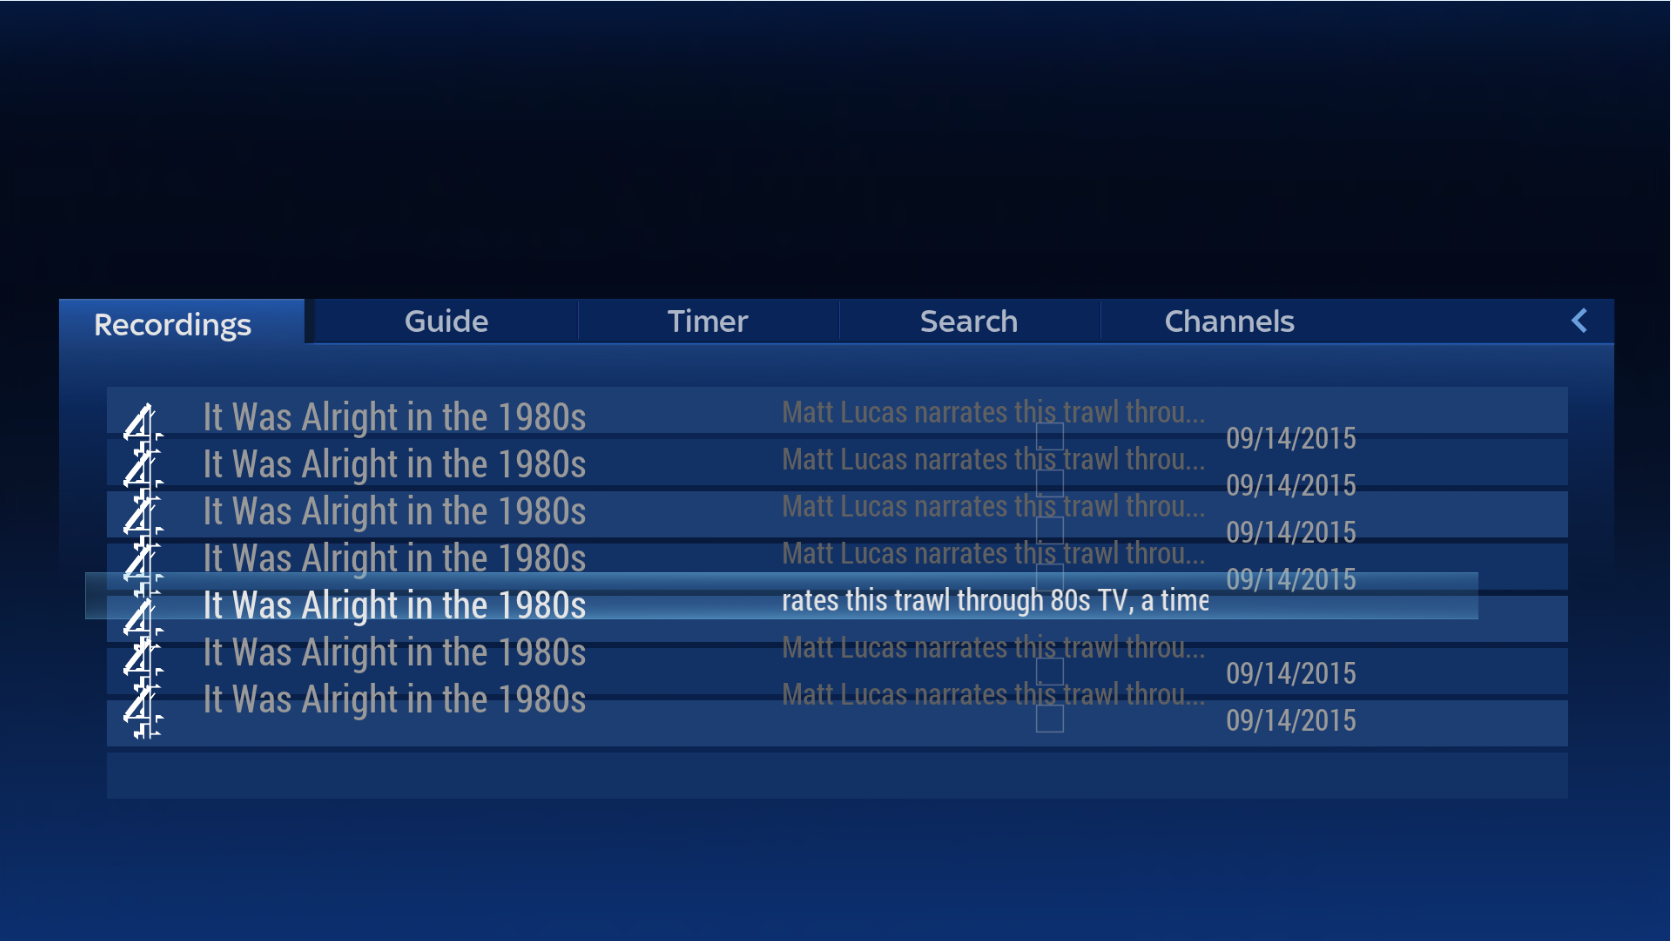
better way is use super favourites folder within kodi
just right click any channel you want to keep in Stalker saves in folder for watching later when they block that address
working flawless
This method will not work as soon as they block that mac address which was used when you set up the favourites!
If you look into the favourites.xml after you have created it, you will see the mac address is coded into each of the favorited channels - therefor it will not work once that mac address is blocked.
I've found a number of different working mac addresses myself, which I'm not posting all over the internet (for obvious reasons!). If you find any working addresses keep them to yourself, rather than sharing them.
Alternatively, if you like, post away, share your working mac address & watch it be blocked in a heartbeat ;)
Here's a tip:
When trying a guess a mac address, you have to change the last 6 digits, it can be a mixture of letters and numbers, think of something simple, something very easy to remember - simple is the key. This was my technique, and I found 6 within 5-10 minutes.REMEMBER do not share your working mac addresses if you wish to keep them alive for the time being!
-
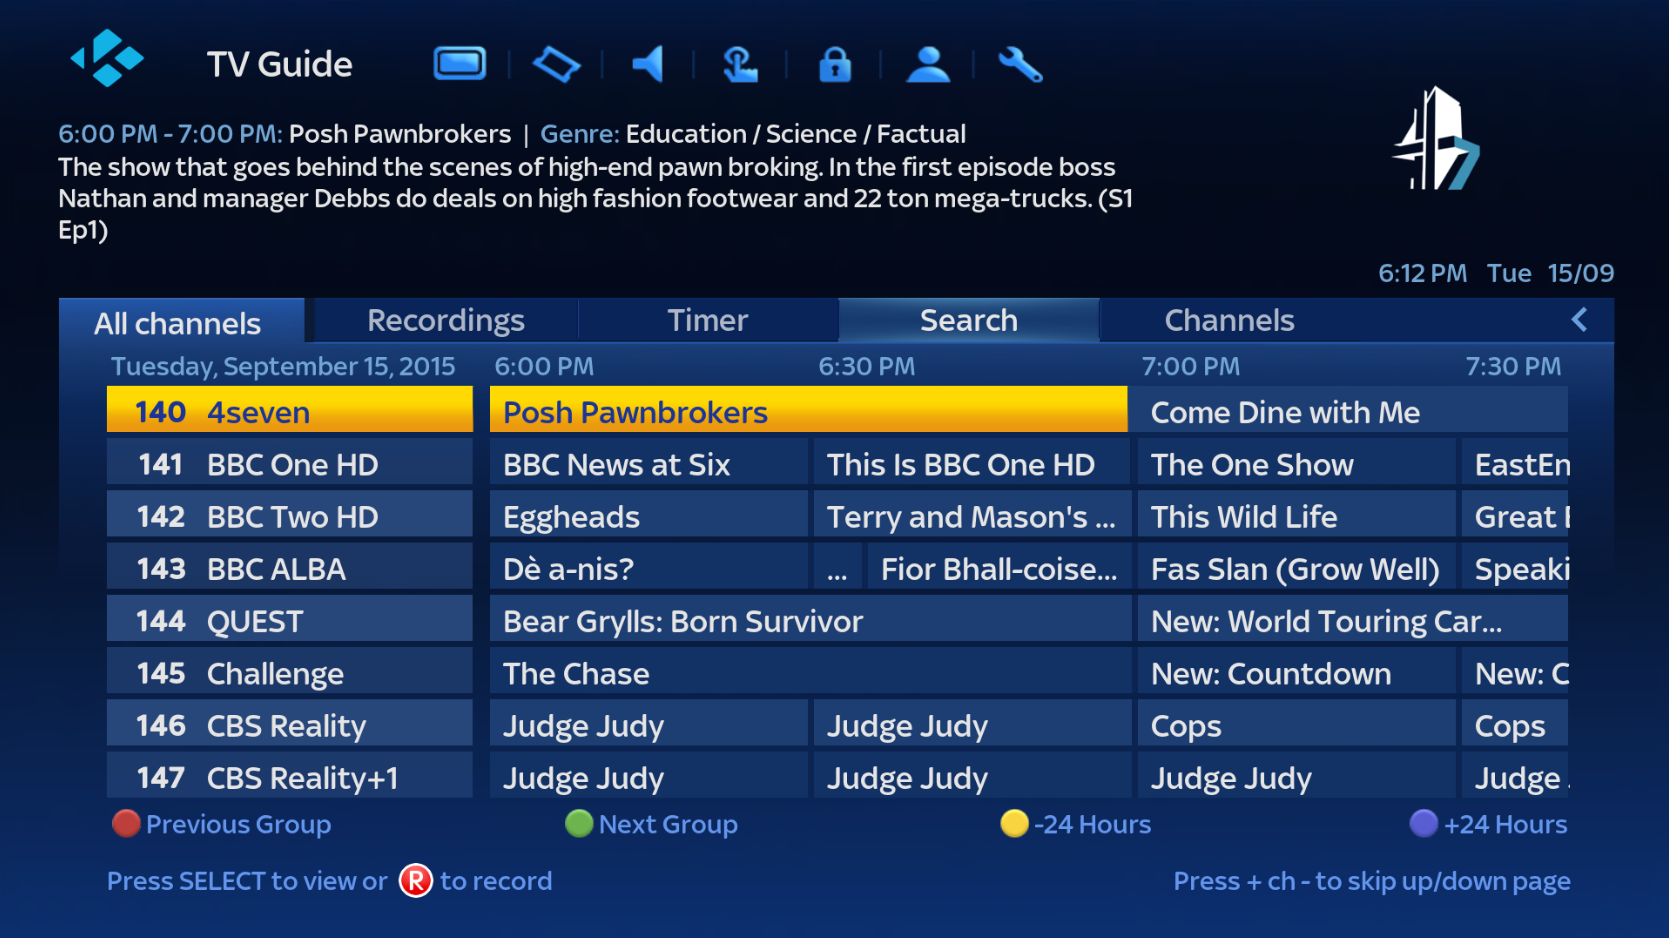
Some final polishing on the tv guide .......... ;)

-
It's my own modded skin, based on Nox 5
- - - Updated - - -
I've done some minor changes to the info bar. I changed the textures to give it that little bit of pop, rather than being "flat". I've also changed the font and color of the time, start/end time etc.
Old
New

I will post a download link soon guys ;)
-
My parts were originally in a Silverstone case, but I thought it was abit on the large side for a satellite receiver, hence why this project took place ;)
-
Its really quite simple to install on the nand.
You download your chosen Openelec zip file. Make sure the chosen file is for NAND ONLY.........Remember zip files are for new installations, tar files are for updating existing installations.
Then extract the contents on to sd card.
The files you should have on the sd card are .img file, .aml file, .zip file.
Now remove the power from the box, and insert your sd card.
Now stick a toothpick into the reset hole located on the bottom on the wetek play, and power on the wetek play (You need to continue holding the reset button untill you see the green robot on screen)
Wait for it to finish installing, then you will boot straight into openelec. You can now remove the sd card.
-
What class sd card are you using btw? When I bought my wetek plays, they supplied me with class 4 sd cards and they were absolutely sh*te, ended up buying some class 10s and they were much better.
Saying that, I found openelec performs better when installed to the nand.
-
This may sound stupid but have you tried disconnecting and reconnecting the power then trying to connect?
Try using filezilla?
-
Thanks for the feedback lads ;)
Here's a better look at the interface, the image is compressed but you get the idea.....

-
I just thought I would share one of my projects with you, and maybe inspire someone else to do the same ;)
So I decided to migrate my htpc parts from my old case into a SKY HD multiroom box. The reason I chose a multiroom box is simply because of the size of it (its tiny) and I couldn't find anything else that took my fancy. I now have a fully functional "Intel Powered " SKY HD box with working SKY remote, Twin satellite tuner, running Openelec/TVH. The system fully boots into XBMC in 7 seconds flat, switching channels is quicker than my Solo2 (less than 1 second on most channels)
First I ripped the motherboard and metal chassis out from the SKY box

I then placed my htpc components in place to see if everything fitted before getting the glue out ;)


Once I knew everything would fit nicely, I got to work and glued the motherboard to the case. I cut up an old dvd case and used it for risers on each corner of the motherboard to help with airflow. I couldn't use standard pc risers because I literally had mm to play with.


Next I fitted a new low profile cpu cooler which fits nicely in the case. I've added a pico power supply which has a max draw of about 120w, which will be paired with a external laptop style brick which has a max draw of 72w, so this machine will be much more efficient than my other 300w power supply thats in my old case.


Rather than using the existing motherboard I/O shield for the back plate, I made up a aluminum plate to cover the whole of the back, rather than doing it in two pieces. It's not the neatest of work, but it's not seen so it's fine.


Had abit of a nightmare when the external brick arrived. I turned the box on and it started heating up quite abit because the cpu fan was so close to the top of the case. The cpu must of got to 65c whilst playing a high bitrate blu ray. I had no other option but to cut into the top of the case to cool the cpu down (which I didn't want to do!). What I ended up doing was using my old case' airflow holes as a template for the top of the Sky box, I simply taped the top of the SKY box, clamped the old case on top then drilled away. The holes surprisingly turned out pretty good, alot better than what I thought anyway. Temps are now at around 40c, which is perfectly fine.


The case isn't properly pushed down there ;)I'm currently modding a skin for the box, here is where I'm at so far.....

For anyone who's interested, the parts used are as:
Sky HD multiroom box
Sky HD remote with Flirc IR receiver
MSI H81I 1150 Motherboard
Intel G3258 3.2ghz Dual Core
4GB Corsair Low Profile Ram
Alaska Low Profile CPU cooler
Kingston 60GB SSD (boot Drive)
500GB 2.5inch Hard drive
TBS Twin Satellite Tuner
120w Pico Power supply
72w External Brick (laptop charger) -
It's also handy to turn on "do not store epg in the database" for lower powered devices such as the Wetek Play. Hope this helps ;)
-
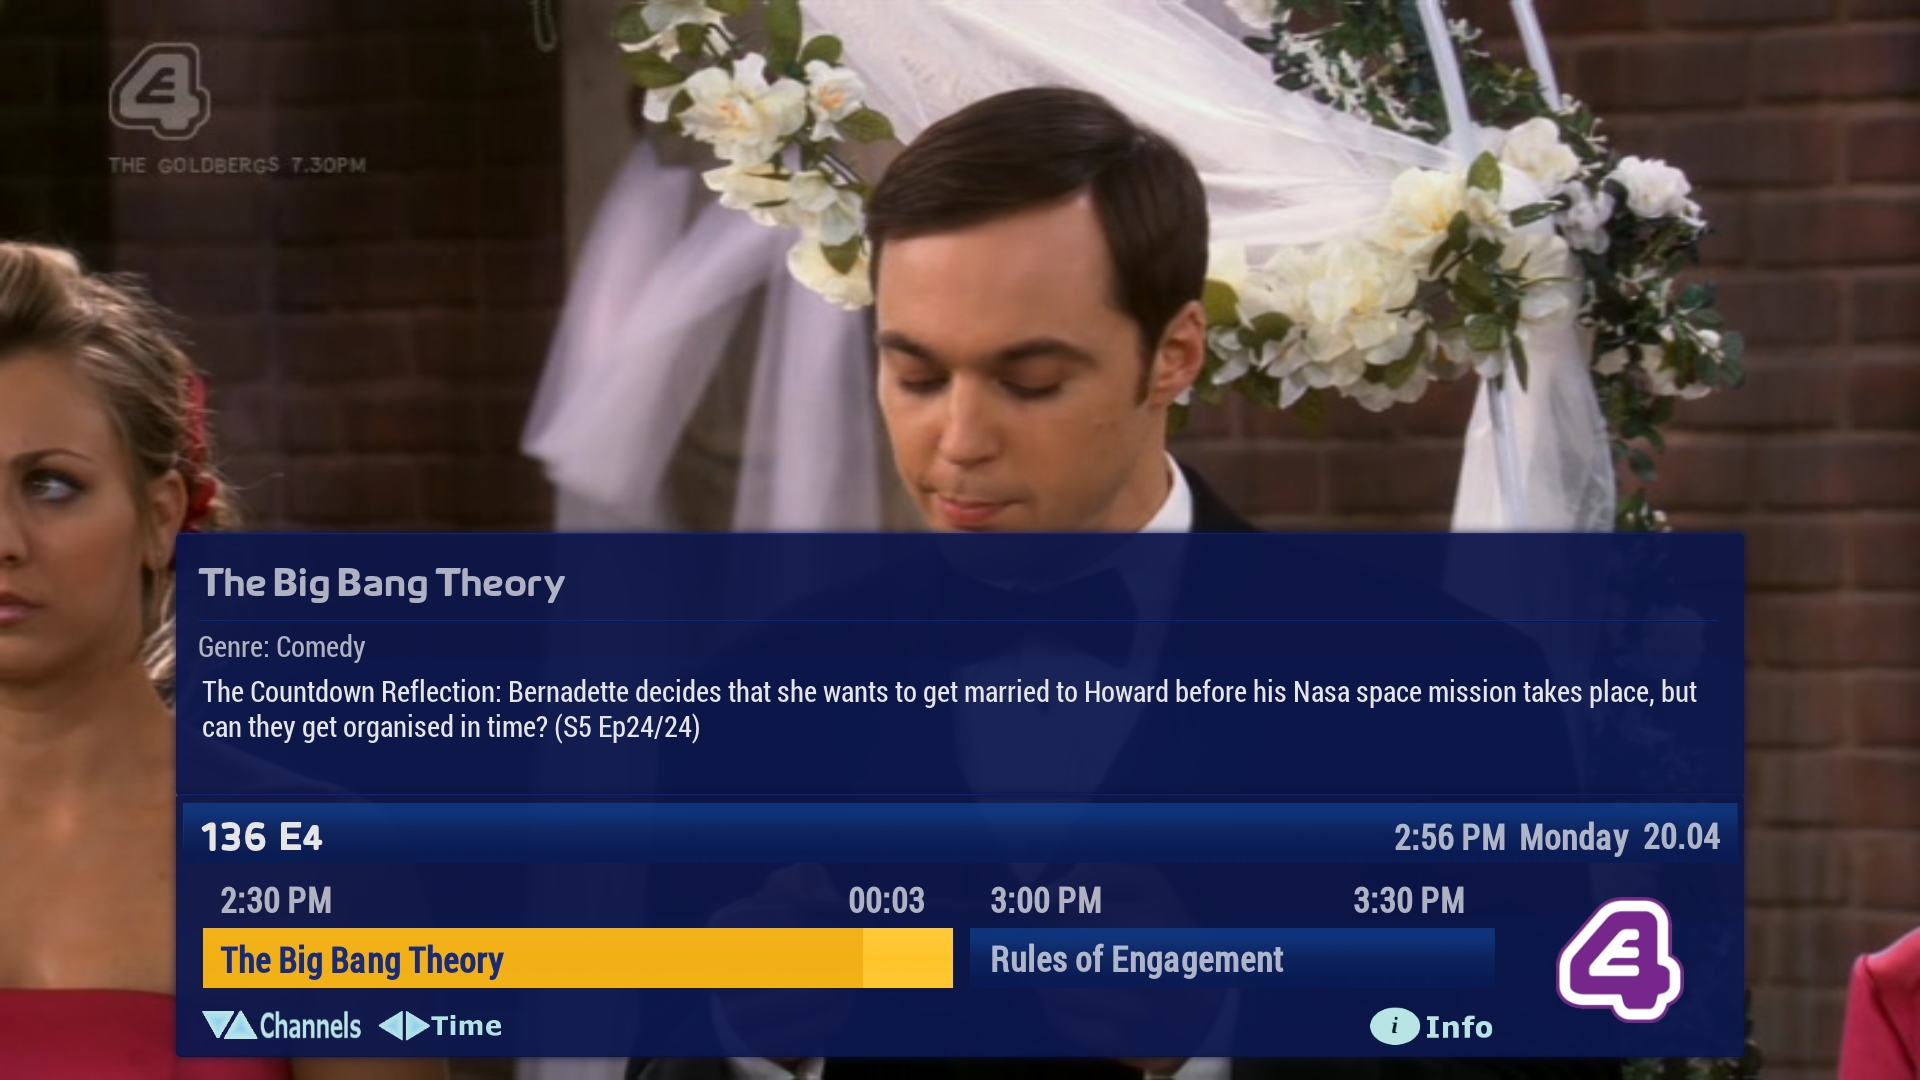
Hello all of you XBMC heads........
I'm currently modding a skin for XBMC. The reason I have chosen to replicate the Sky skin is because I have recently modded a Sky HD multiroom box, and fitted my HTPC parts inside.
I currently have this skin working on my Sky box and Wetek Play.
Here's where I'm at so far.
I'm trying to get it looking like this below
[Image: 1395101887.png]I've not touched "now, next and channel" views because I don't use them.
The things I want to change but will need some help:
Proper function of the "All Channels" image above the guide, yes this is only a image and it doesn't change if you switch channel group / Possibly add the "actions" options from the epg sidebar.
Change every other row on the epg to a different shade of blue.
Add some sort of progress indicator, ideally shade each tv program which is currently playing.
If you know how to skin XBMC and you fancy helping me out with the things above, please get in touch.
I will post a download link soon (once I'm happy with how it looks)
[watch this space]

